


|
|
|
#331
 12-27-2013, 04:35 AM
|
||||
|
||||
|
Thanks elliot for the nice compliments and best wishes. I hope all of you have spent a Merry Christmas.
 And so back to the TSM details, so up on the ladders!  First, however, a small addition of the electricians at LOX TSM, who have finally clamped the sockets. First, I glued the cables of 0.25 mm lead wire into small holes, 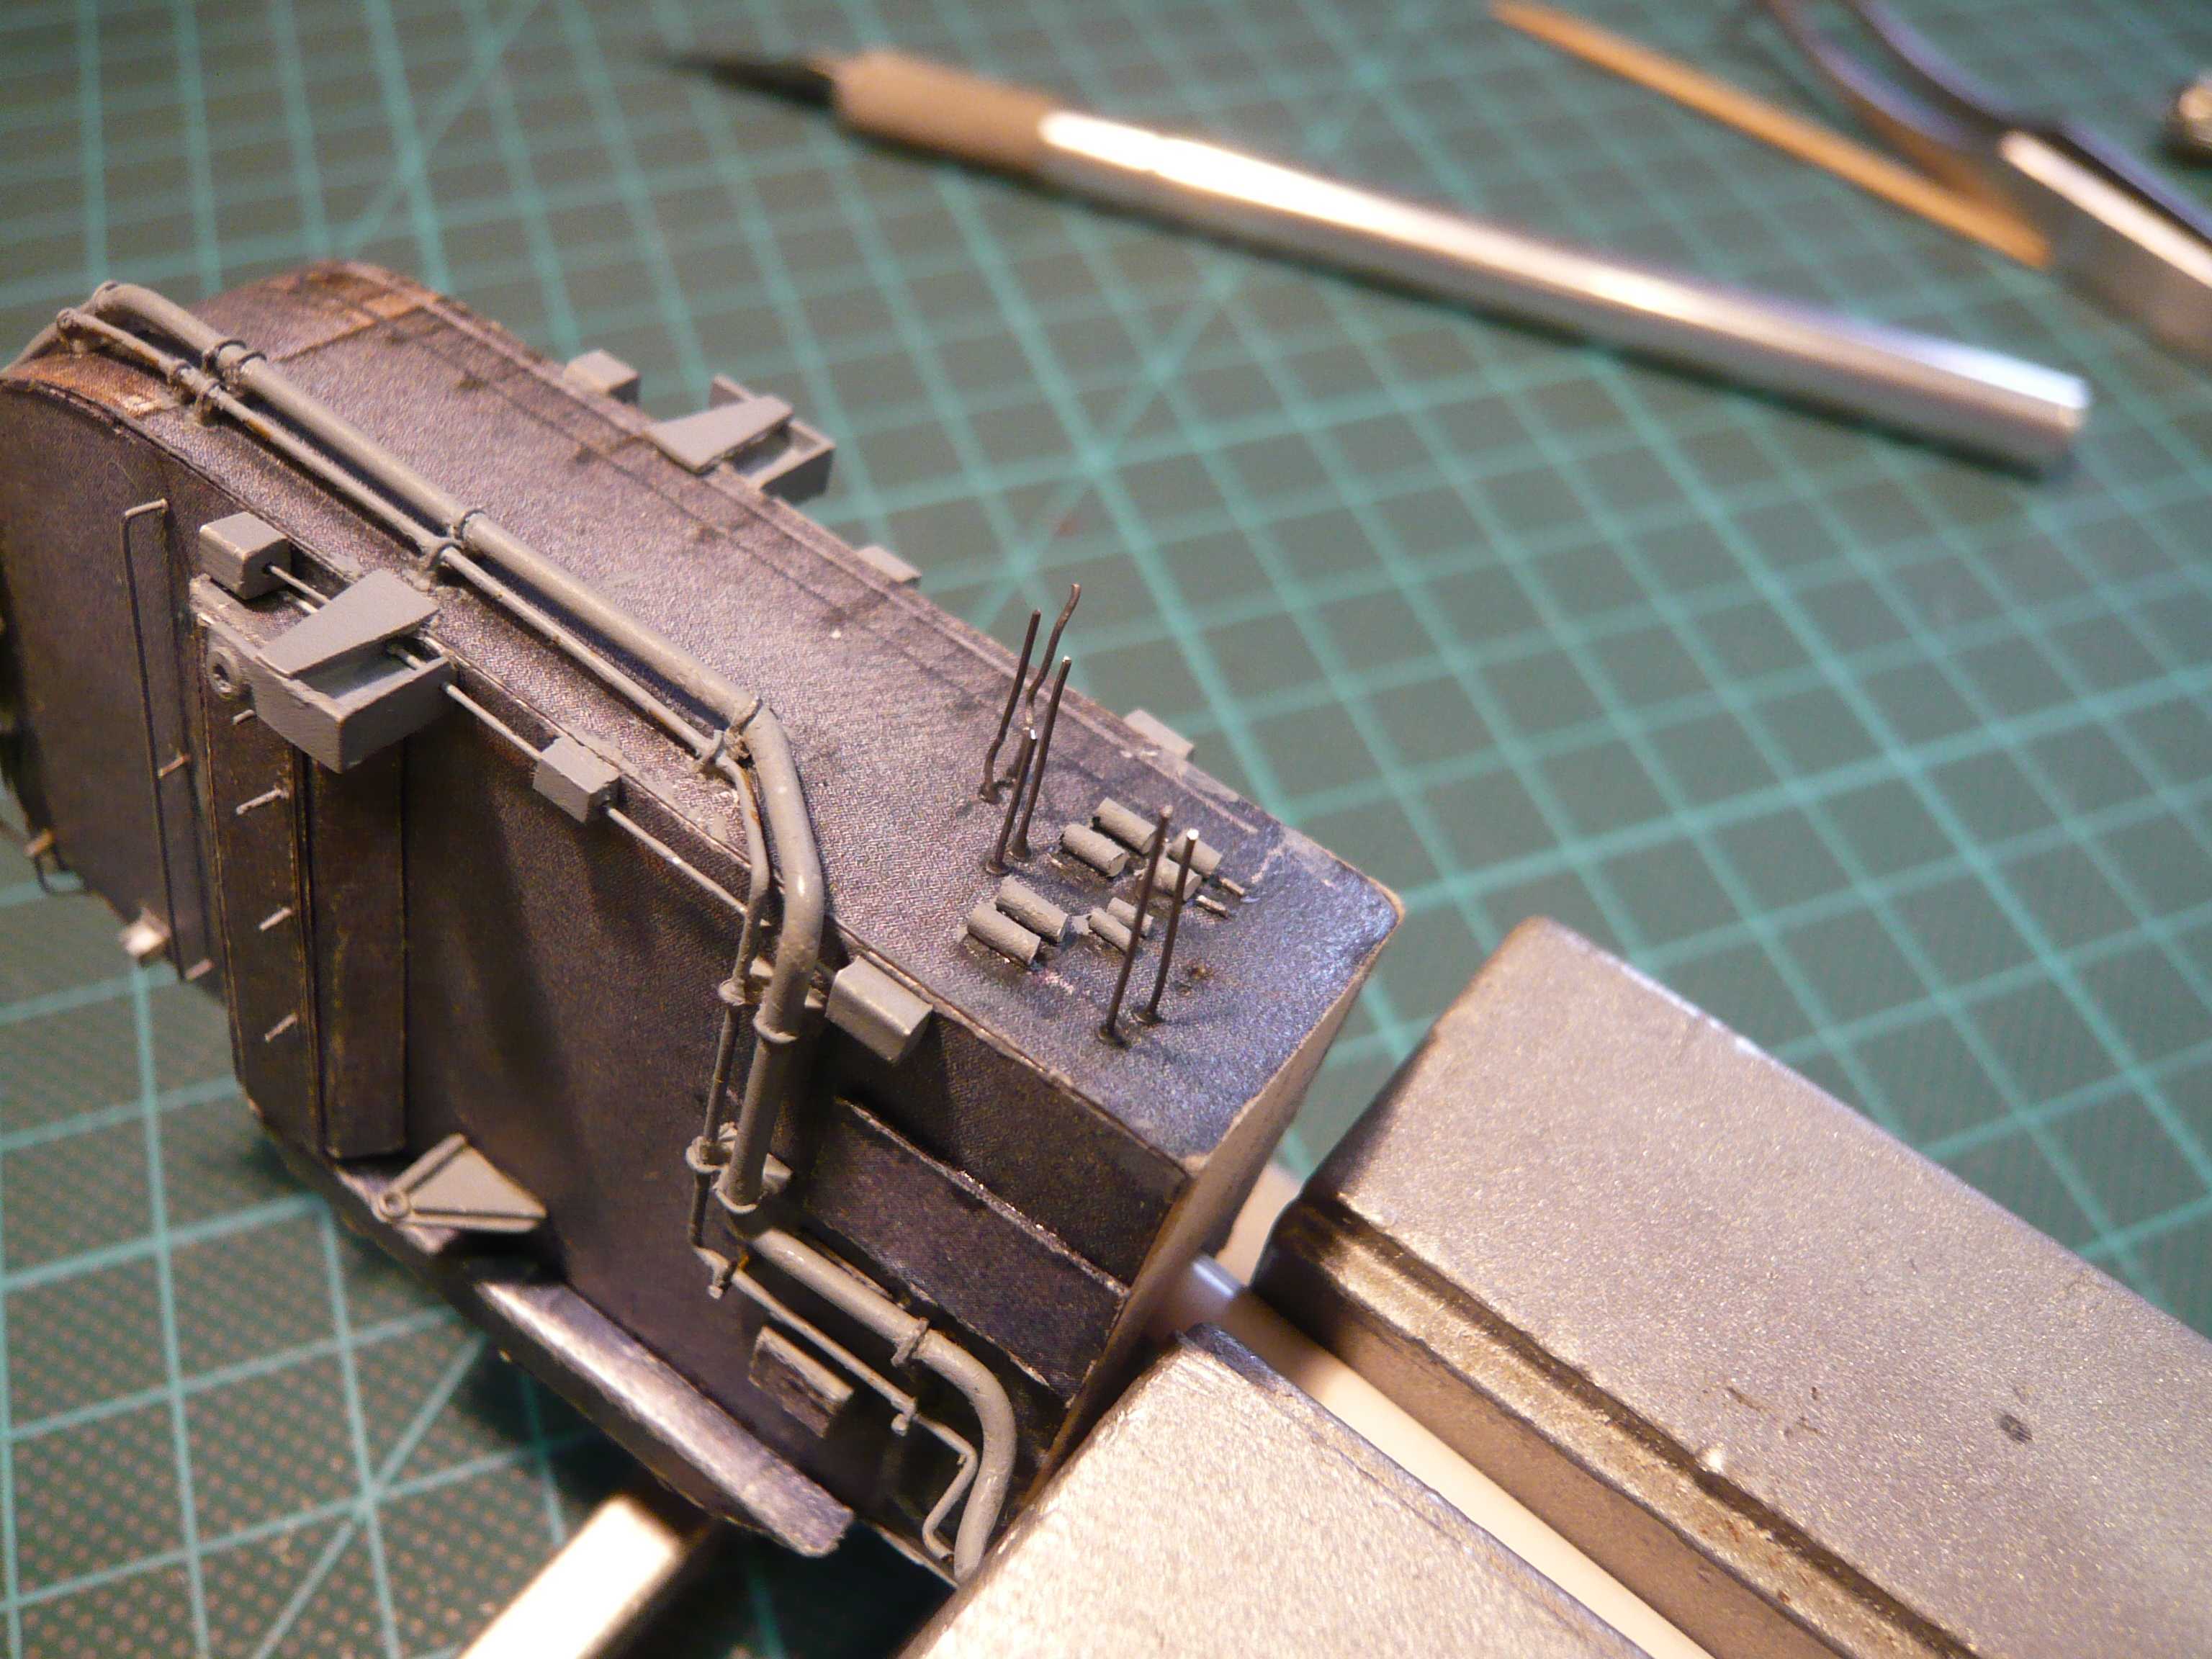 then, the small loops were modeled and connected to the sockets,  and finally painted. 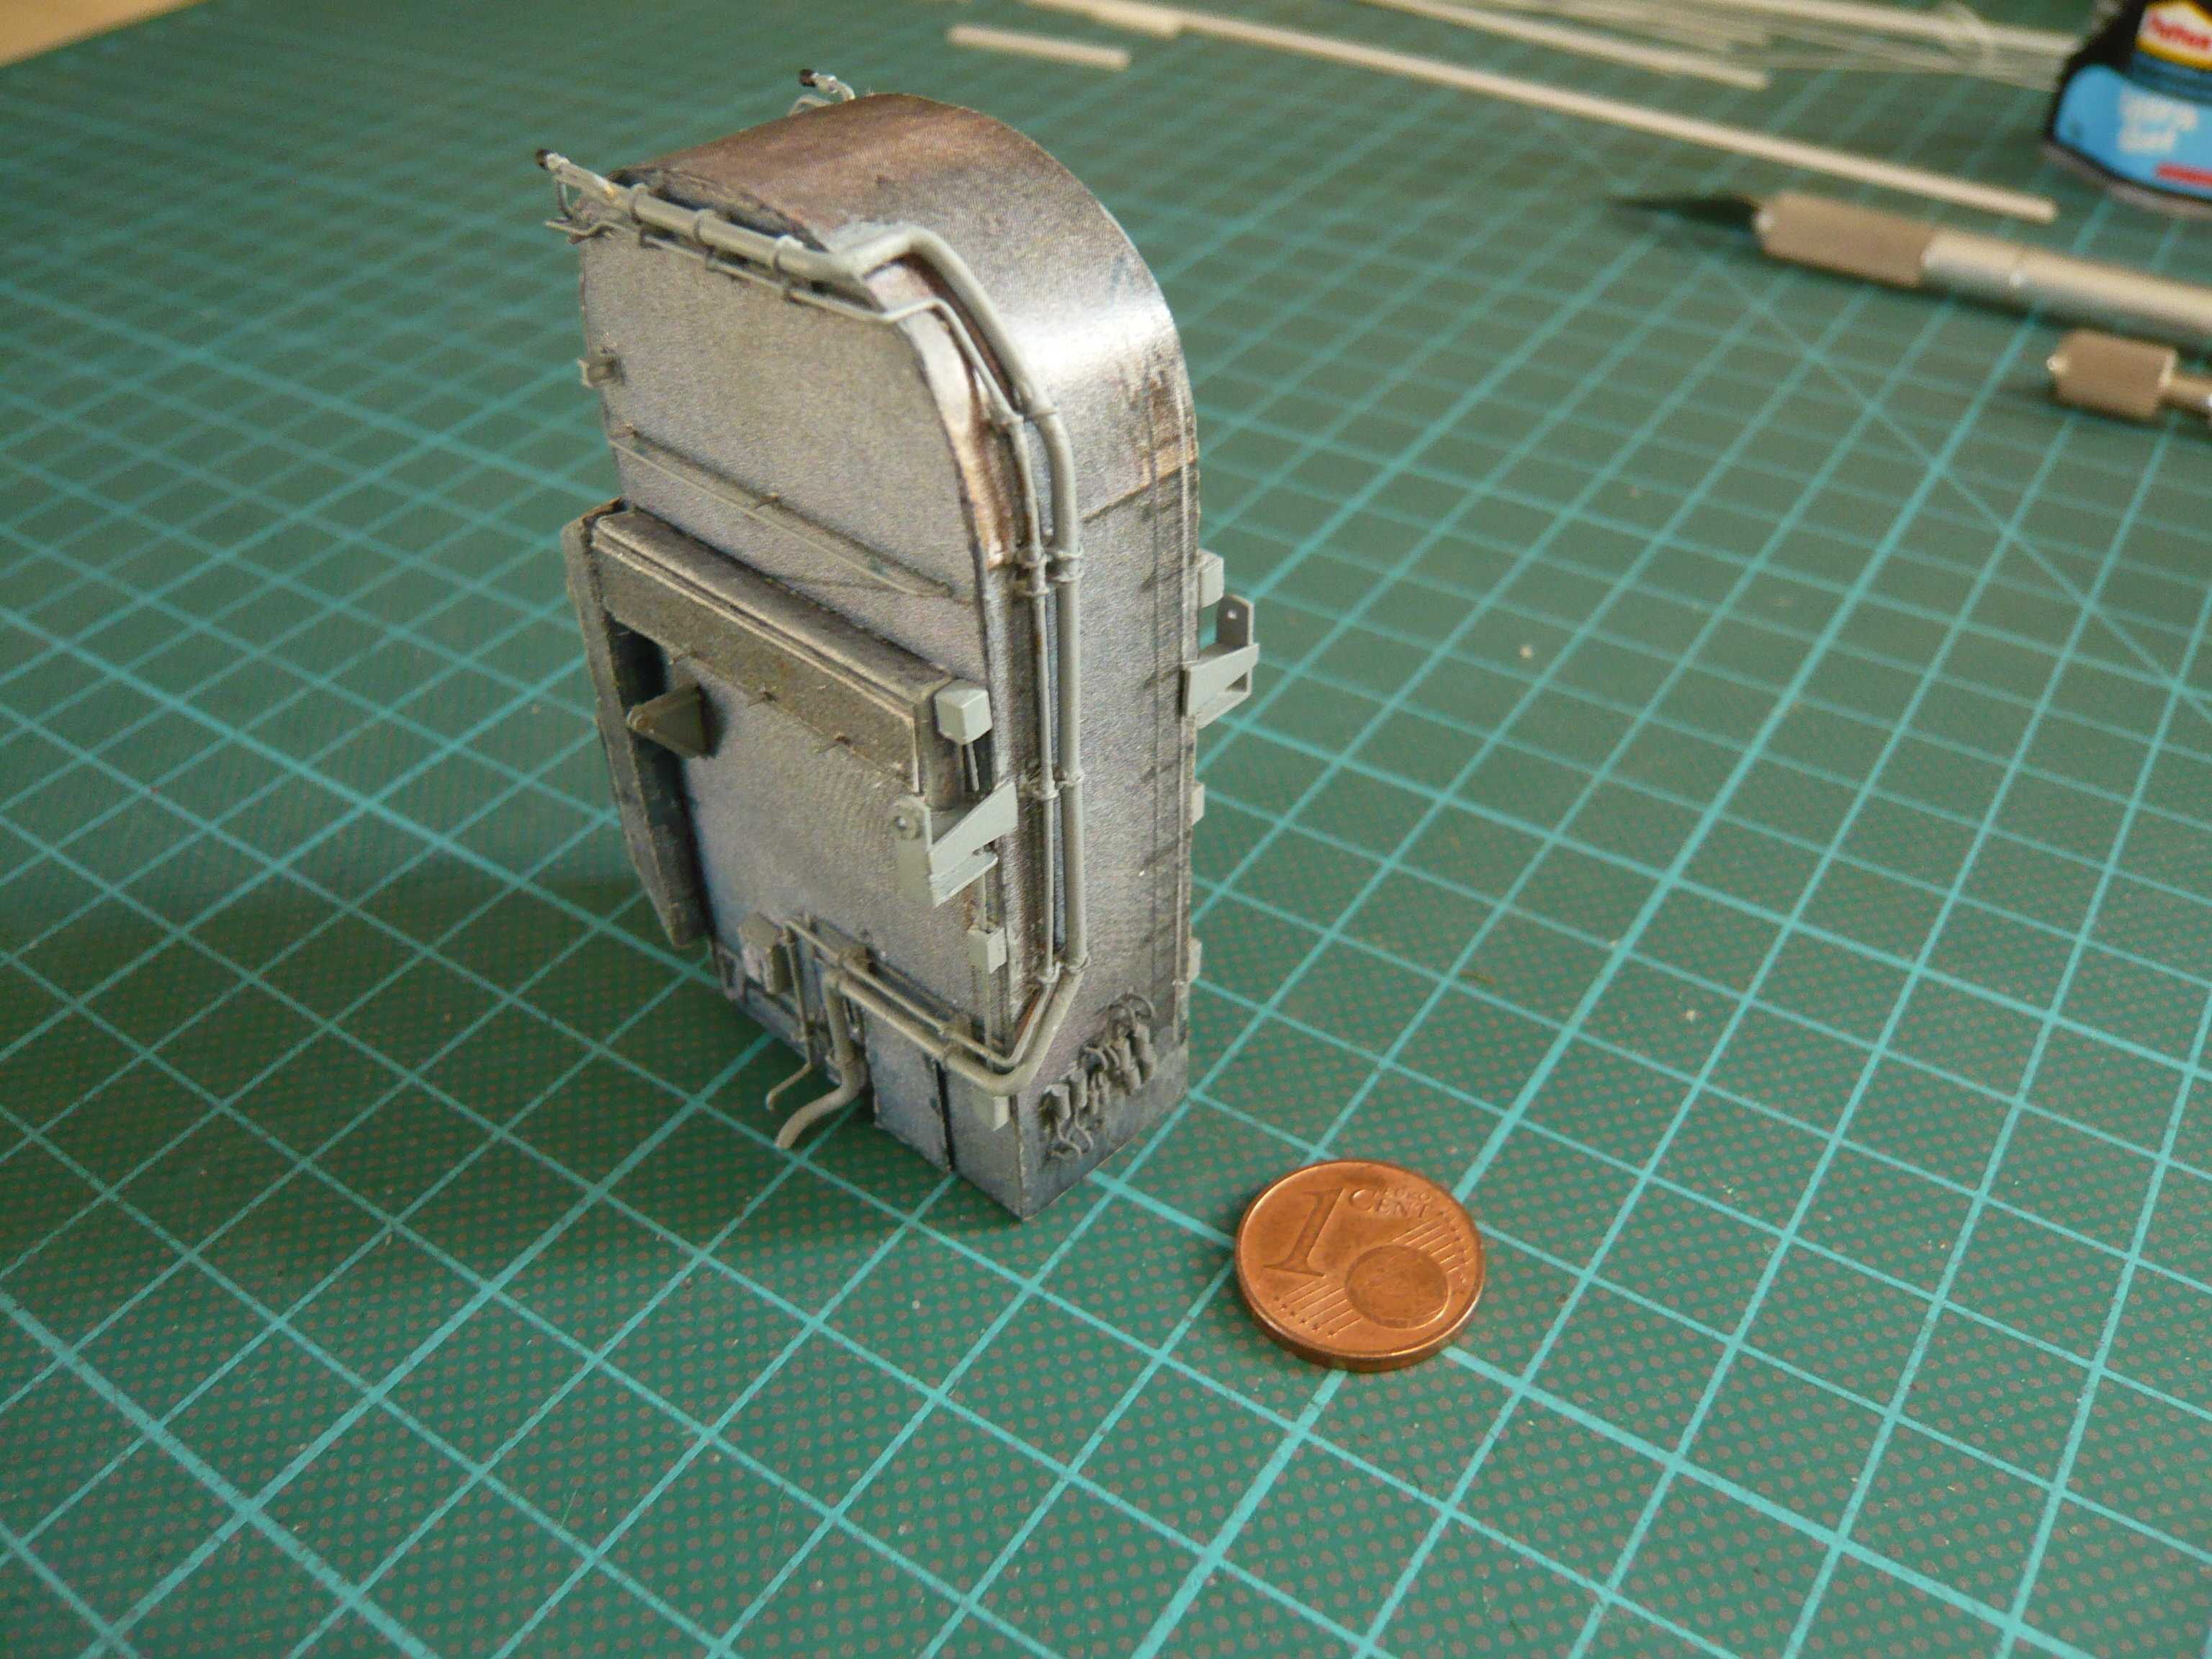 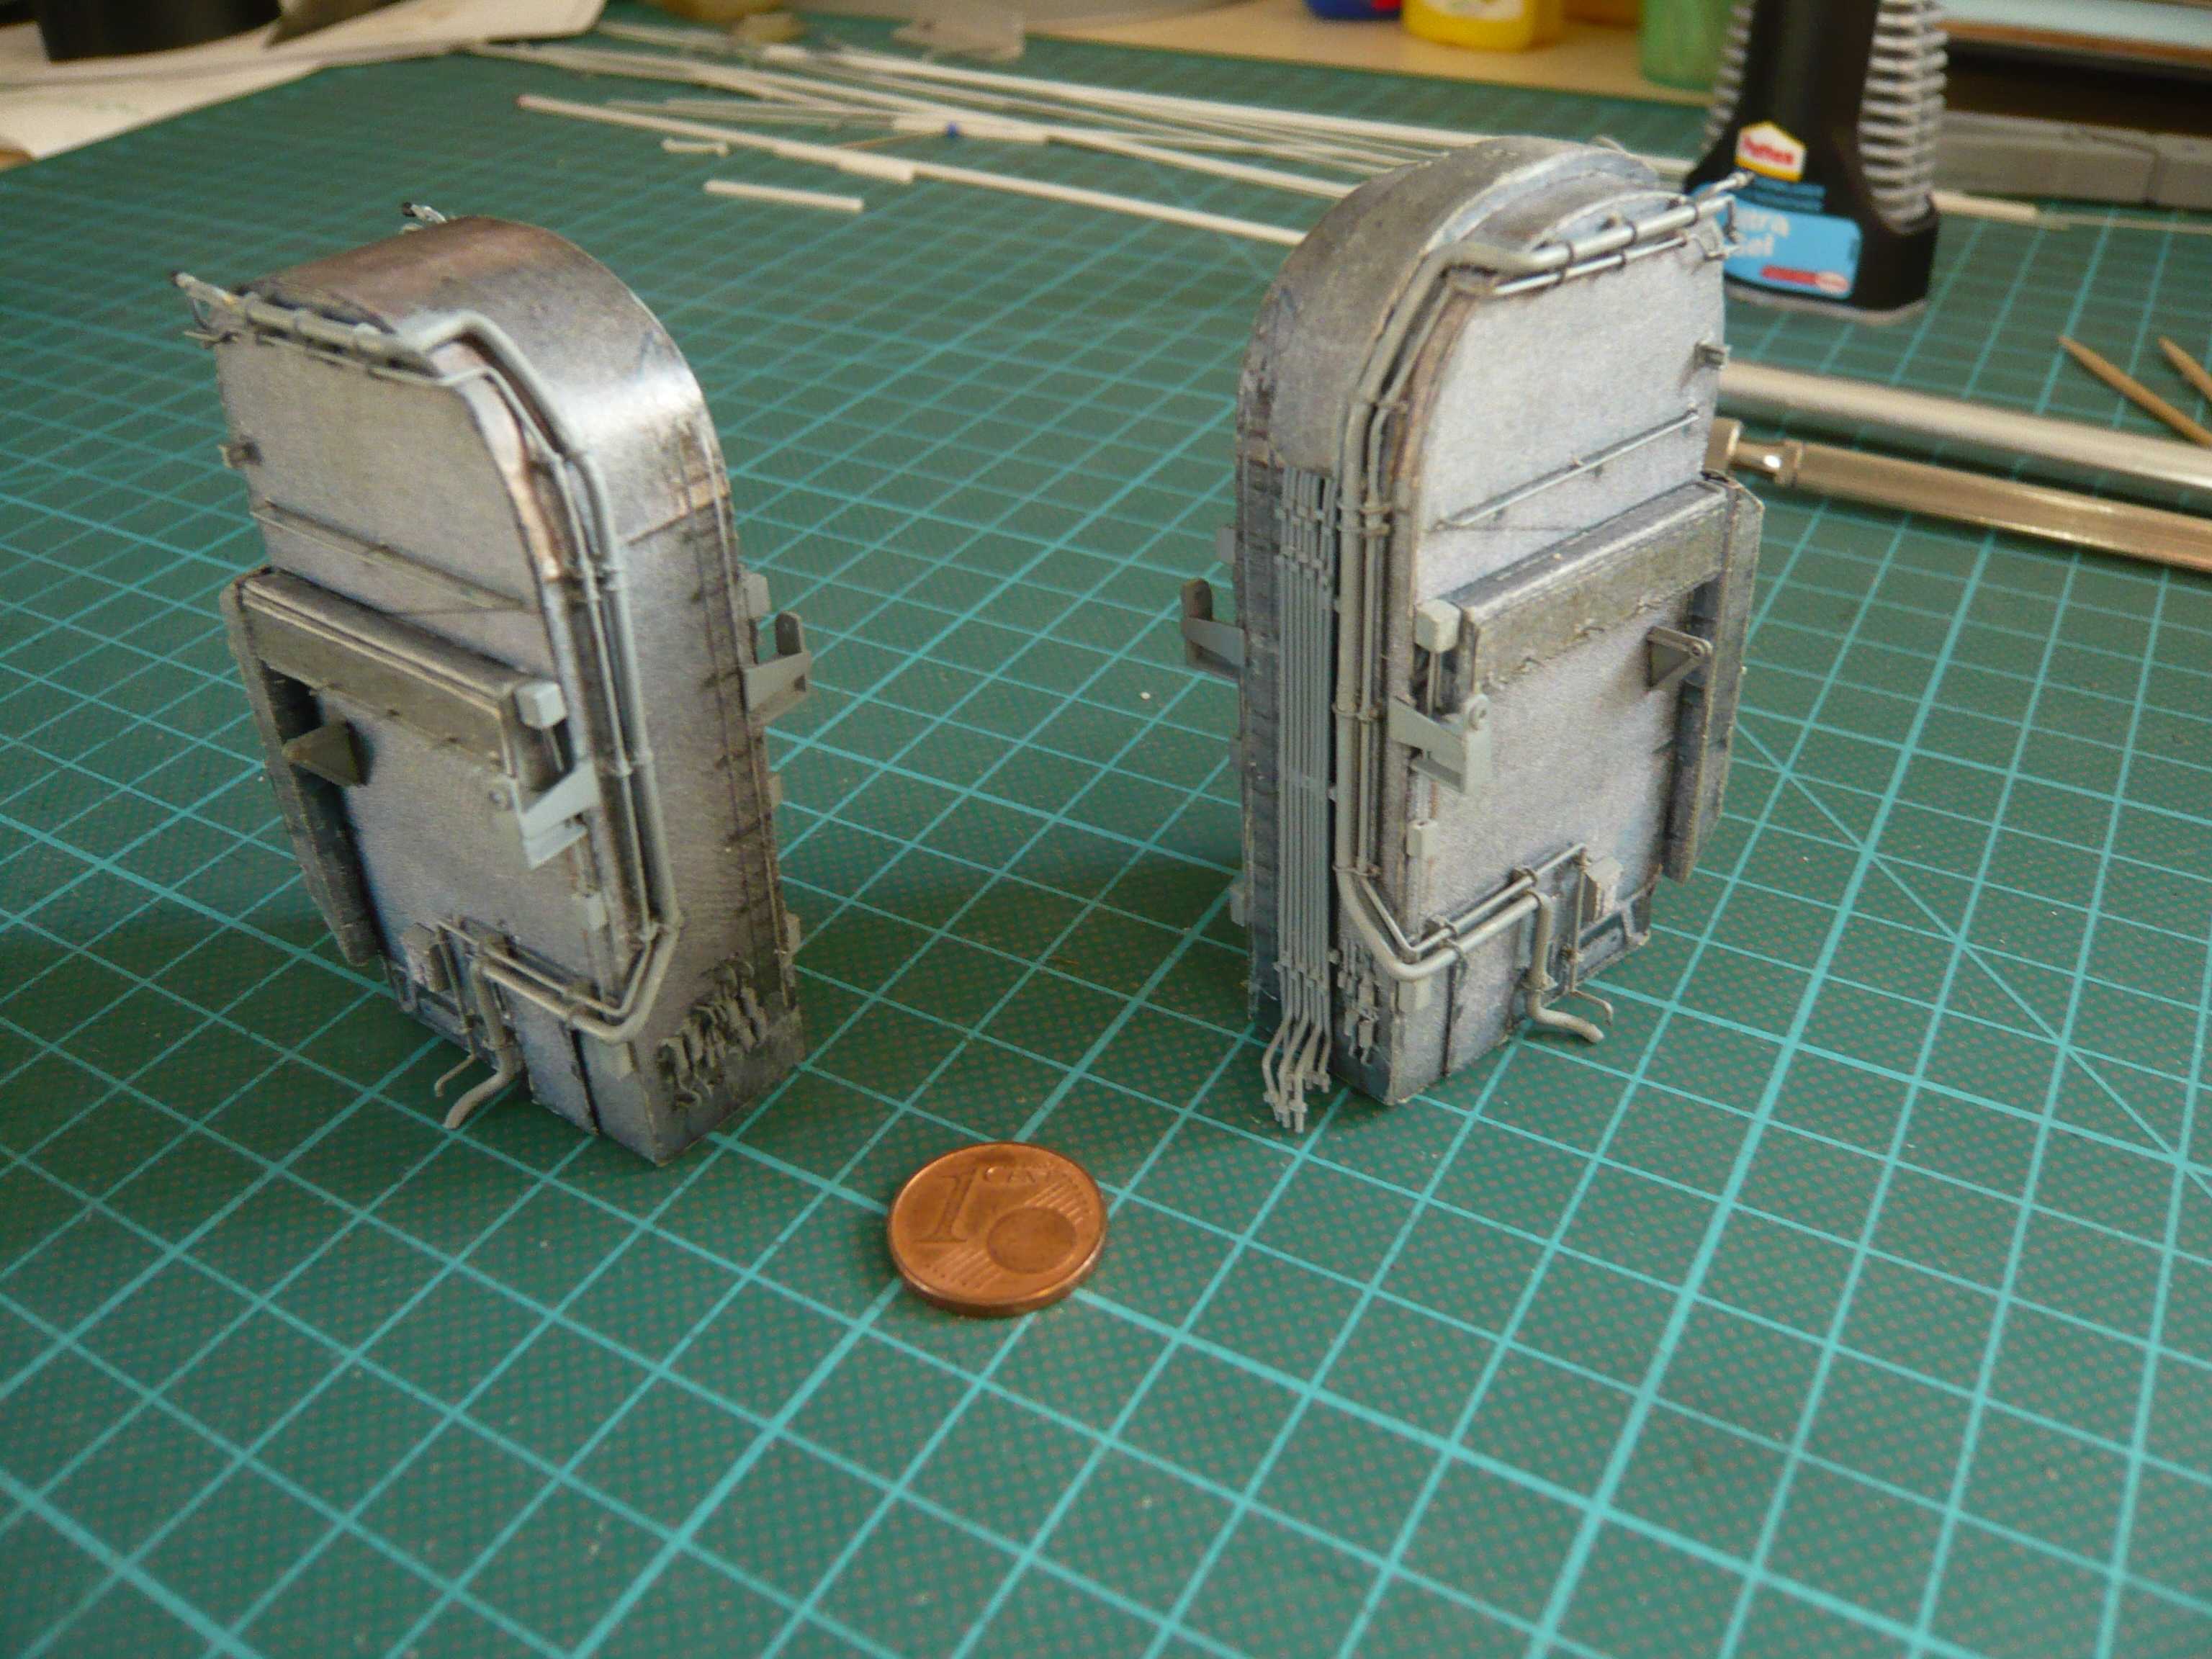 And so again to the missing ladders initially which on the outer sides of the TSMs having equal length legs, and thus should be more easily to scratch-build than the other of the sides of the boxes.  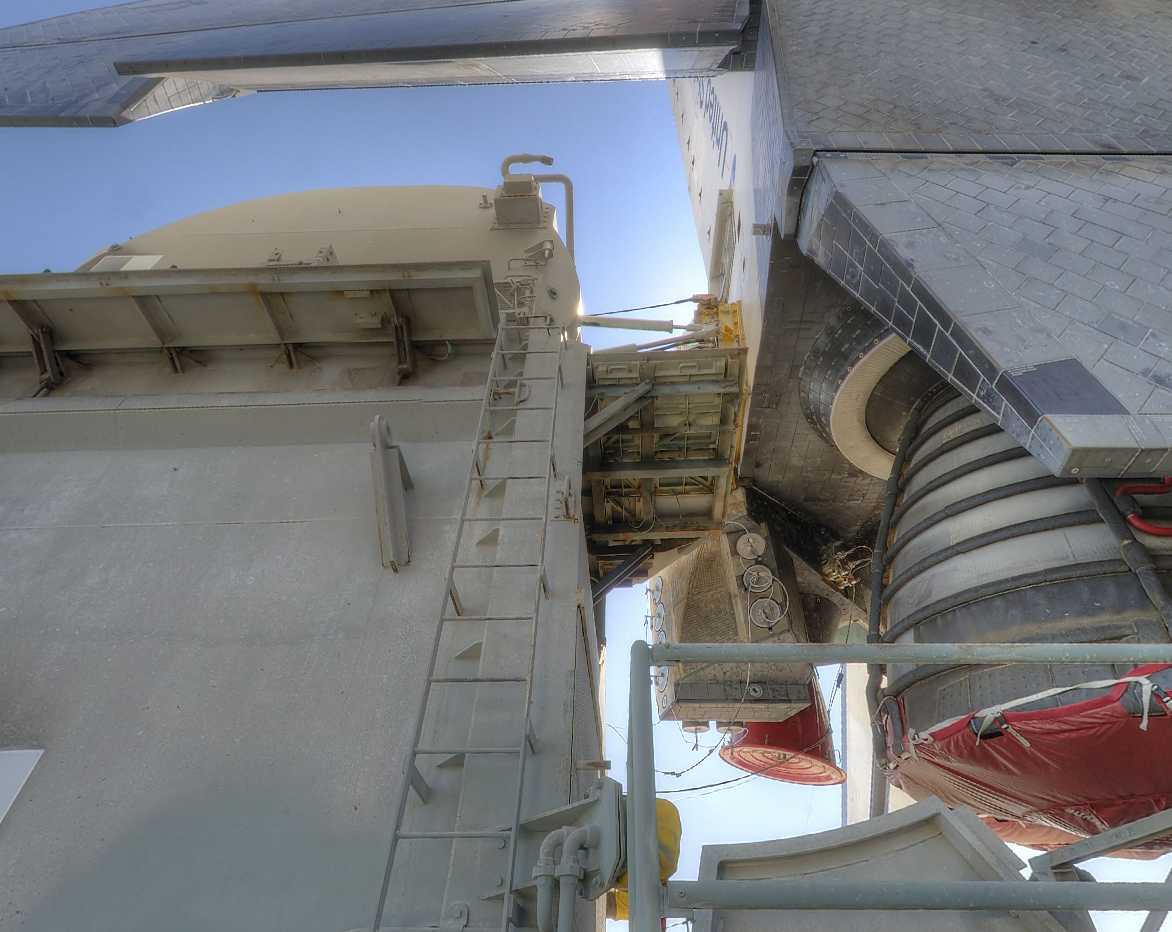 Source: NASA Here are the two ladders in its original form, that is only cut out from the PE board. 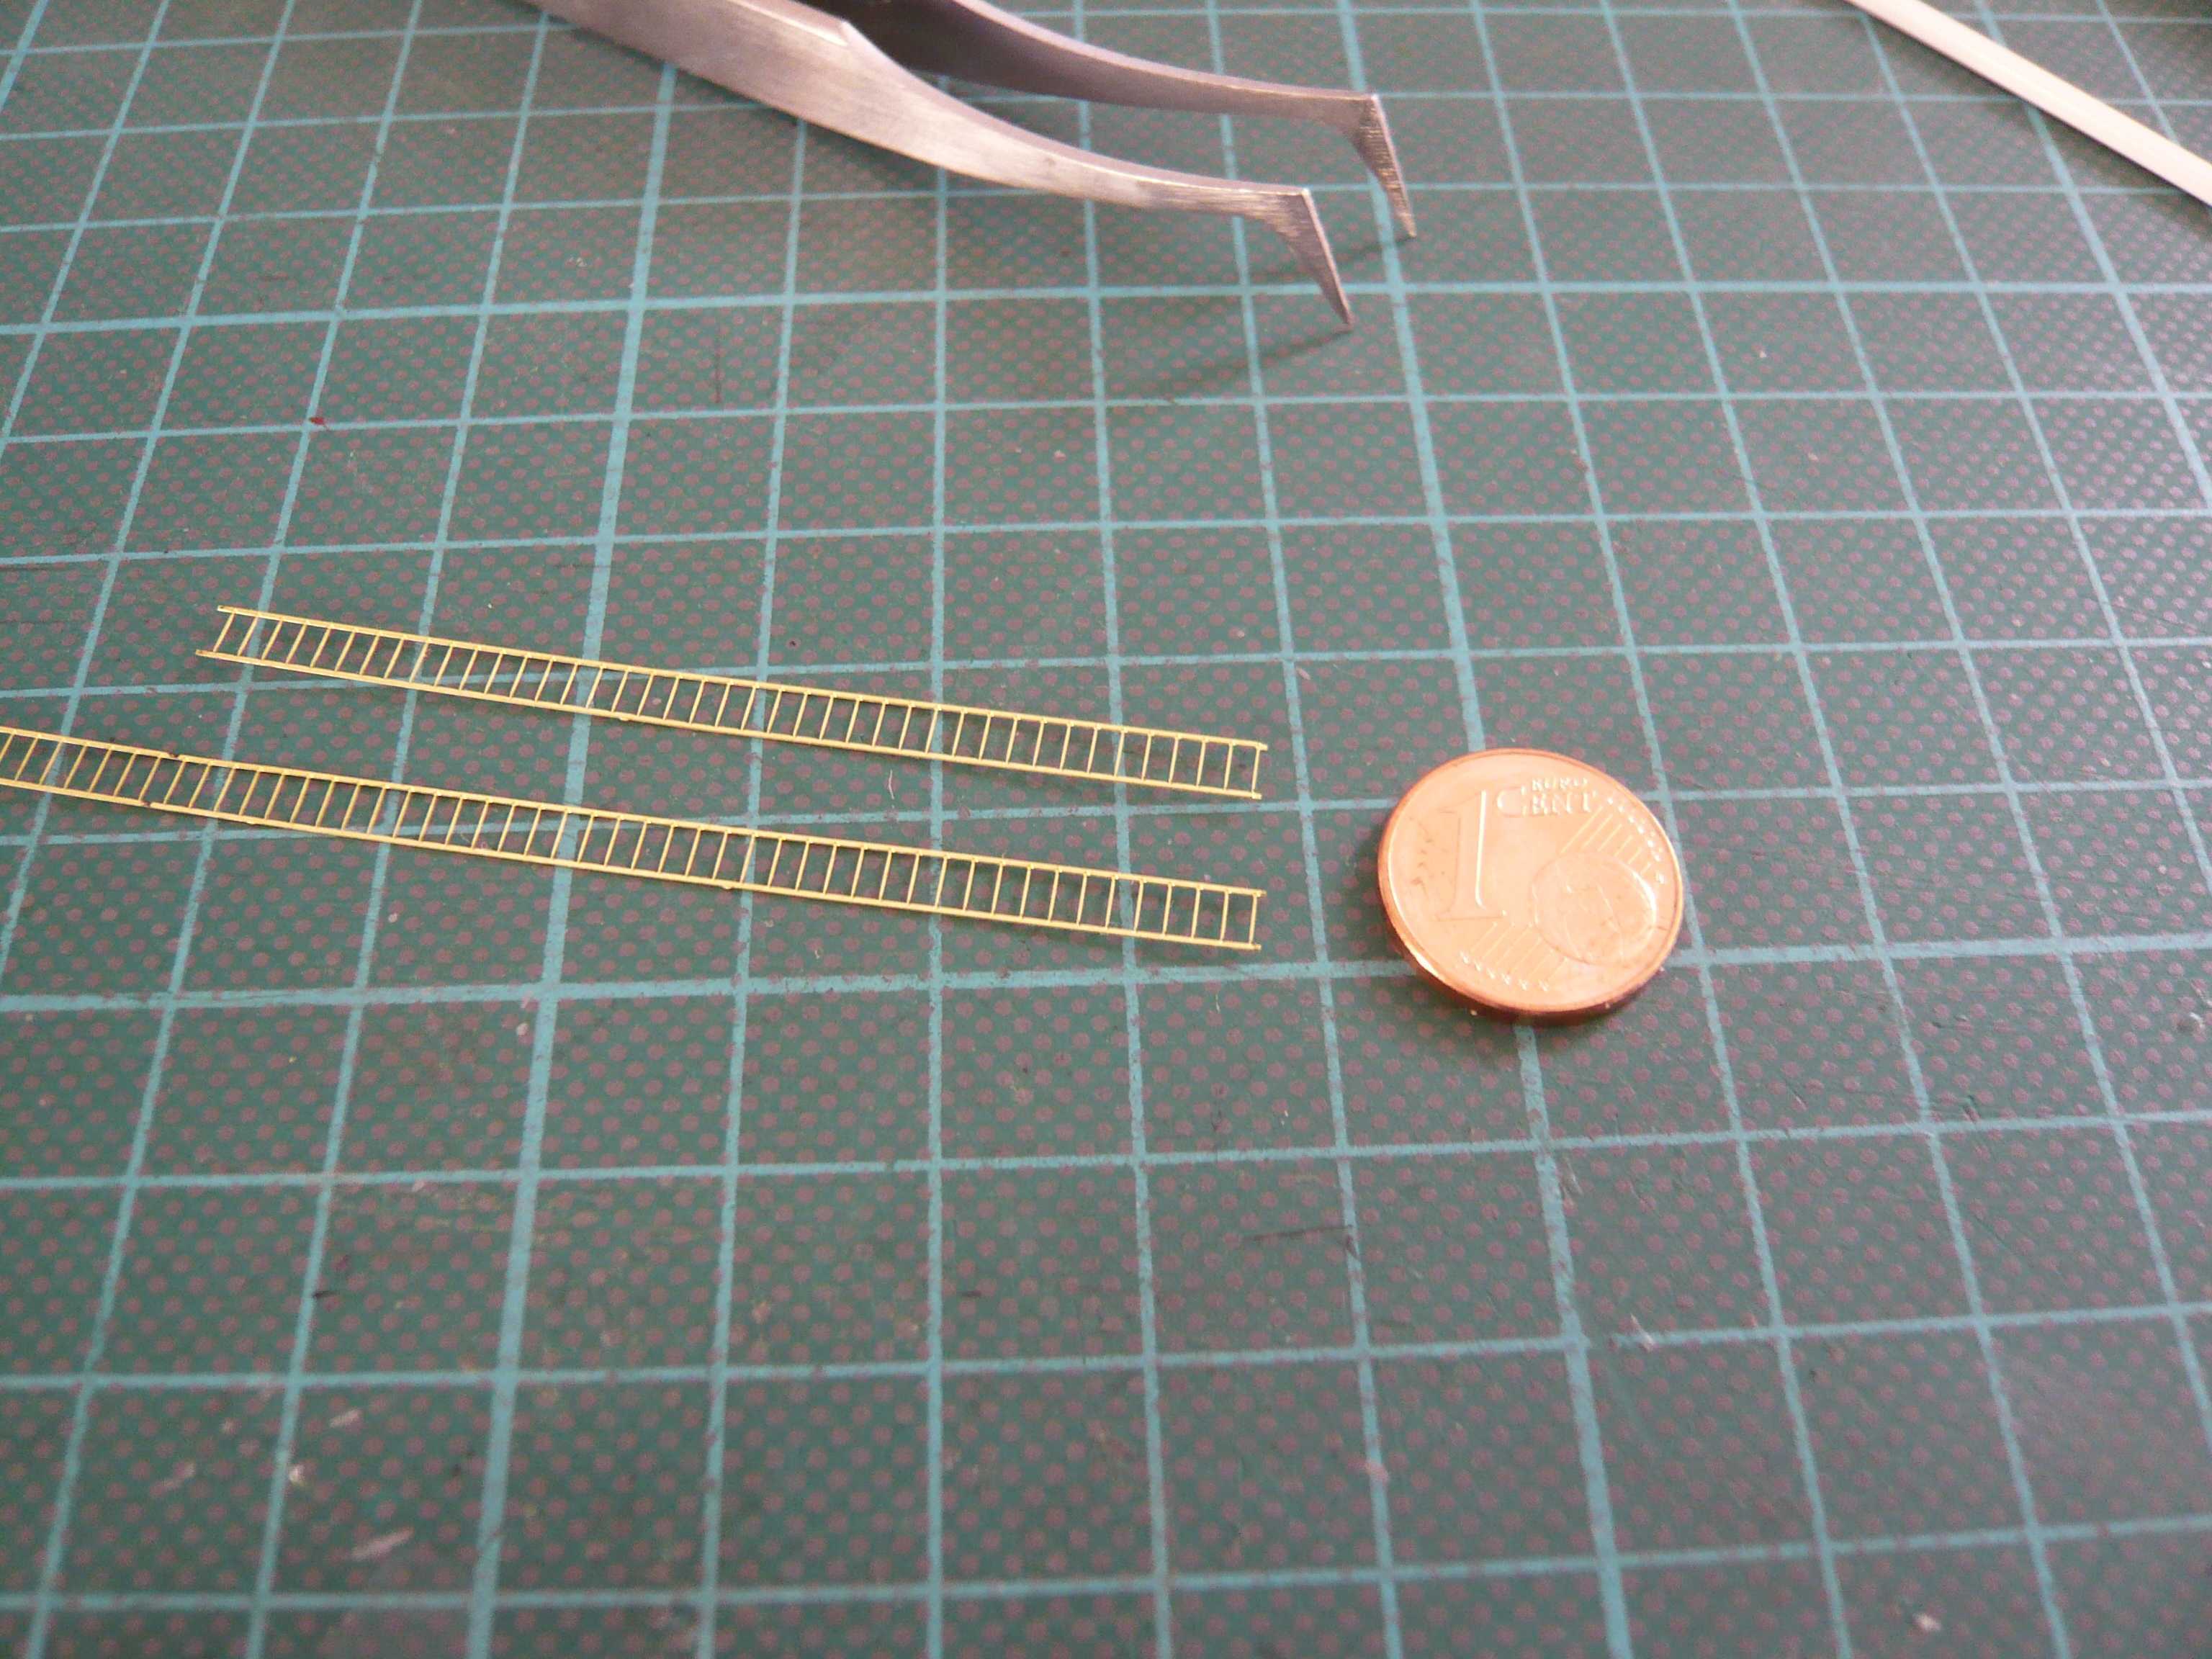 Now the two side bars must be bent upwards in each case from the right side at 90°. To do this go best a steel ruler on the side bar and then turns carefully the rest of the ladder. And then the same procedure once again on the other side, after which the ladder then looks so. 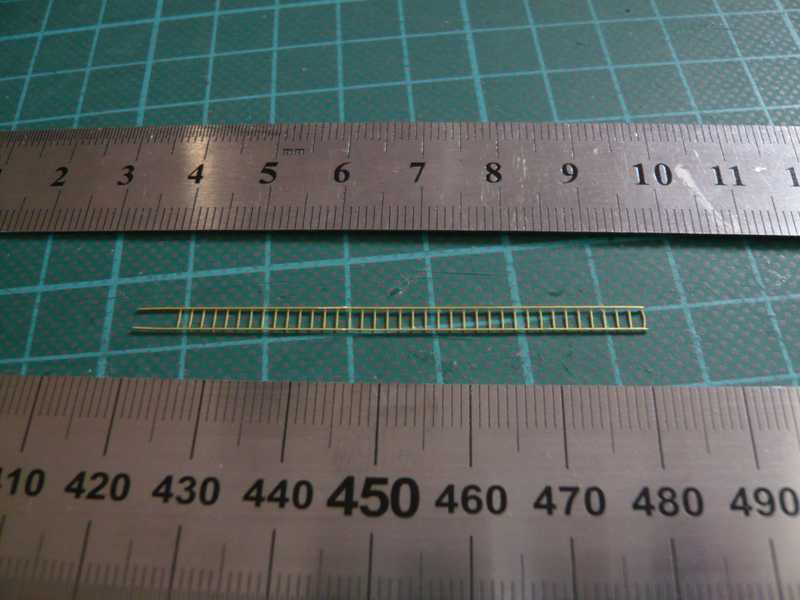 Only through the bend up the bars gets the ladder then also a certain stability, previously, these delicate structures are namely quite labile.  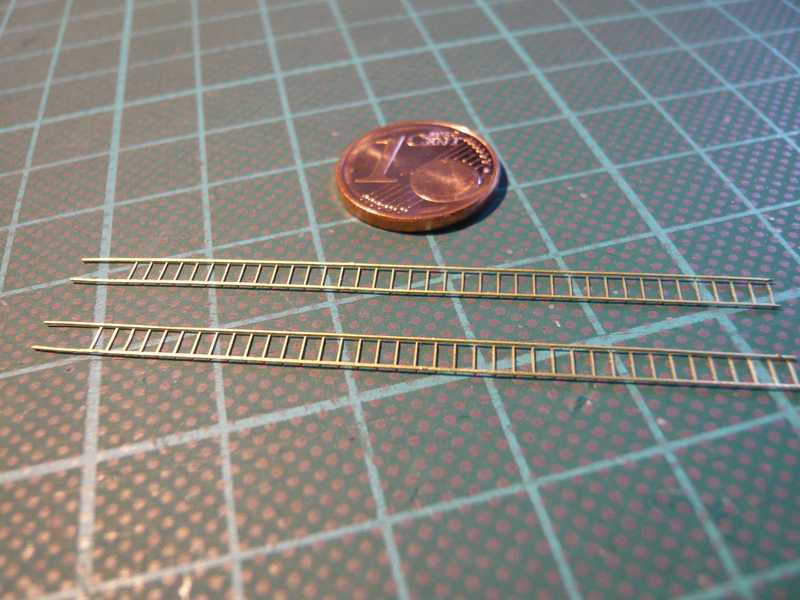 Next, I've cut out a part from the PE railings, which is to provide the feet and at the same time serve as a support for the ladder. 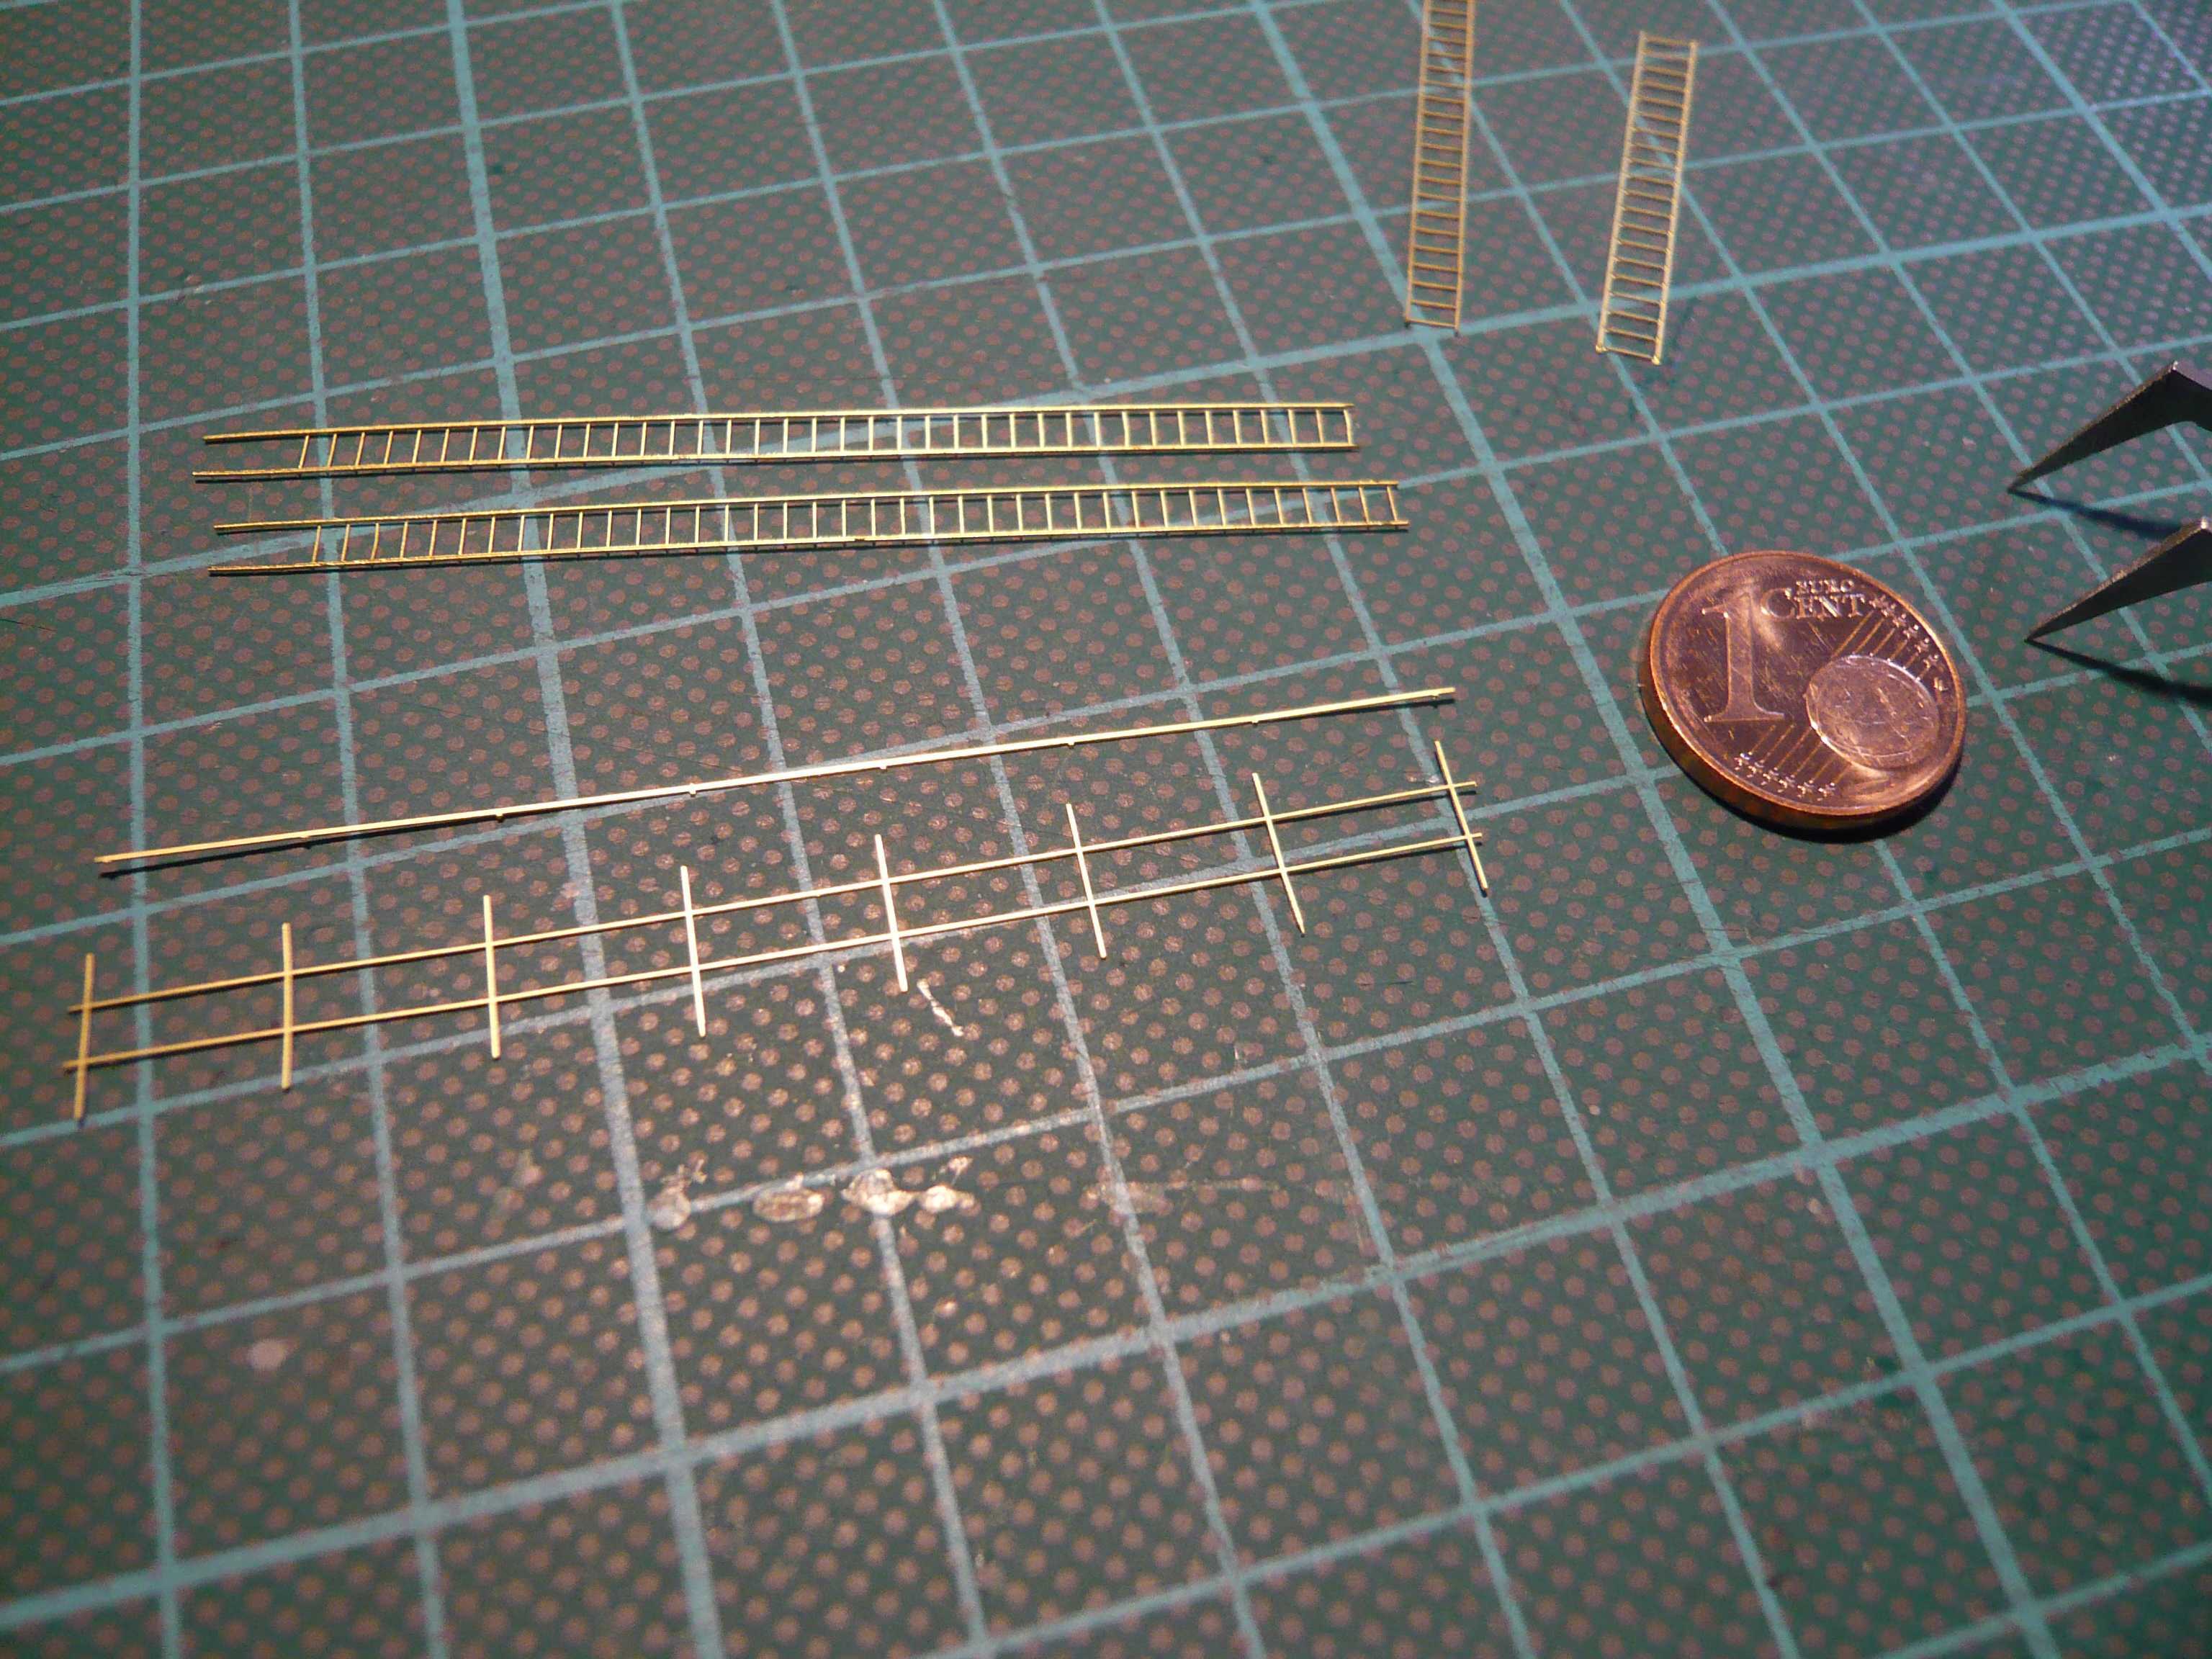 Now on this carrier I want to glue the ladder and then bend the feet, I just do not know if that also will work out as I imagine it.  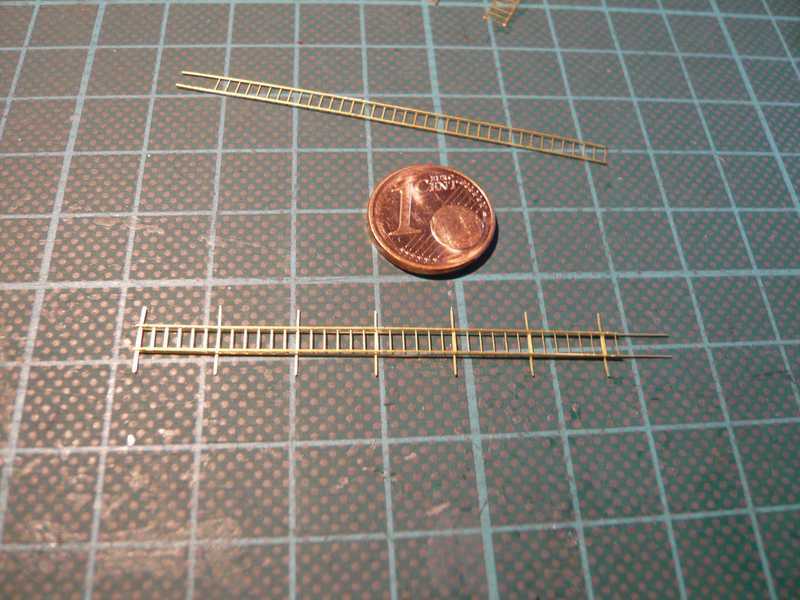 But for this procedure I need daylight, and therefore it will continue next time. 
__________________
Greetings from Germany Manfred Under construction: Launch Pad 39A with Challenger STS-6 (1:144) 
|
|
#332
12-27-2013, 08:22 AM
|
||||
|
||||
|
Looks great again Manfred, You've just about cought up to yourself. Now on with some lighting would look great!
__________________
OMG, I have finally discovered what's wrong with my brain: On the left side, there is nothing right, and on the right side, there is nothing left.
|
|
#333
12-27-2013, 10:44 AM
|
||||
|
||||
|
Good work Manfred
__________________
David........... Paper modelling gives you a happy high. currently building. c GAZ 51 ALG 17, wagon 111a. unex DH411 excavator and spitfire Mk 9
|
|
#334
12-27-2013, 04:19 PM
|
||||
|
||||
|
Thanks Rich for your nice words, yep, the show must go on.
Yeah, yeah, yeah, the Launch Pad with lighting ... 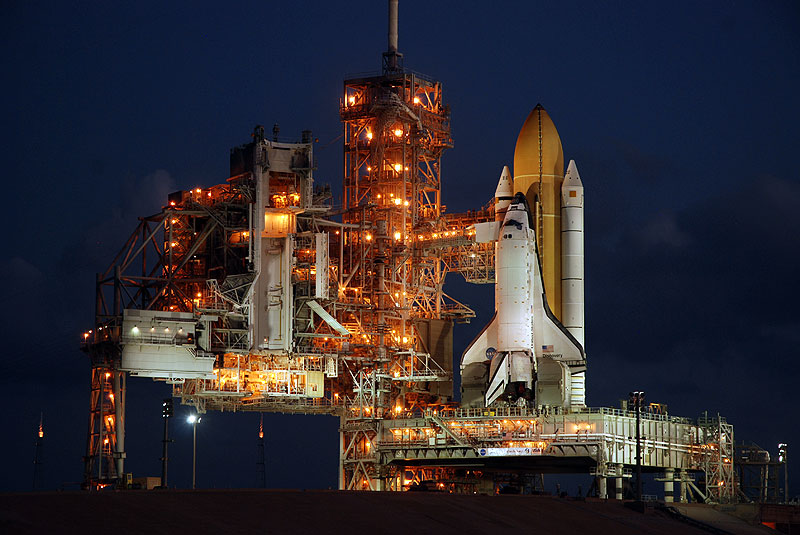 Source: NASA I fully agree with you, that would be the true challenge, but also adjoin to modeling madness ...  You won't believe it, but this crazy idea has fascinated me for quite a while since I've seen and admired your progress with the LED's on your outstanding crawler build.  Yep, the lighting would obviously be a spectacular chapter in my long-term project, quite clearly. And if I'm honest, in the meantime you crazy guy got me already infected with the virus lighting, unbelievable but true!!! And so I've thought, a little bit on the side for a change is allowed, and thus I have started to deal more and more with the chapter of lighting the Launch pad. Well, and then I thought about whether or not I just should start an attempt to light the MLP and maybe later times the Launch Tower with tiny SMD LEDs, although the subsequent installation of the LEDs under the MLP Blast Shields certainly should not be without any problems. However, since this chapter is not easy and still uncharted territory for me, so go for it for some time, so the rest of the TSMs will have to wait and see.  And in this video one can see such nice tiny LEDs, which these days are apparently no more a rocket science. 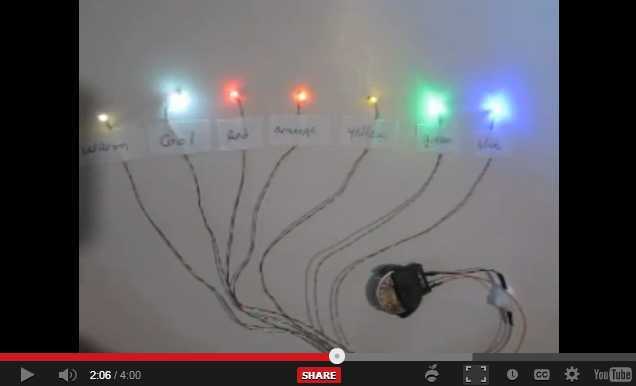 And so slowly it began to tingle in my fingers ...
__________________
Greetings from Germany Manfred Under construction: Launch Pad 39A with Challenger STS-6 (1:144) Last edited by spacerunner; 10-05-2016 at 10:29 PM.
|
|
#335
12-28-2013, 05:02 PM
|
||||
|
||||
|
Hello all together,
boldly ventured, is half done, and therefore I have also razed me on this unknown territory to work, or rather, taken the first steps.  First I once tried the LEDs, and as I have already learned clamped precaution with a series resistor (250 Ohm) to a normal flat battery (4.5 V). And lo and behold there be light: And there was light! And my first light is burning!  For my taste, the LED light is very flashy, but that will hopefully be more subdued with the lampshade, are just LEDs and not bulbs. And as for the color, I have probably already try some more, possibly in direction to warm white with a bit of coloring, since 1983 at the STS-6, were certainly quite normal bulbs. Here the LED is in a gray cover, but is inserted only once temporarily. Black or metallic covers would certainly be better, because this light pretty shines through here.  And here I then tried five LEDs on the MLP over the Valve skids to see the effect. Mind you, these are my very first baby steps in this area, but which I am completely satisfied initially.    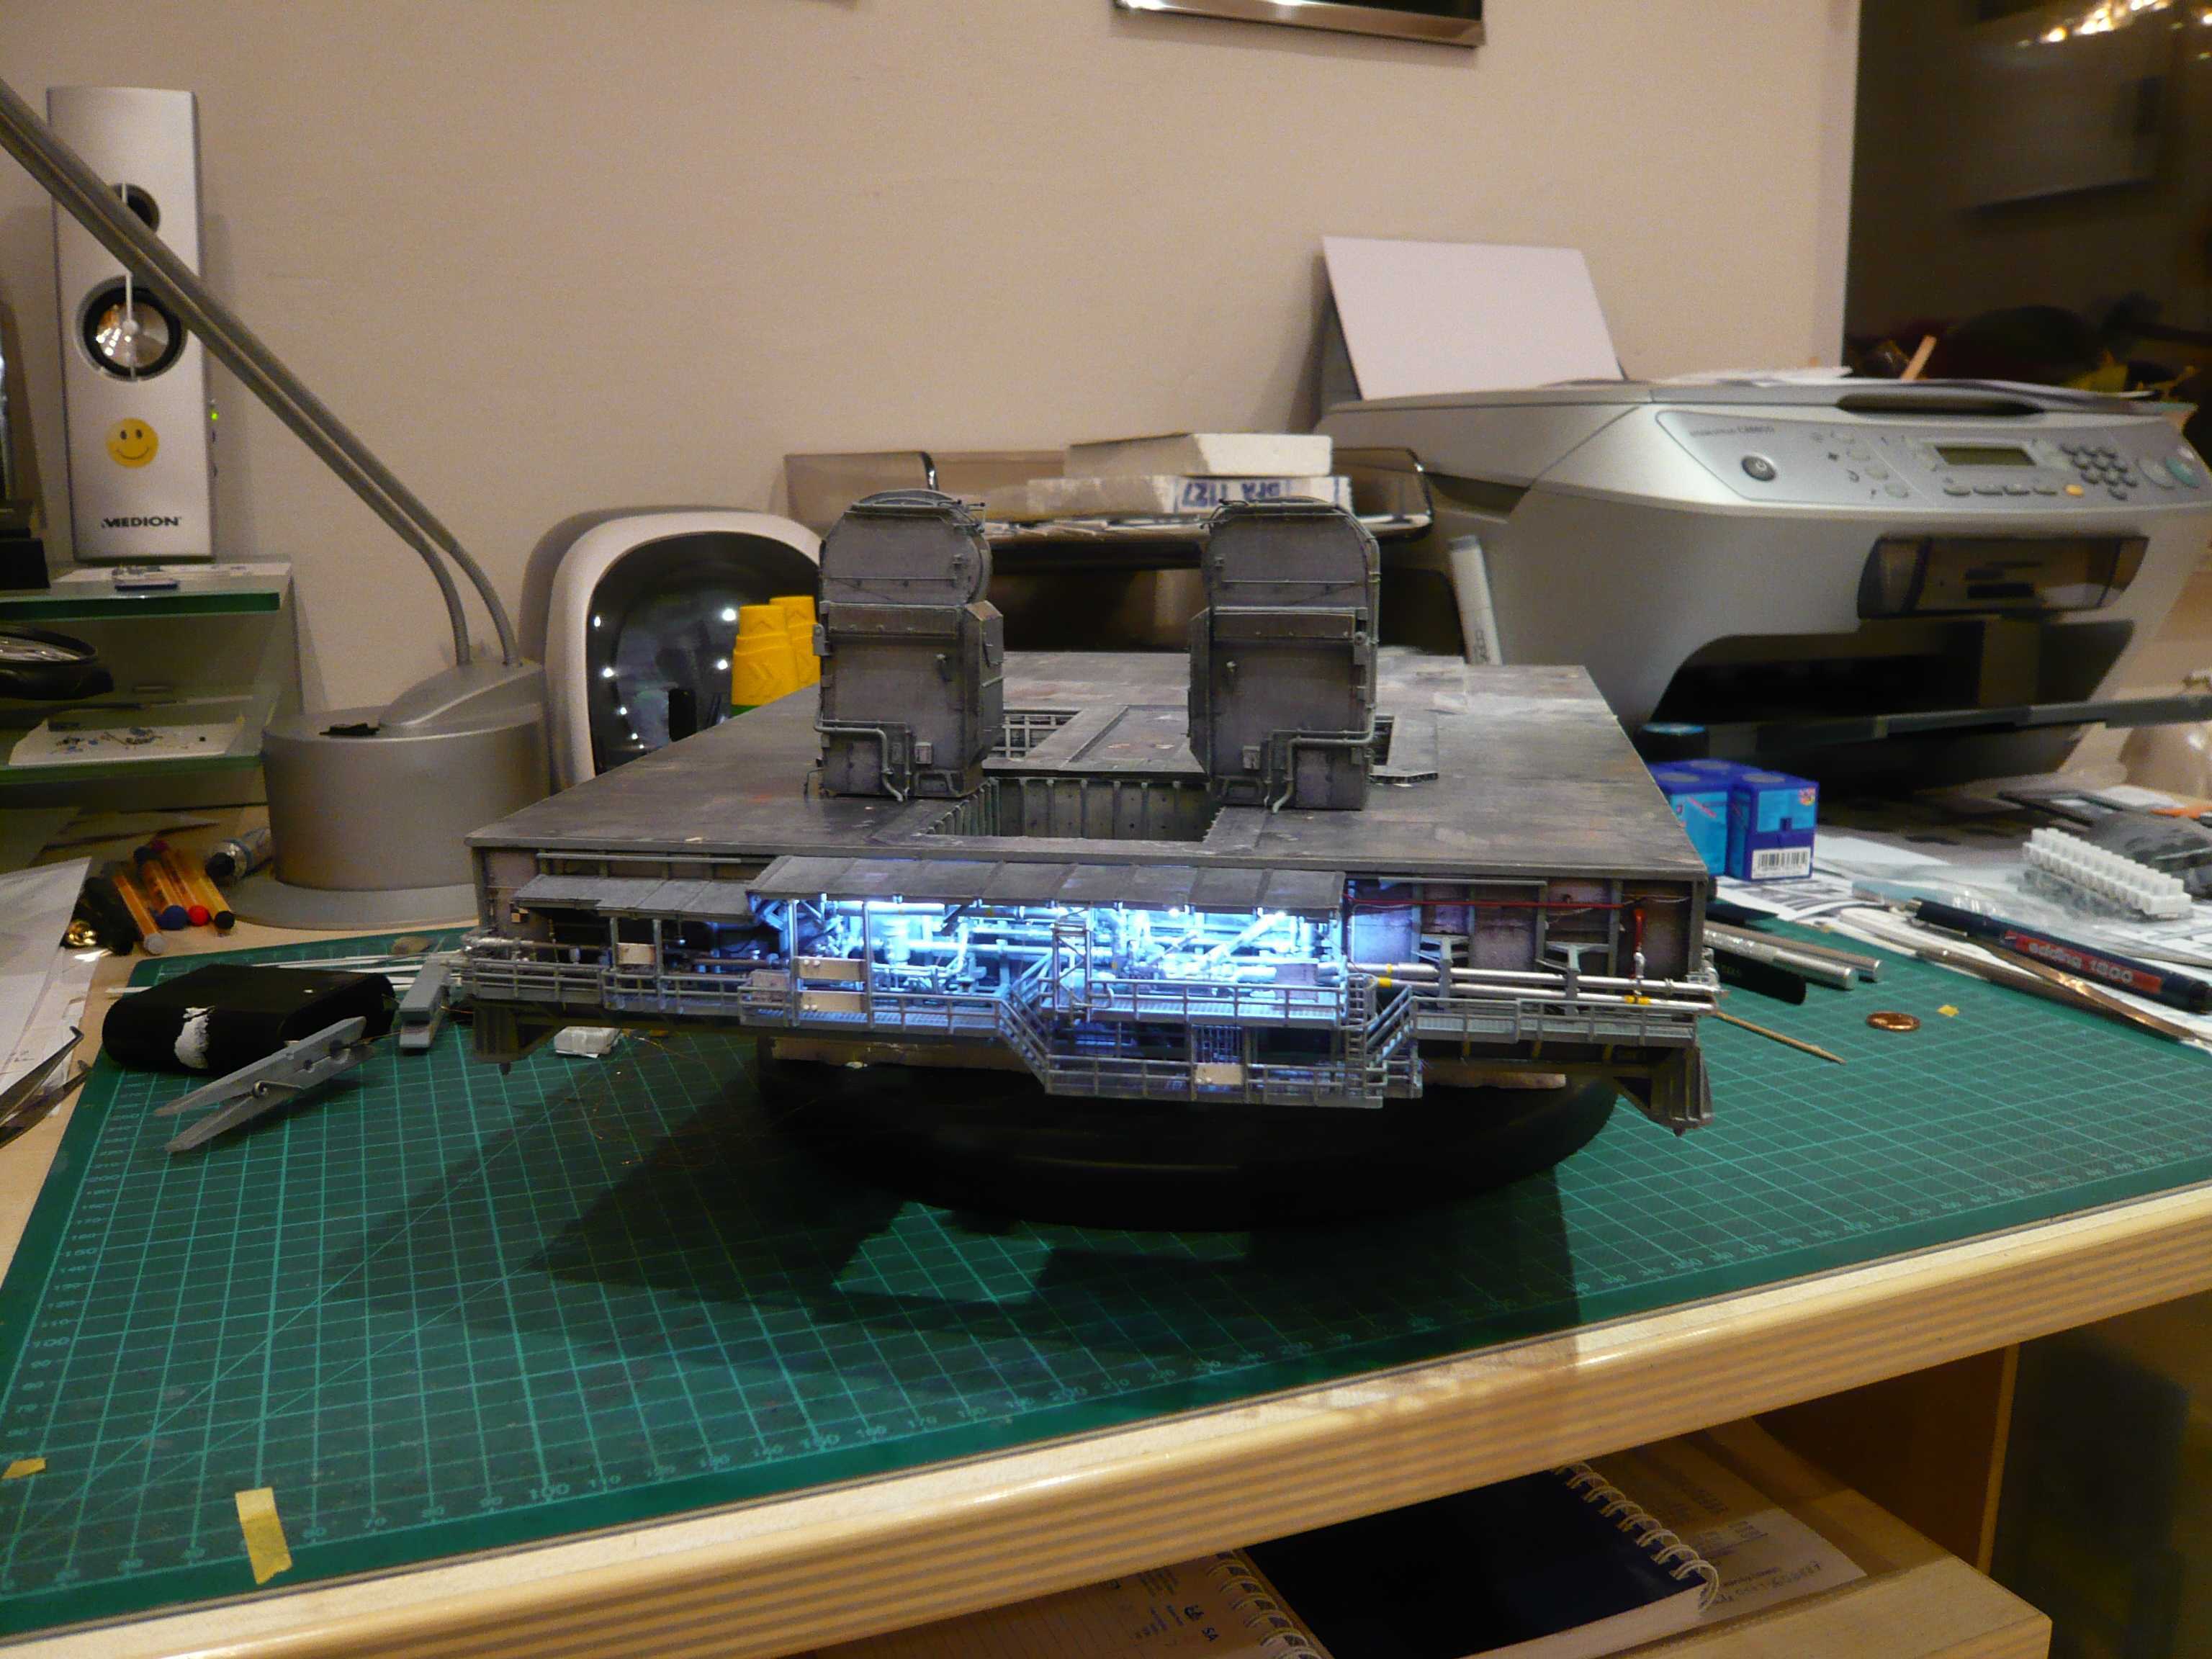 As I said, the LED light is still too bright to me. But in reality the light is not so glaringly, especially not so blue. That must lie at the Digicam which alienates the light somehow, or maybe I have to choose a different camera setting. And that is also for a fact that the LEDs were only once hung so provisionally under the Blast Shields, but the threading of thin wires (0.1 mm) was difficult enough. 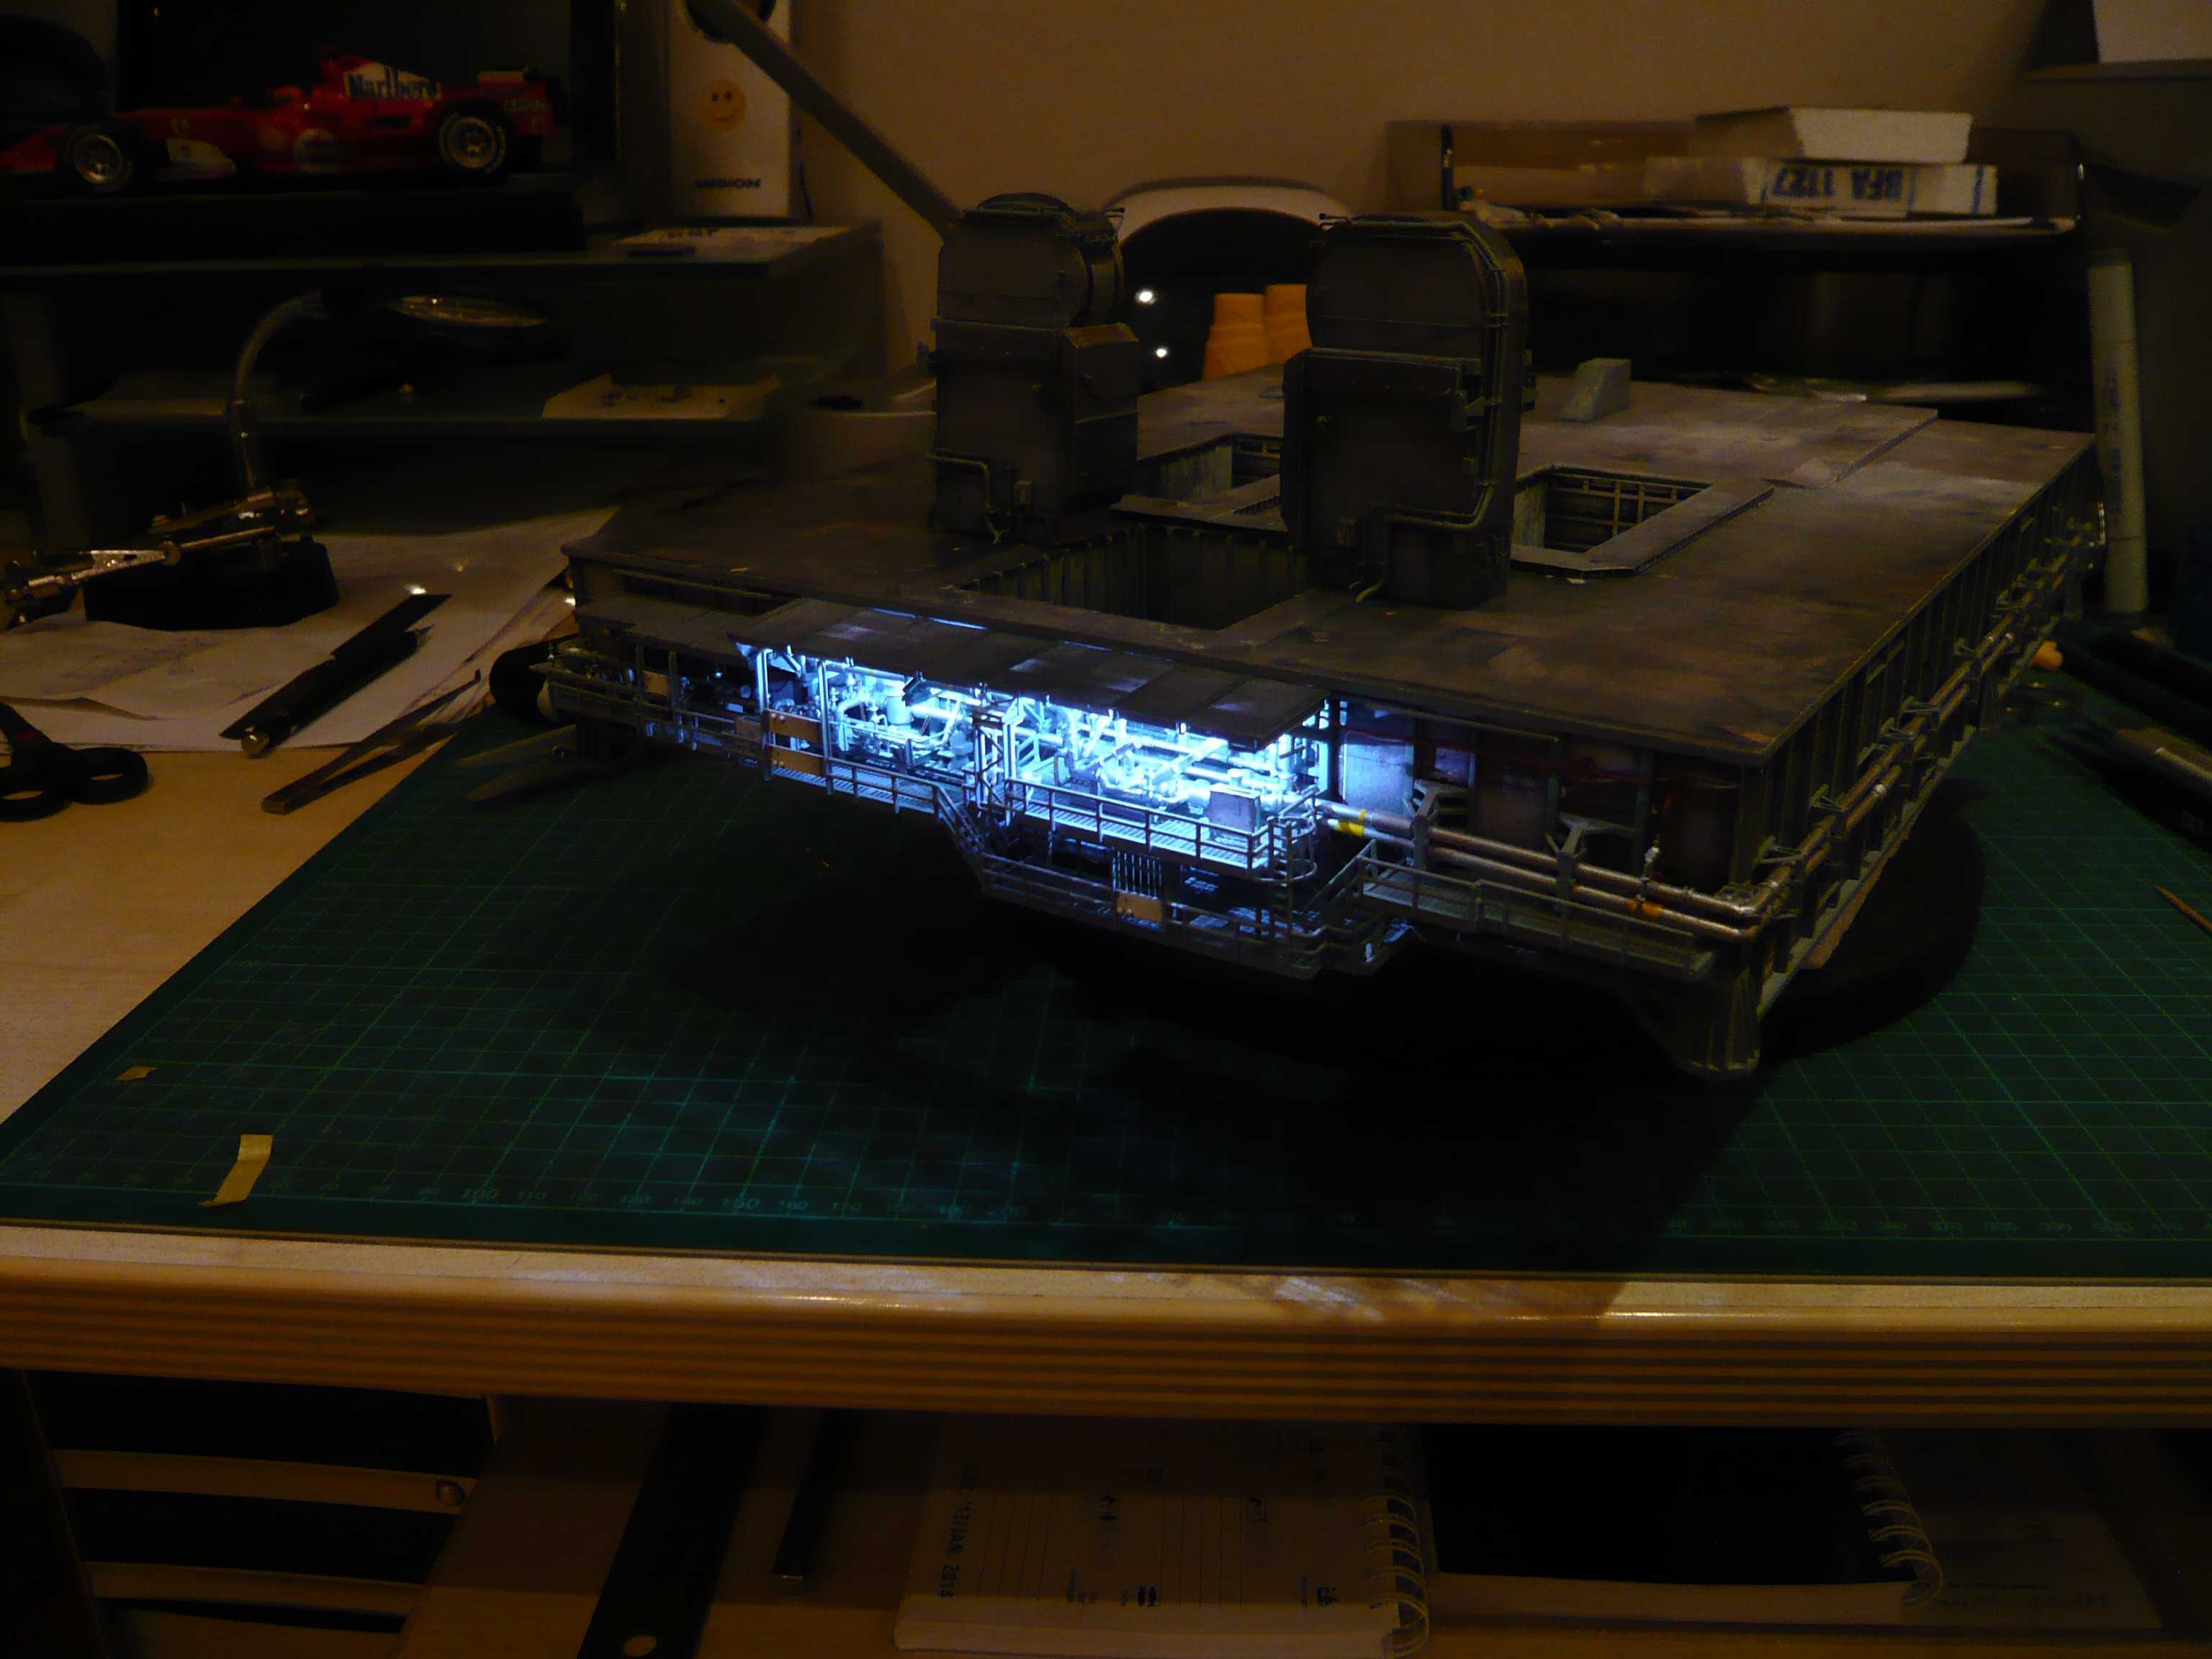 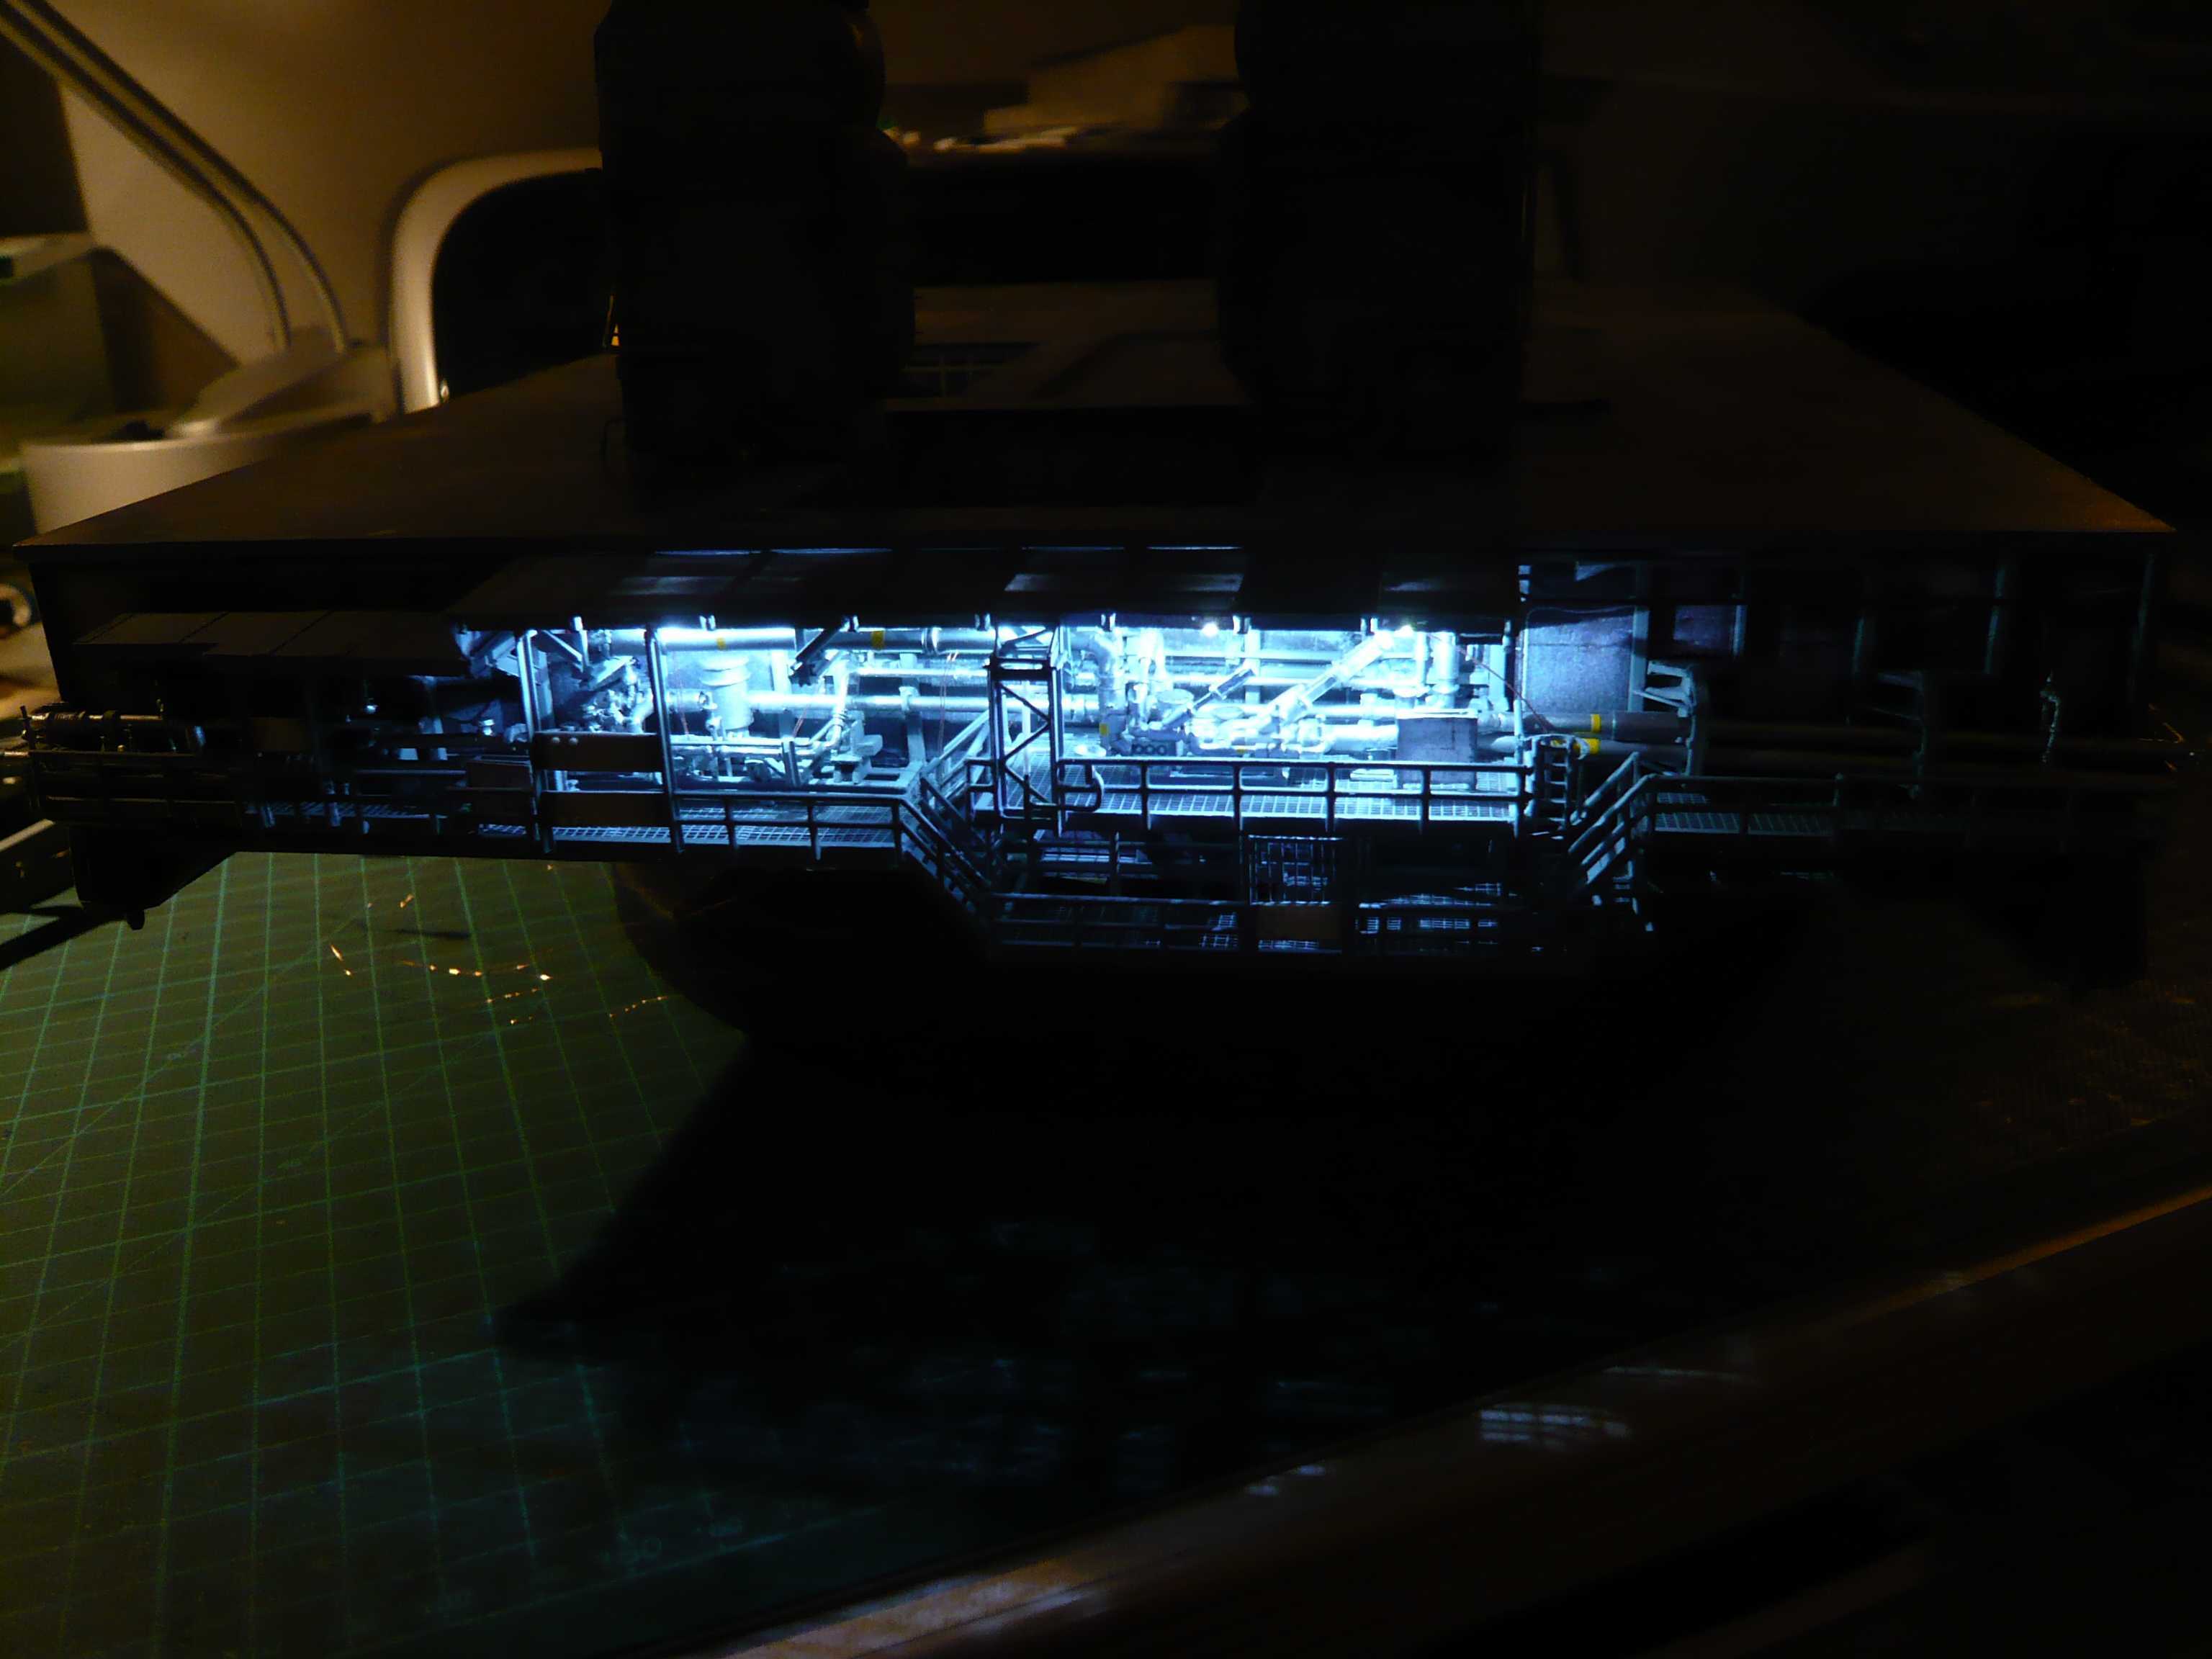 Since LEDs have not had lampshades, light naturally radiates far too heavily on the environment. Secondly, I hope so, that the cold whiteness can be adapted towards a warm white like incandescent bulbs yet, maybe by dipping of the LEDs in epoxy resin so that it then looks something like as in this picture here. 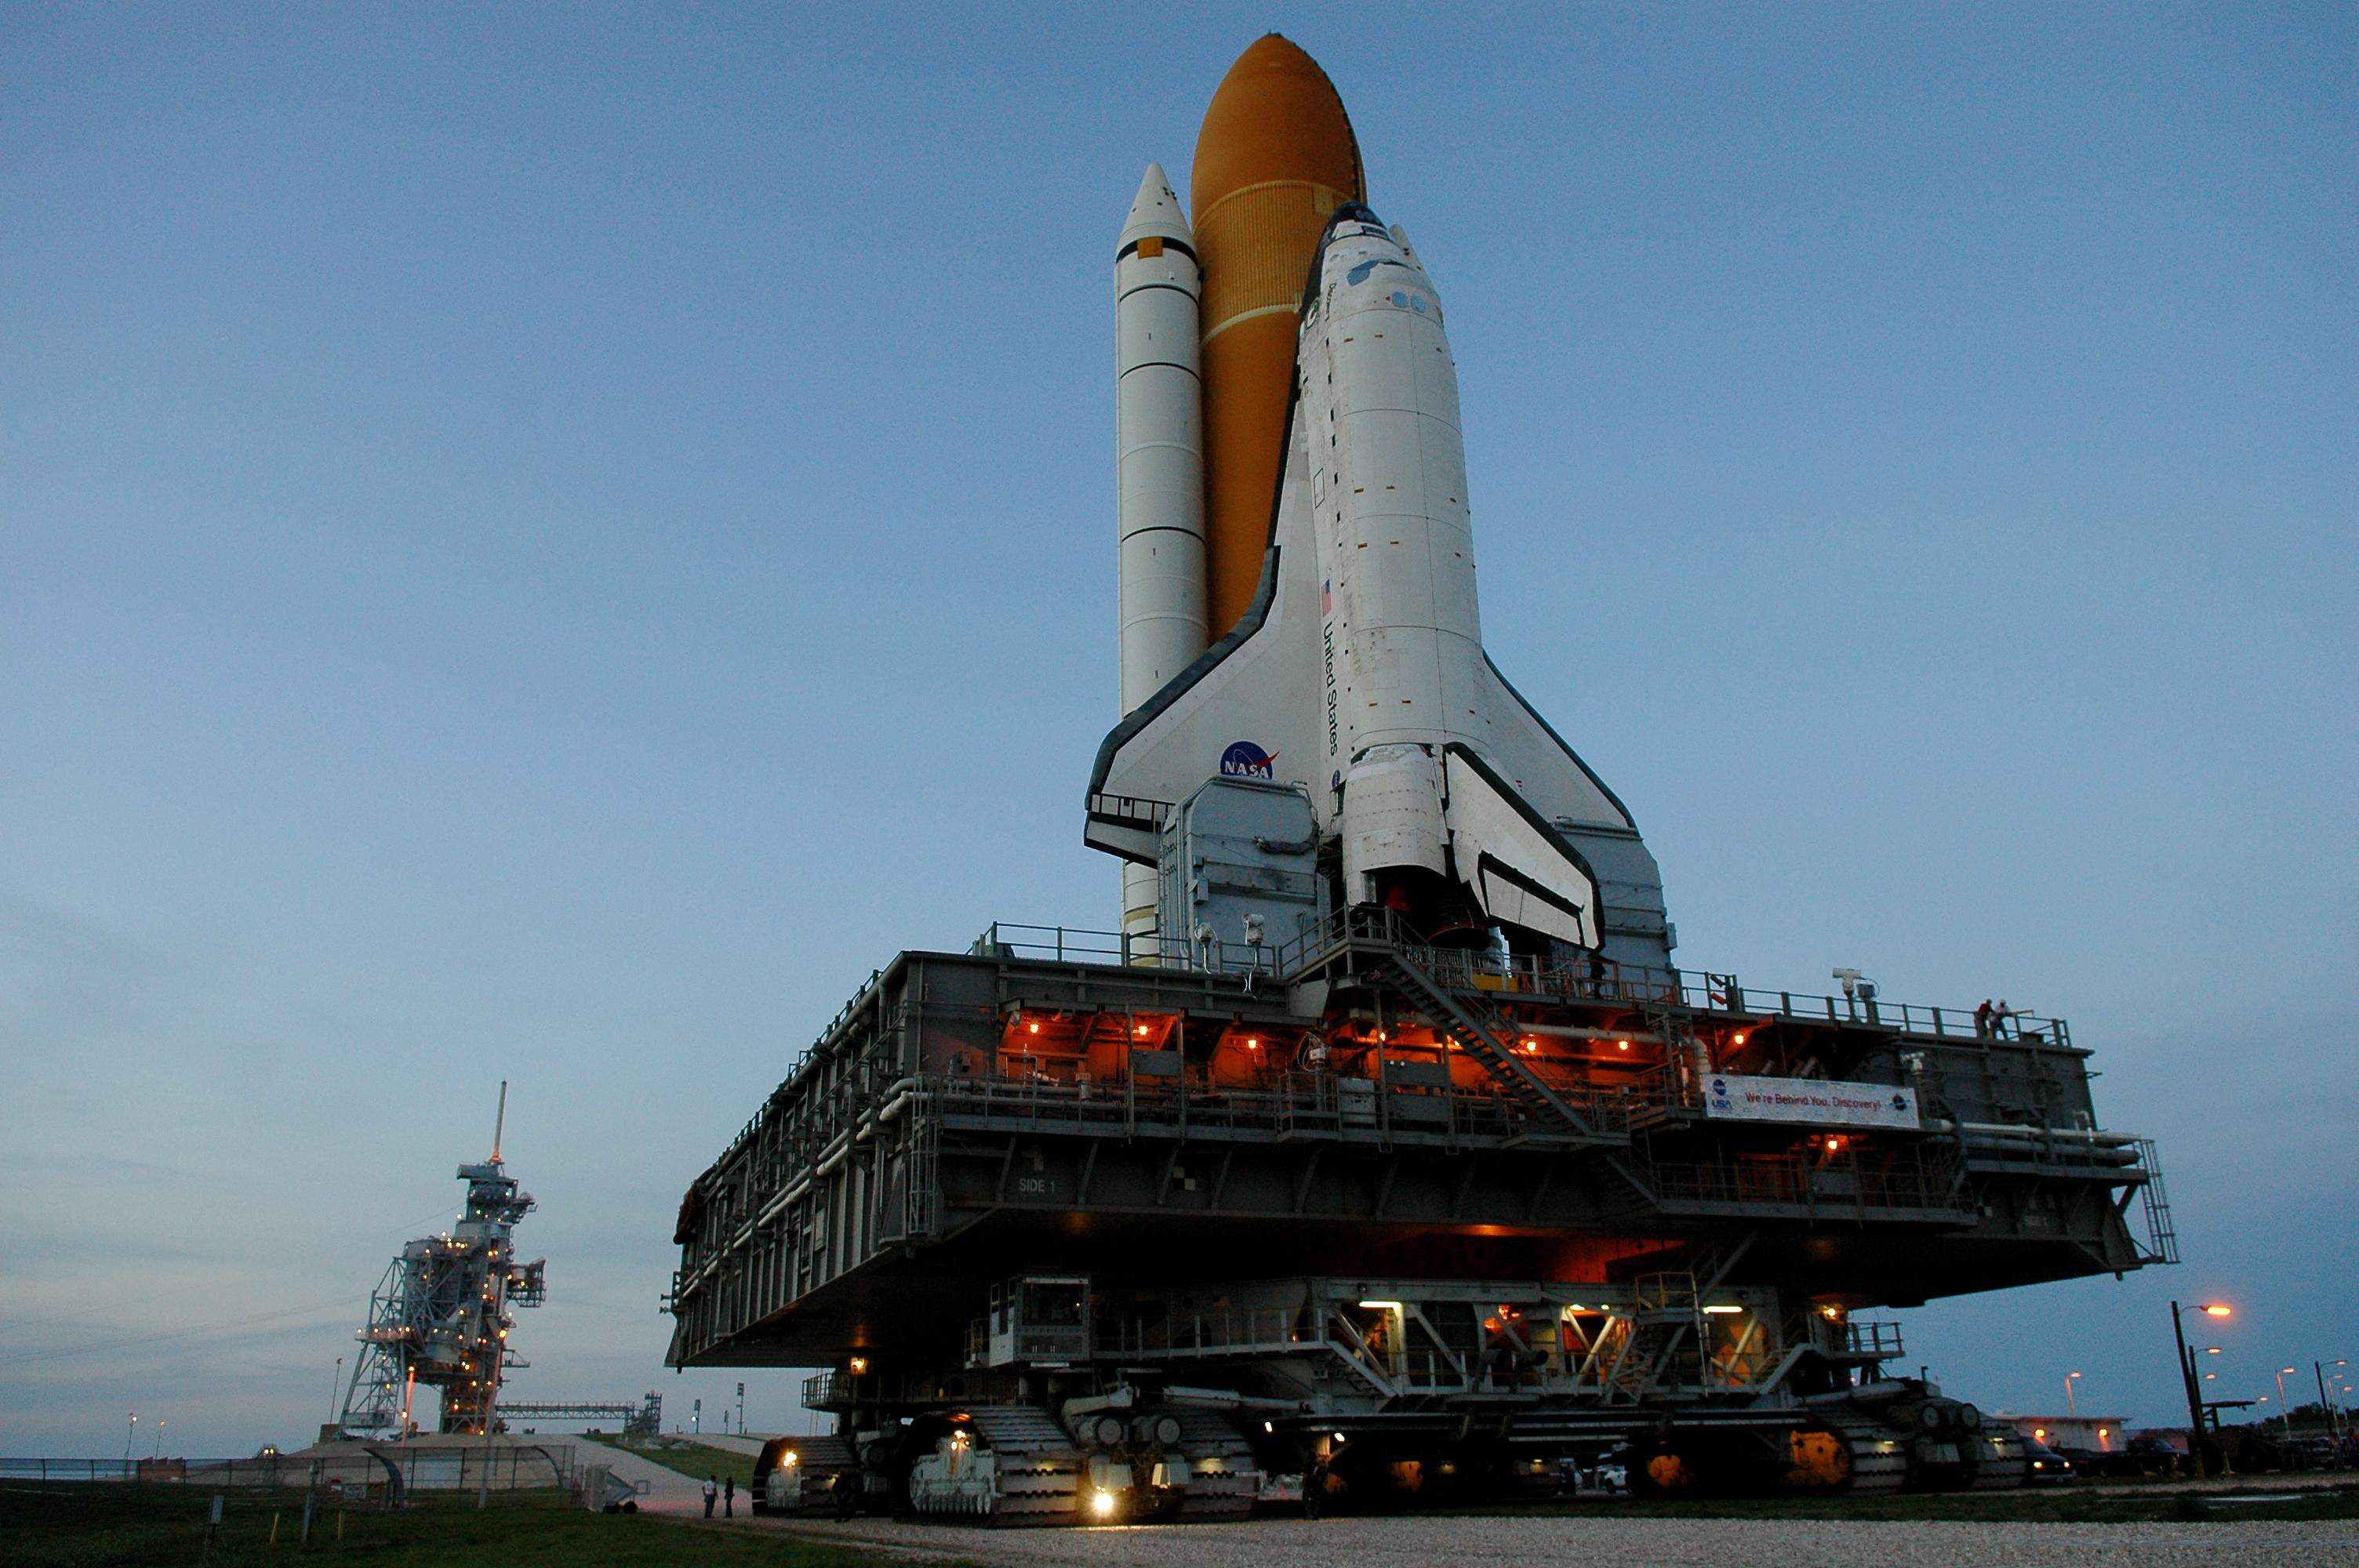 Source: NASA That should have been first time as a first small taste! Since one can certainly improve a lot, but all beginnings are difficult.
__________________
Greetings from Germany Manfred Under construction: Launch Pad 39A with Challenger STS-6 (1:144) Last edited by spacerunner; 10-05-2016 at 10:32 PM.
|
| Google Adsense |
|
#337
12-29-2013, 03:18 AM
|
||||
|
||||
|
Thanks David for your nice words, these are my humble first steps on a long road ...
And so it all looks in daylight. 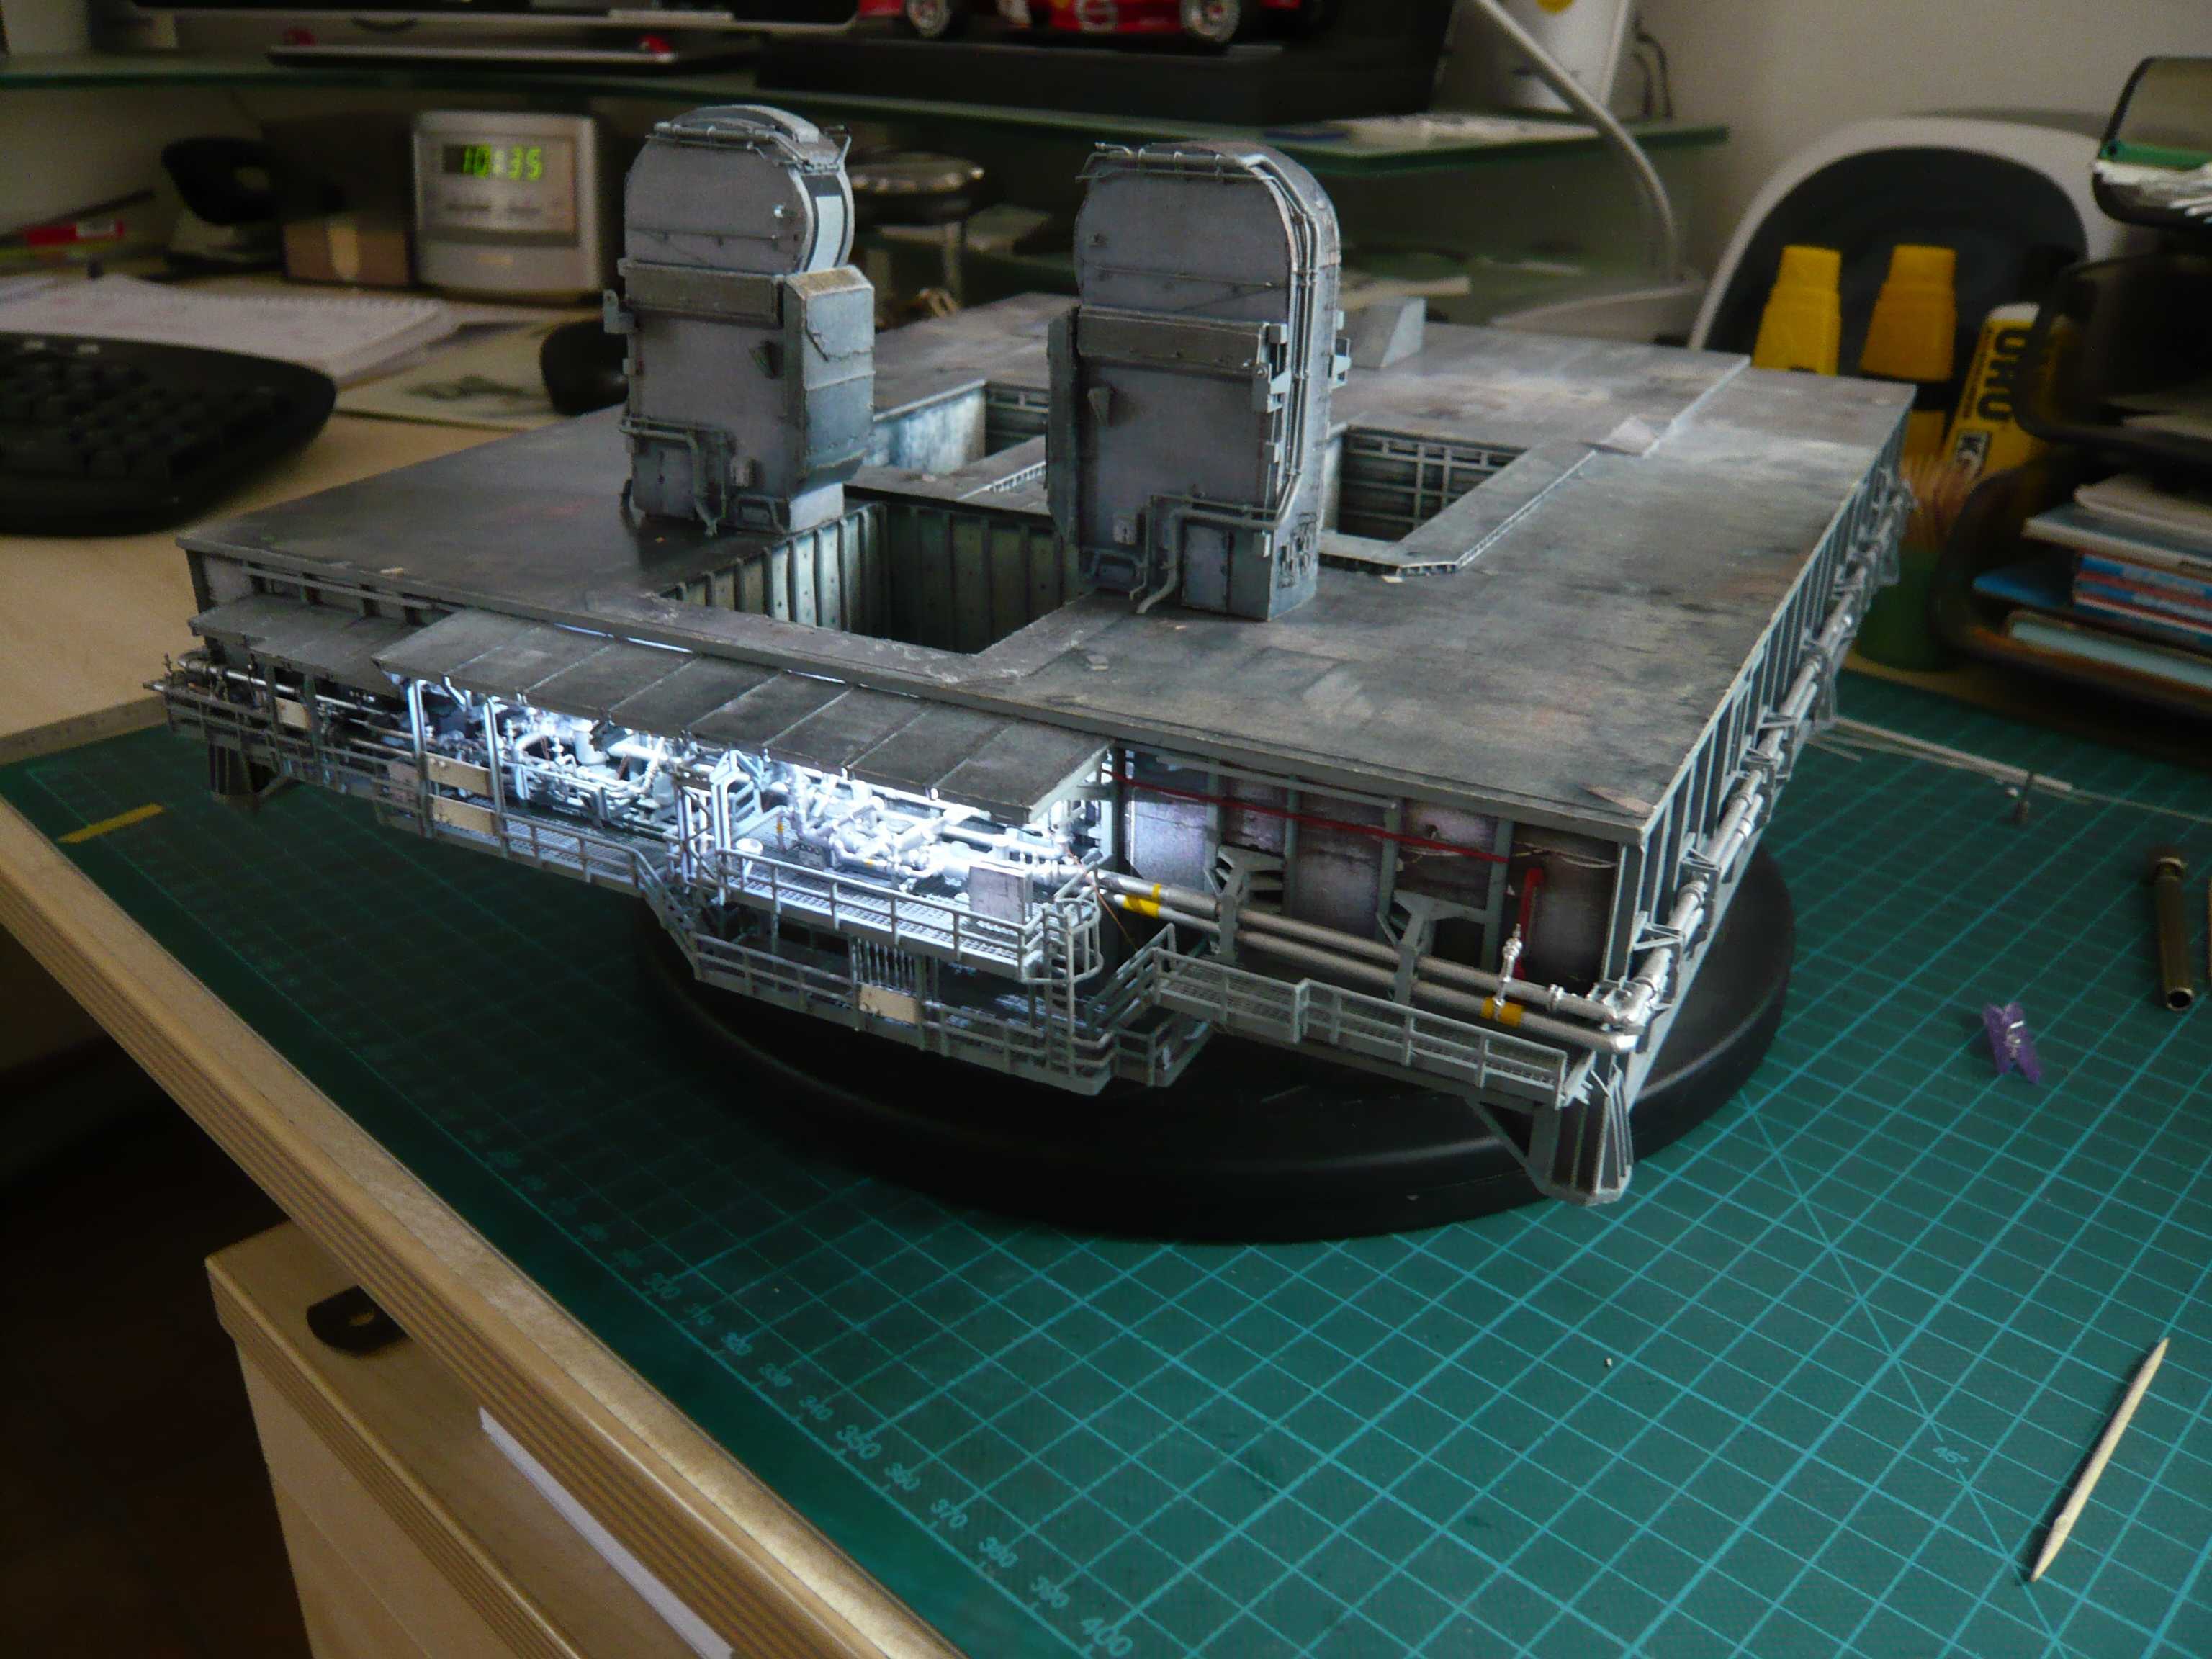 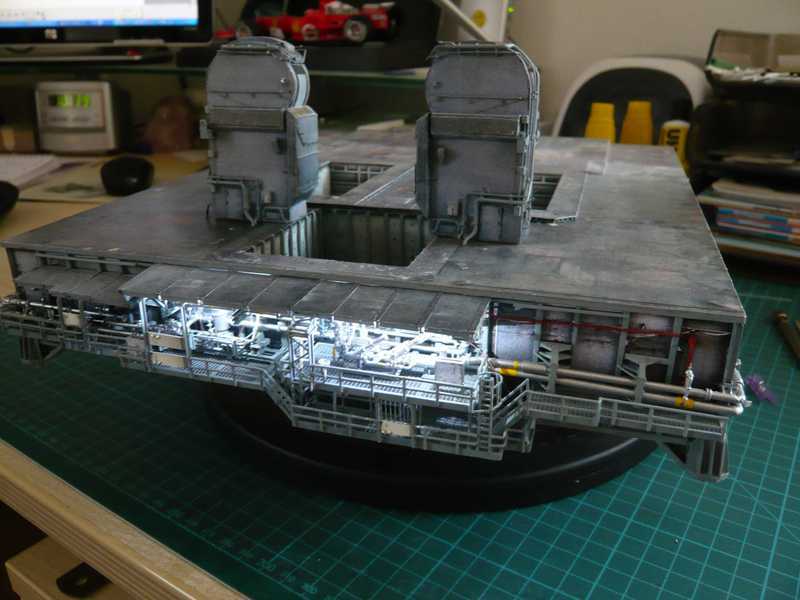 But as I said, in reality the light is not so glaringly. What else is added, the effect is that the silver-colored pipes and fittings Valve skids the bright white still fairly reflect. But we'll get everything even a little bit better, I hope so. Now I want to experiment with other warmer white colors and with the lamp shades on, then the light should not shine through so up at least.
__________________
Greetings from Germany Manfred Under construction: Launch Pad 39A with Challenger STS-6 (1:144)
|
|
#338
12-29-2013, 08:35 AM
|
||||
|
||||
|
That's really a step into another dimension....
great! I think over to illuminate my ISS....
|
|
#339
12-29-2013, 08:54 AM
|
||||
|
||||
|
Thanks Michael for your compliments
 and Welcome to the club of the illuminators. and Welcome to the club of the illuminators. I hope this is a real intention for the new year and not just a joke!
__________________
Greetings from Germany Manfred Under construction: Launch Pad 39A with Challenger STS-6 (1:144) Last edited by spacerunner; 10-05-2016 at 10:24 PM.
|
|
#340
12-29-2013, 09:32 AM
|
||||
|
||||
|
Can't wait to see the construction of the sound suppressors.
__________________
Take the red pill and see how deep the rabbit hole goes.
|
| Google Adsense |
 |
|
|


 Linear Mode

