


|
|
|
#31
 09-04-2014, 10:26 AM
|
||||
|
||||
|
Looking good so far
 watching with interest, watching with interest,NH78
__________________
Joshua 
|
|
#32
09-04-2014, 03:27 PM
|
||||
|
||||
|
Quote:
Quote:
And now more progress on the capsule bottom end...Mostly photos with commets on them, but you will see the concept right away.This is made from parts from Kens model I just printed them again and bonded them to black paper and inserted them into the outer rim and staggered the joints and provided an overlap for gluing, this really helped to make the shape solid and provided a lip for the compartment floor to sit in. The former in the last two photos is only temporary to hold the shape and will have to be removed when the ring is glued on. The ring is not substaintial enough to self support while i finish this part. So it will be the last item glued on. I am pleased with the overall result at this time...    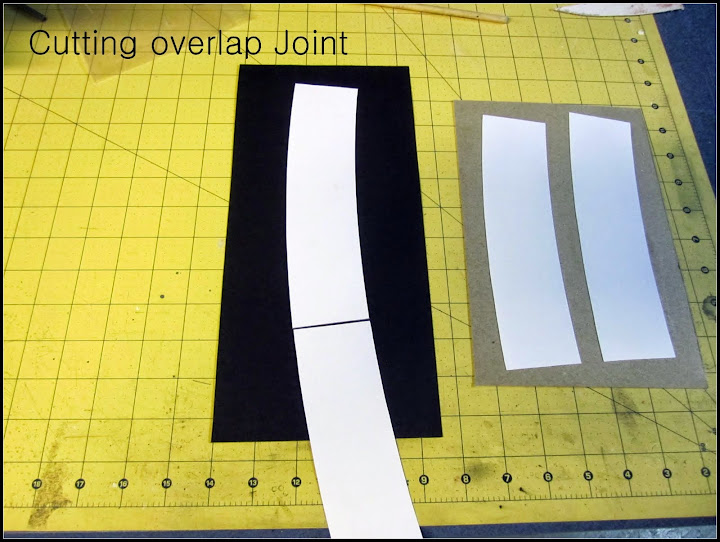 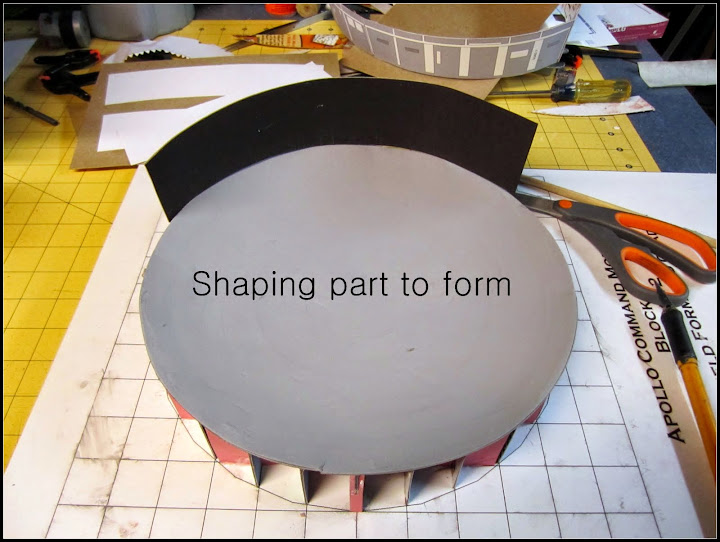 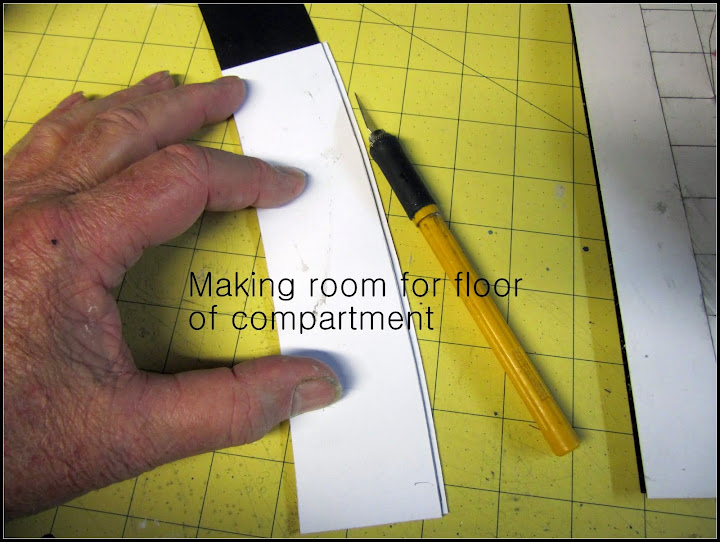    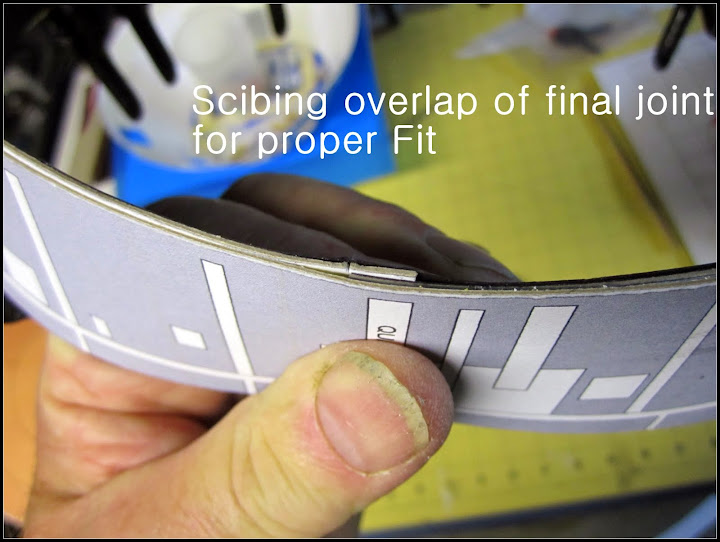 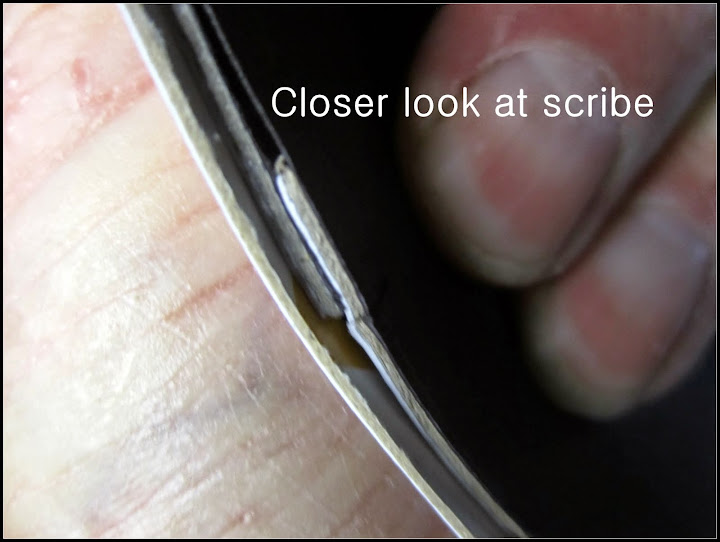  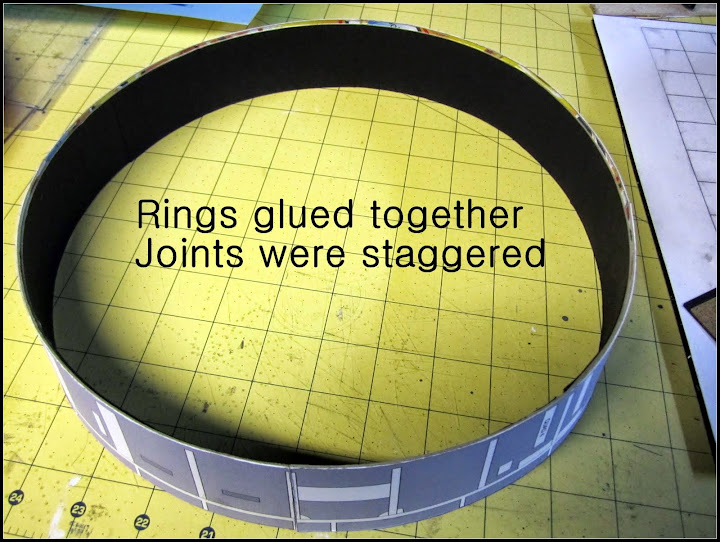 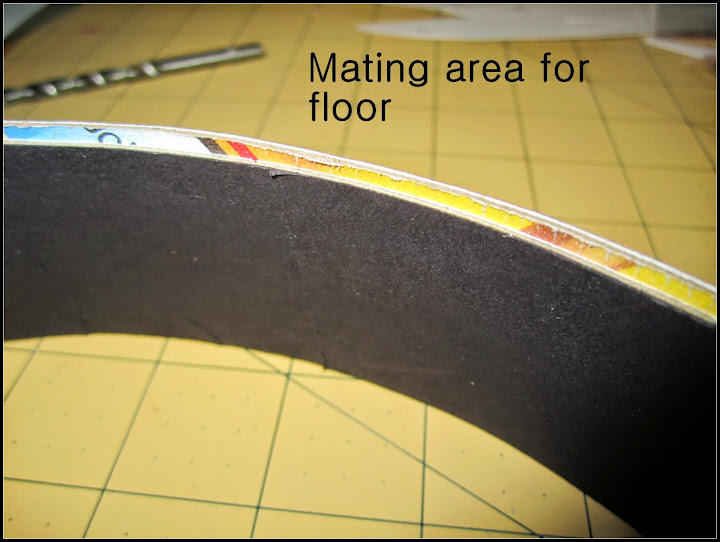    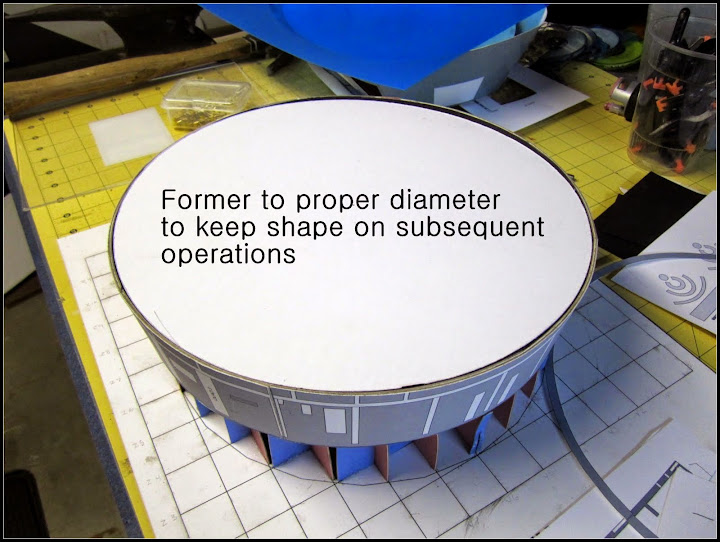 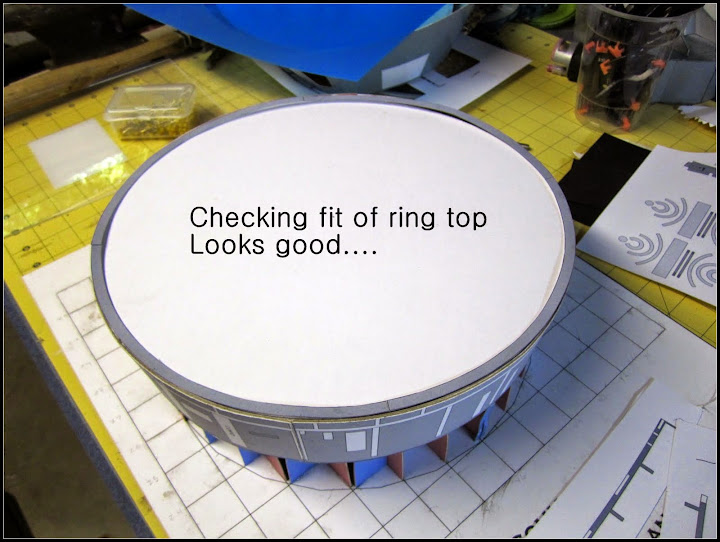
__________________
Mike Dixon Anything in paper is fine with me
|
|
#33
09-14-2014, 09:27 AM
|
||||
|
||||
|
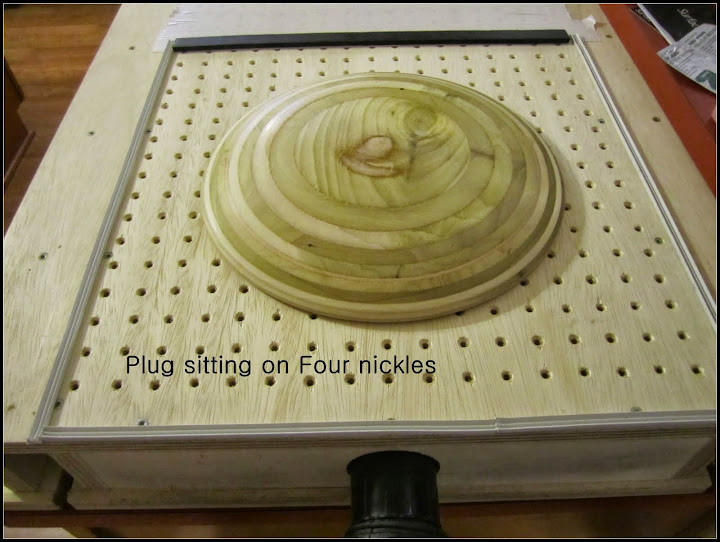
Vacuum formed heat shield
So I made a wooden plug for the heat shield, and then vacuum formed some .020 polystyrene sheets into the heat shield. I am going to up the thickness to .040 and also .060 to get a stiffer product. So I will show those later when I get the stock in hand. Meanwhile here is the first attempt at this shield. I am very happy with the outcome at this point.
      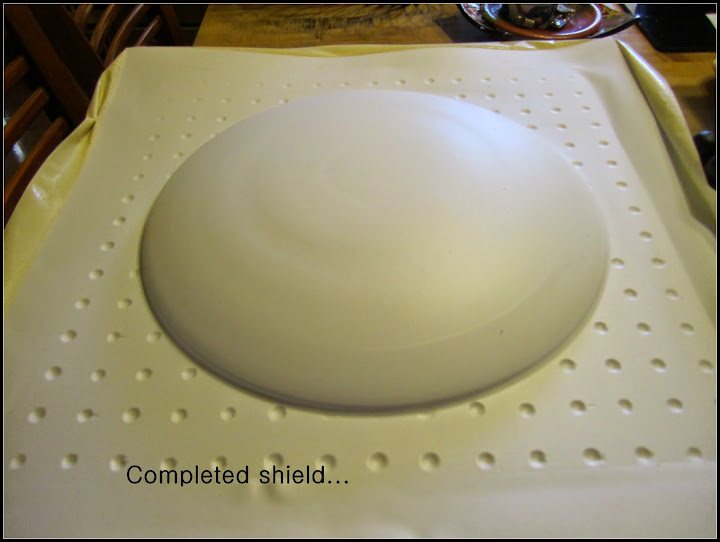   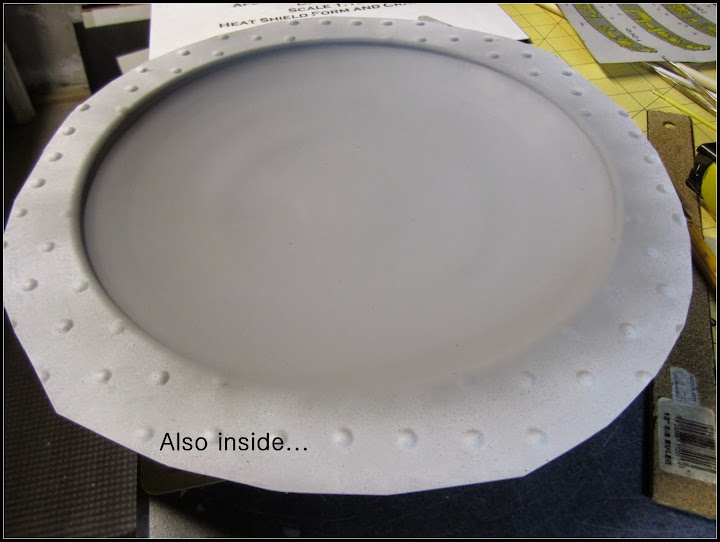  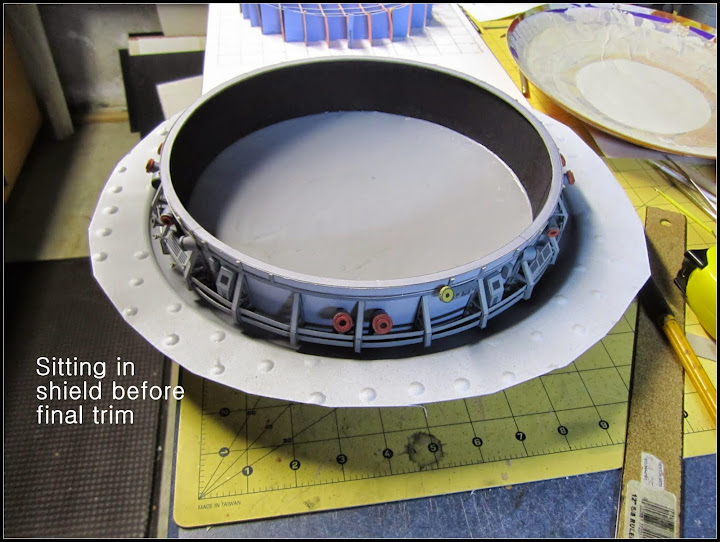     This was a perfect fit to Kens model as built from the downloaded sheets. I was not happy with the attempts I made at building the paper shape, so I am going for a hybrid model. Apologies to paper purists
__________________
Mike Dixon Anything in paper is fine with me
|
|
#34
09-14-2014, 10:04 AM
|
||||
|
||||
|
Mike,
That is outstanding work and ingenuity. Use whatever materials that make a model to your satisfaction. That heatshield is beautiful. I'm anxious to see the final result. Enjoying your thread. Thank you for keeping us updated.
|
|
#35
09-14-2014, 01:41 PM
|
||||
|
||||
|
Quote:
__________________
Mike Dixon Anything in paper is fine with me
|
| Google Adsense |
|
#36
09-14-2014, 03:52 PM
|
||||
|
||||
|
makeing good progress Mike
__________________
David........... Paper modelling gives you a happy high. currently building. c GAZ 51 ALG 17, wagon 111a. unex DH411 excavator and spitfire Mk 9
|
|
#37
09-14-2014, 05:34 PM
|
||||
|
||||
|
Oh Boy....

|
|
#38
09-15-2014, 12:05 AM
|
||||
|
||||
|
Nice work on the vacuform! It really looks super smooth.
|
|
#39
09-15-2014, 06:58 AM
|
||||
|
||||
|
Quote:
Quote:
Quote:
__________________
Mike Dixon Anything in paper is fine with me
|
|
#40
09-16-2014, 02:01 PM
|
||||
|
||||
|
Changed Heat Shield
The heat shield was connected to the Service Module with three tension ties, stainless steel straps that were severed before reentry. These represent the attachment points.
I added these to the heat shield so that when I set this on the service modules compression pads they will provide the proper alignments. The stand is just a test of an idea I had to make an industrial looking holder and also to make sure it would stand up. So far so good....  This is the heat shield with the three attachment points to the crew compartment.  A close up of the attachment point glued to the crew compartment  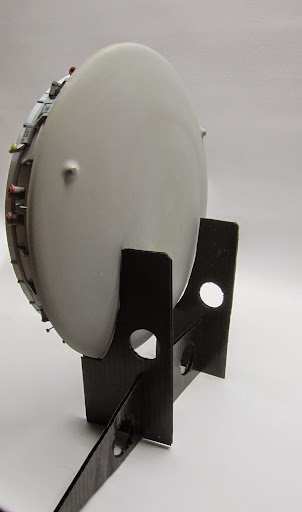 Standing in the mocked up stand  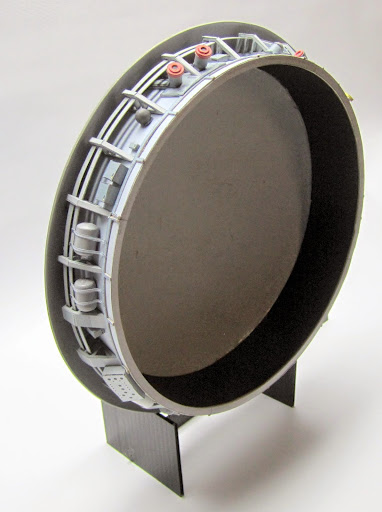 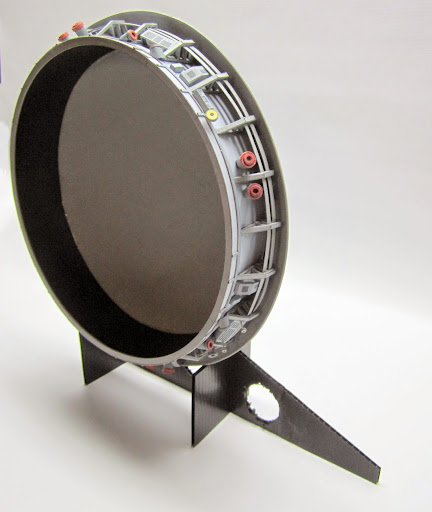 More views of bottom end of Apollo More views of bottom end of Apollo And this is a test of the ring from the Boost protective cover, just to make sure that it would slip over the heat shield. It was a perfect fit.
__________________
Mike Dixon Anything in paper is fine with me
|
| Google Adsense |
 |
|
|


 Linear Mode

