


|
|
|
#32
 05-18-2024, 11:07 AM
|
||||
|
||||
|
Hello everybody,
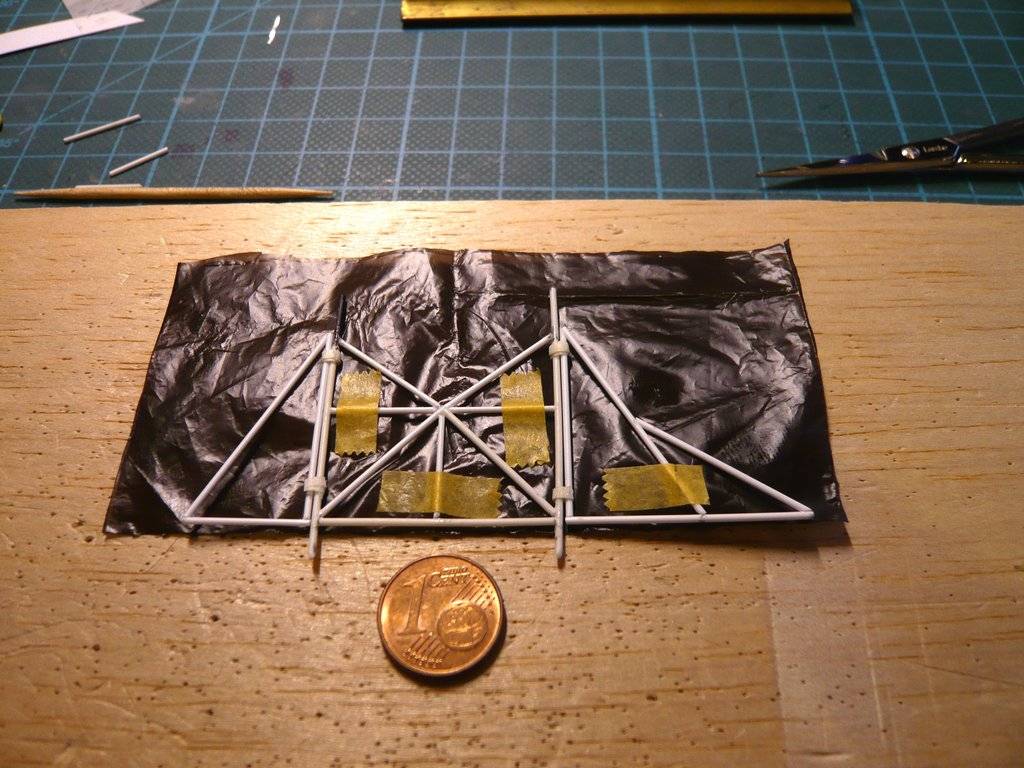
all well and good, but in the meantime I've thought that it would be better if I would not scratch individually the the black MLI Blankets to cover the three rod systems, but to scratch as a cohesive unit.  As for the line-like markings, labels, blanket closure tapes, or whatever on the blankets, I wanted to base myself on the following Psyche mission video for the sake of simplicity and make do with that.  That's why I've first created the following Screenshots of the corresponding three views of the blanketed rod systems, 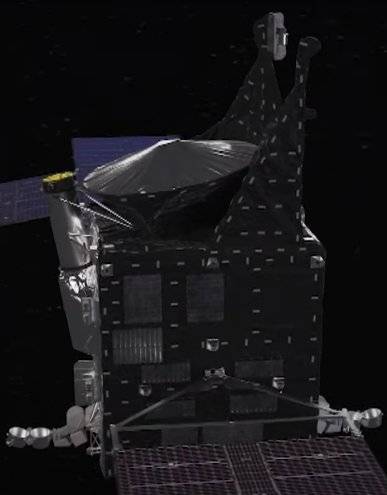   and then combined them in MS Word in a photo montage at the scale of my model solar probe.  And after a tricky adjustment of the size of the individual graphics, I finally managed to create this coherent unit,  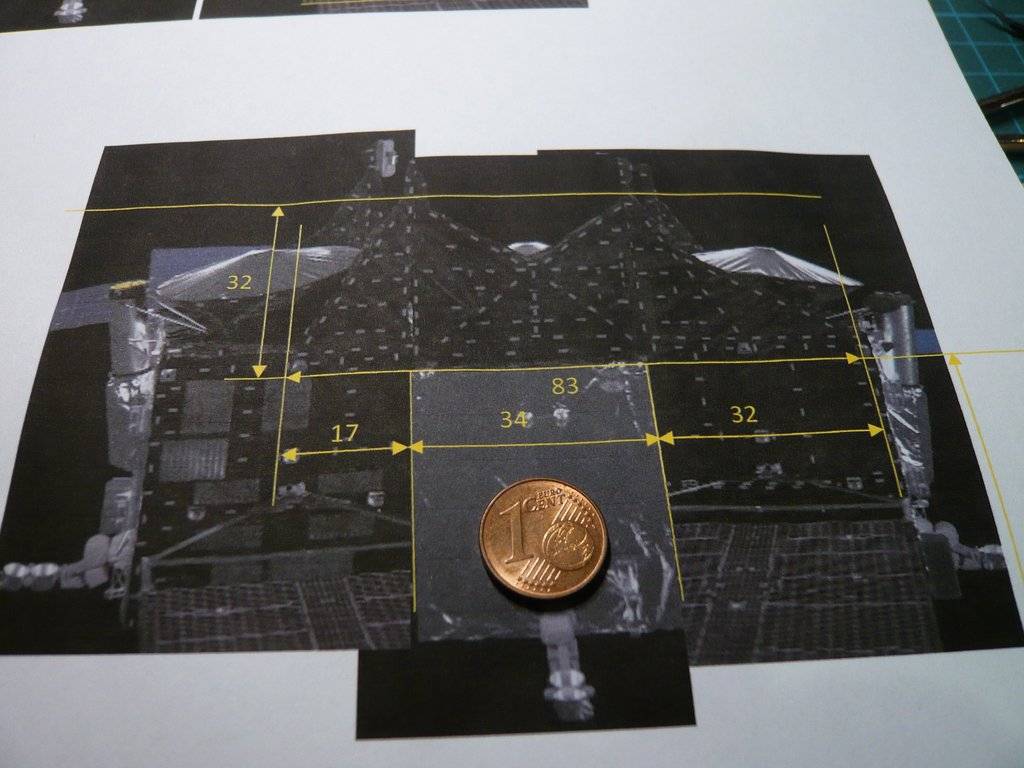 on which the connected rod systems also fits quite well.  So far so good. Then there was a well-intentioned critical but helpful note by an expert in NSF Forum regarding the biggest mistake that modelers make with blanketed surfaces is making them too (wrinkly),  which made me sit up and take notice, which made me sit up and take notice,  especially since his lucid explanation made me understand the technical sense of these blankets. especially since his lucid explanation made me understand the technical sense of these blankets.  Accordingly, a thermal blanket consists of thin, flexible polyester layers, which are separated from each other by layers of Mylar scrim. These blankets don't function properly when the layers touch each other, which is why they are puffy and don't lay perfectly flat, making them look more like a loosely wrapped package, but definitely not [color= blue]crinkled[/color].  And that's exactly what the blankets look like in this well-known image, like a kind of airy wrappings, I would say.  Source: NASA That's why I went back to the dark Robidog foil, which I initially wanted to cut it out using this rods system template, but I quickly rejected it because attaching it to the rod systems would have been too tricky.  
__________________
Greetings from Germany Manfred Under construction: Launch Pad 39A with Challenger STS-6 (1:144) 
|
|
#33
05-18-2024, 11:08 AM
|
||||
|
||||
|
That's why I left plenty of overhang that was intended for blanketing of the inside.
  But then there is also still the problem of applying the markings/labels/blanket closure tapes, which would have to be done beforehand, whereby my previous painting with the Permanent marker (Montana Acrylic) still was not convincing me.  And after some thought, I came up with the following idea.  Long time ago I completed my collection of masking tapes of different widths with black tape (0,5 mm), which I've remembered, cause it's exactly the needed width.  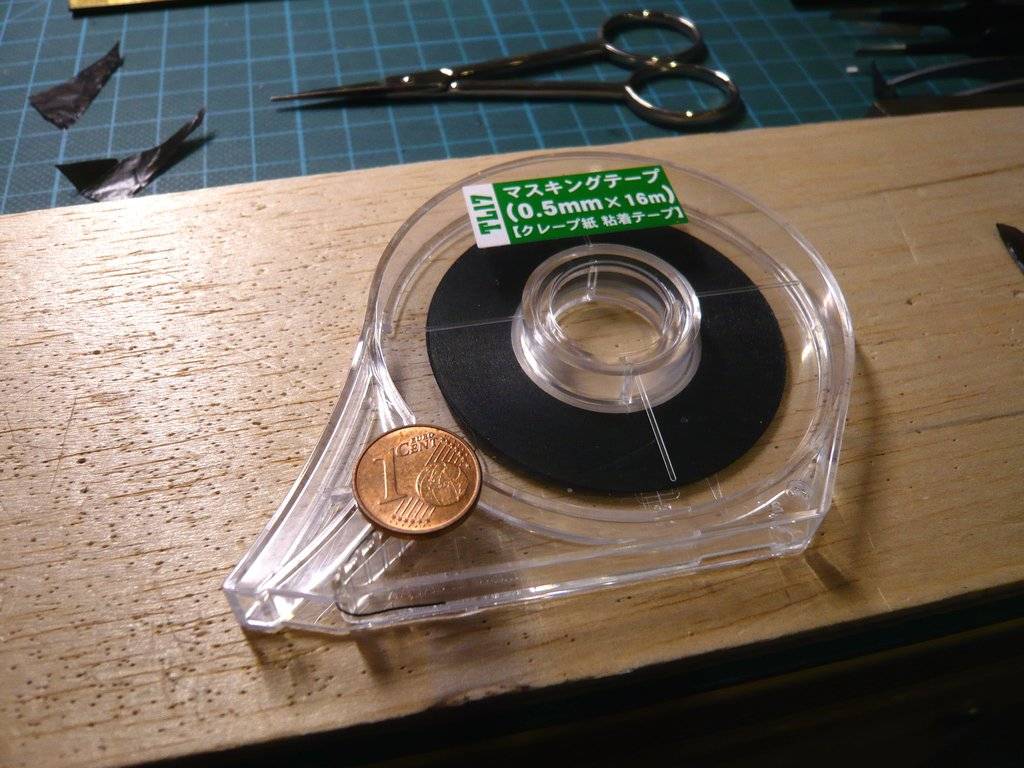  And then I experimented a bit with it and made short lines with the marker, 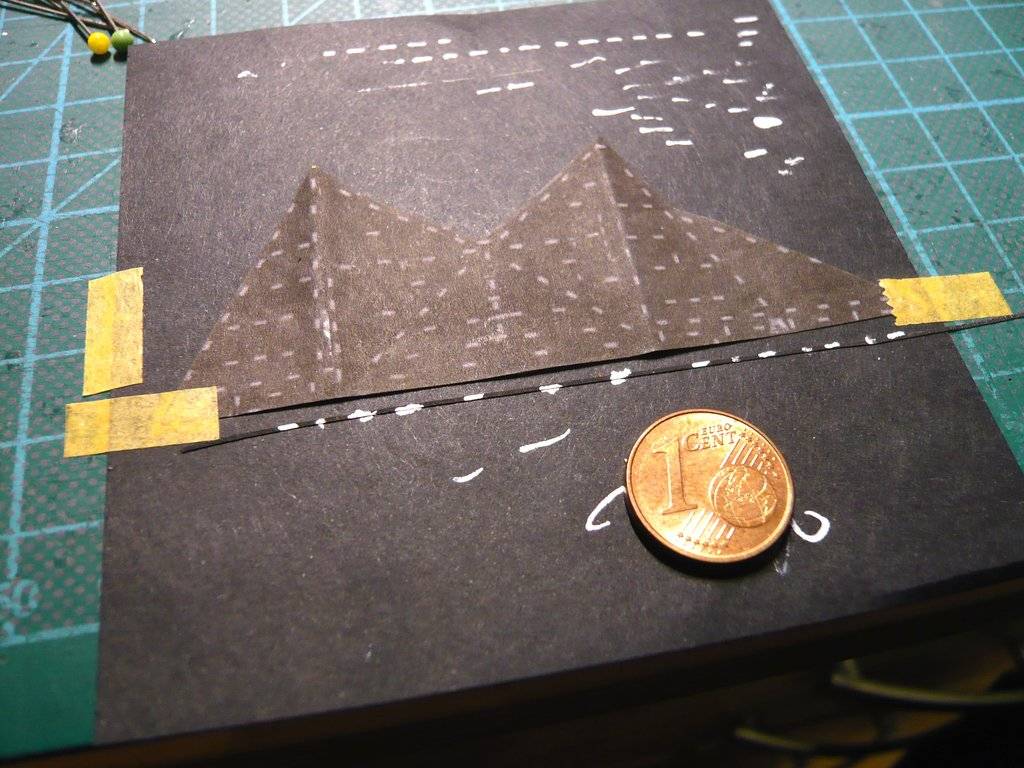 and glued strips marked in this way onto the dark foil, which looks quite acceptable. Above that is my first too flat panel glued to cardboard for comparison, where marking by hand was more or less a matter of luck and also quite time-consuming. 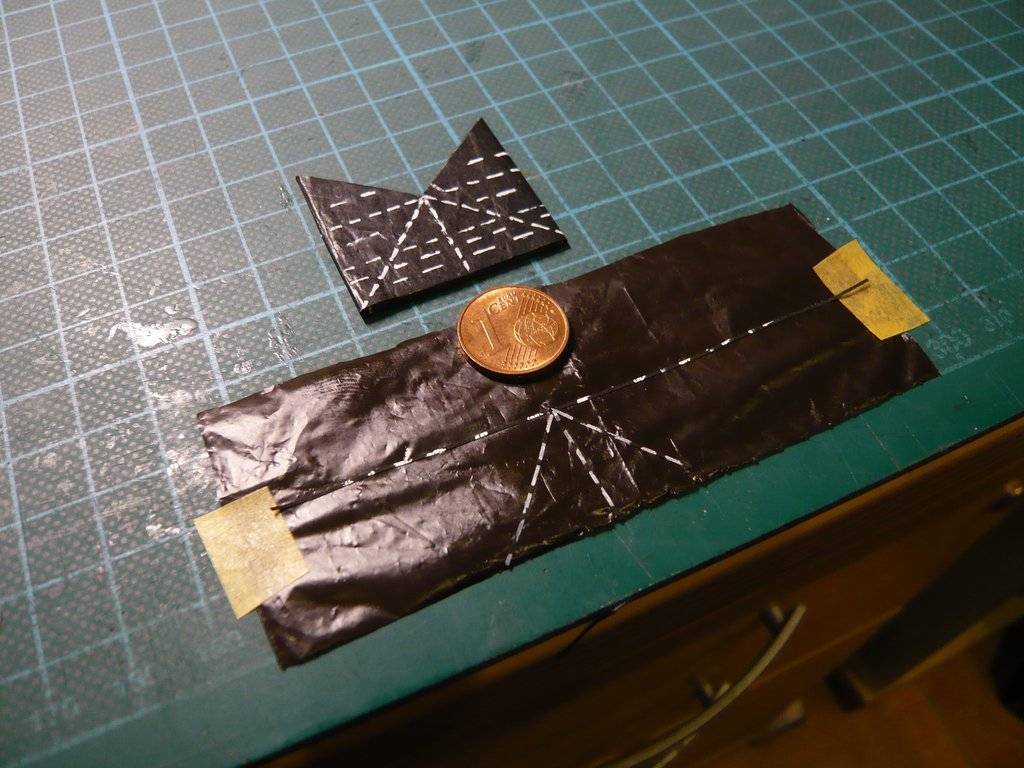 The new technique can definitely still be improved by preparing strips with dash spacing according to the template, which can then be glued before applying the blankets. 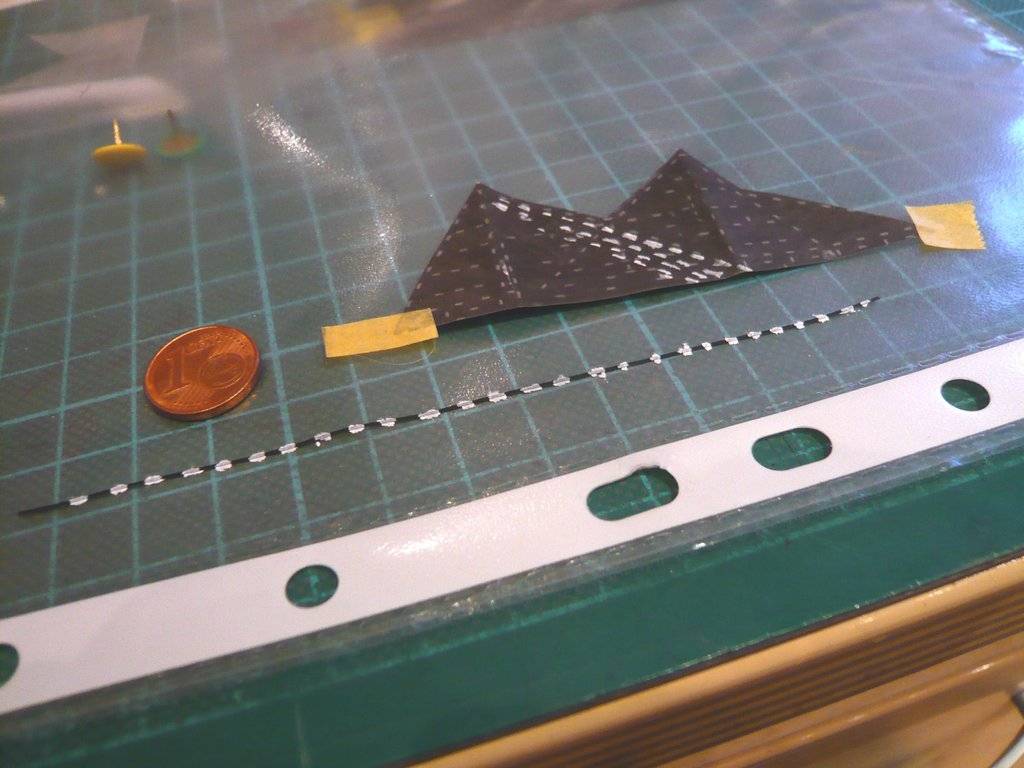 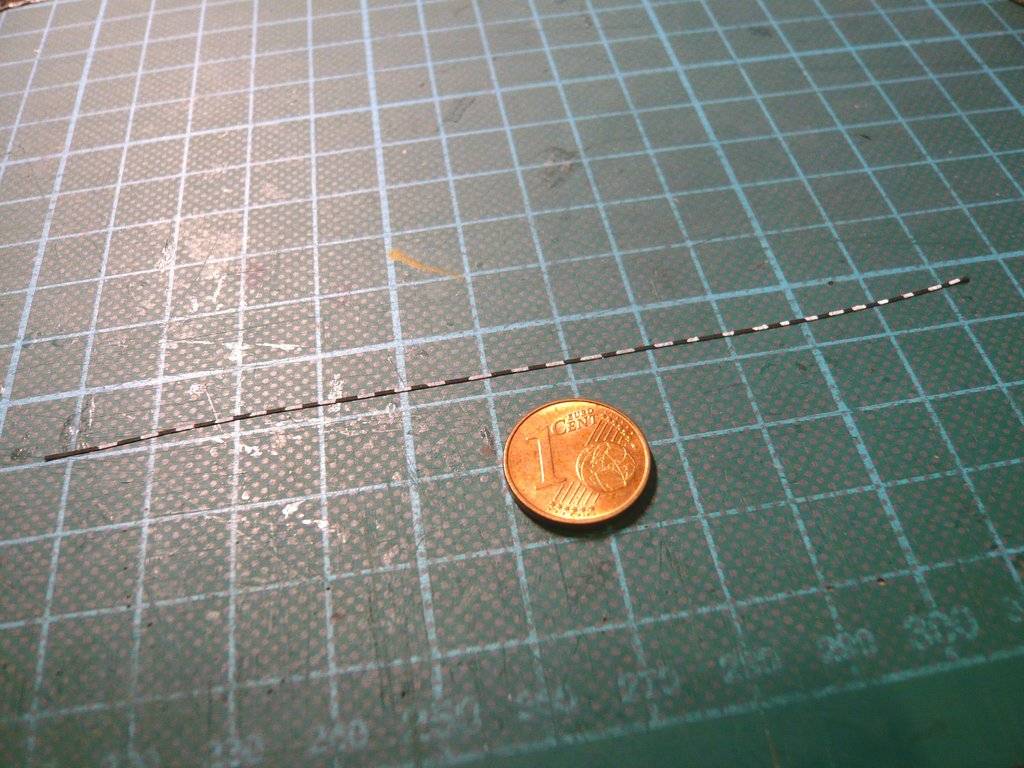 I believe that I have found with it a more suitable solution for marking of the blankets and blanketing of the rod systems. But before I continue with the rod systems, I will probably blanket the remaining sides of the solar probe first.  
__________________
Greetings from Germany Manfred Under construction: Launch Pad 39A with Challenger STS-6 (1:144)
|
 |
|
|


 Linear Mode

