


|
|
|
#31
 03-29-2013, 07:02 PM
|
||||
|
||||
|
Last couple of days got a bit more done on the sub.
Was working on the outboard supports for the aft dive planes. These are 3 layers of card except for about a 1/4" of one layer at the pivot end. Could not roll this 110lb card to form a decent pivot bearing without wrecking it. Instead I rolled some 24lb paper into a suitable pivot axle and wrapped that tag around it. then cut it flush on both sides. I was a lot happier with the result. The right one is completed. 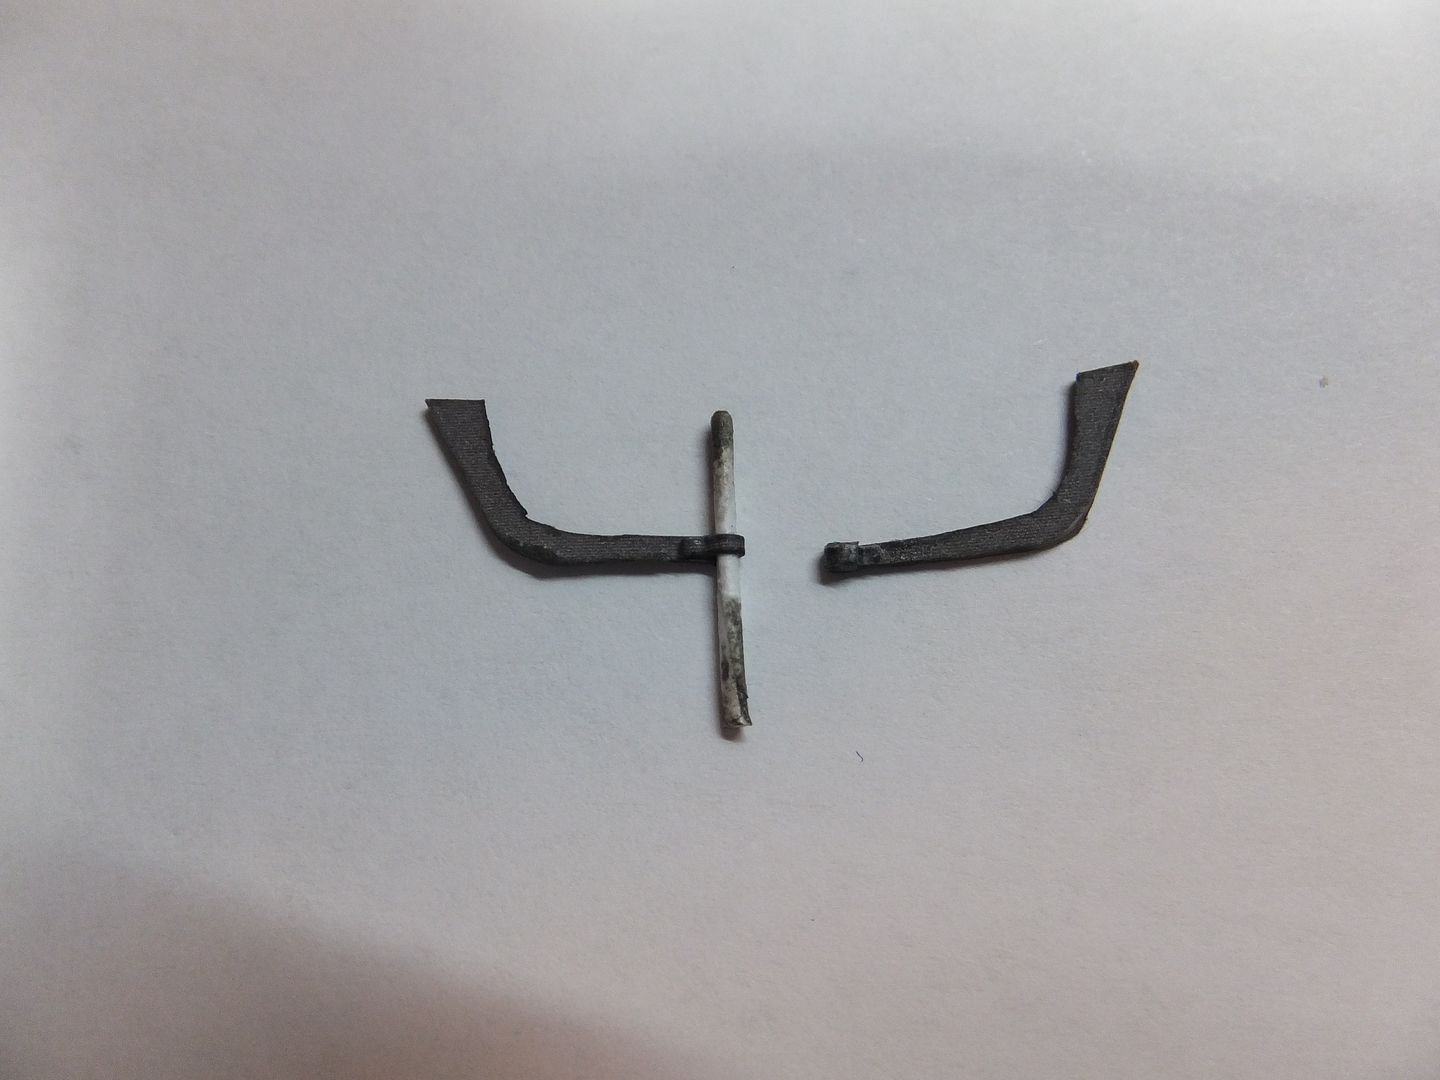 These were installed to the dive planes. Then the support brace for the rudders was cut out and shaped. 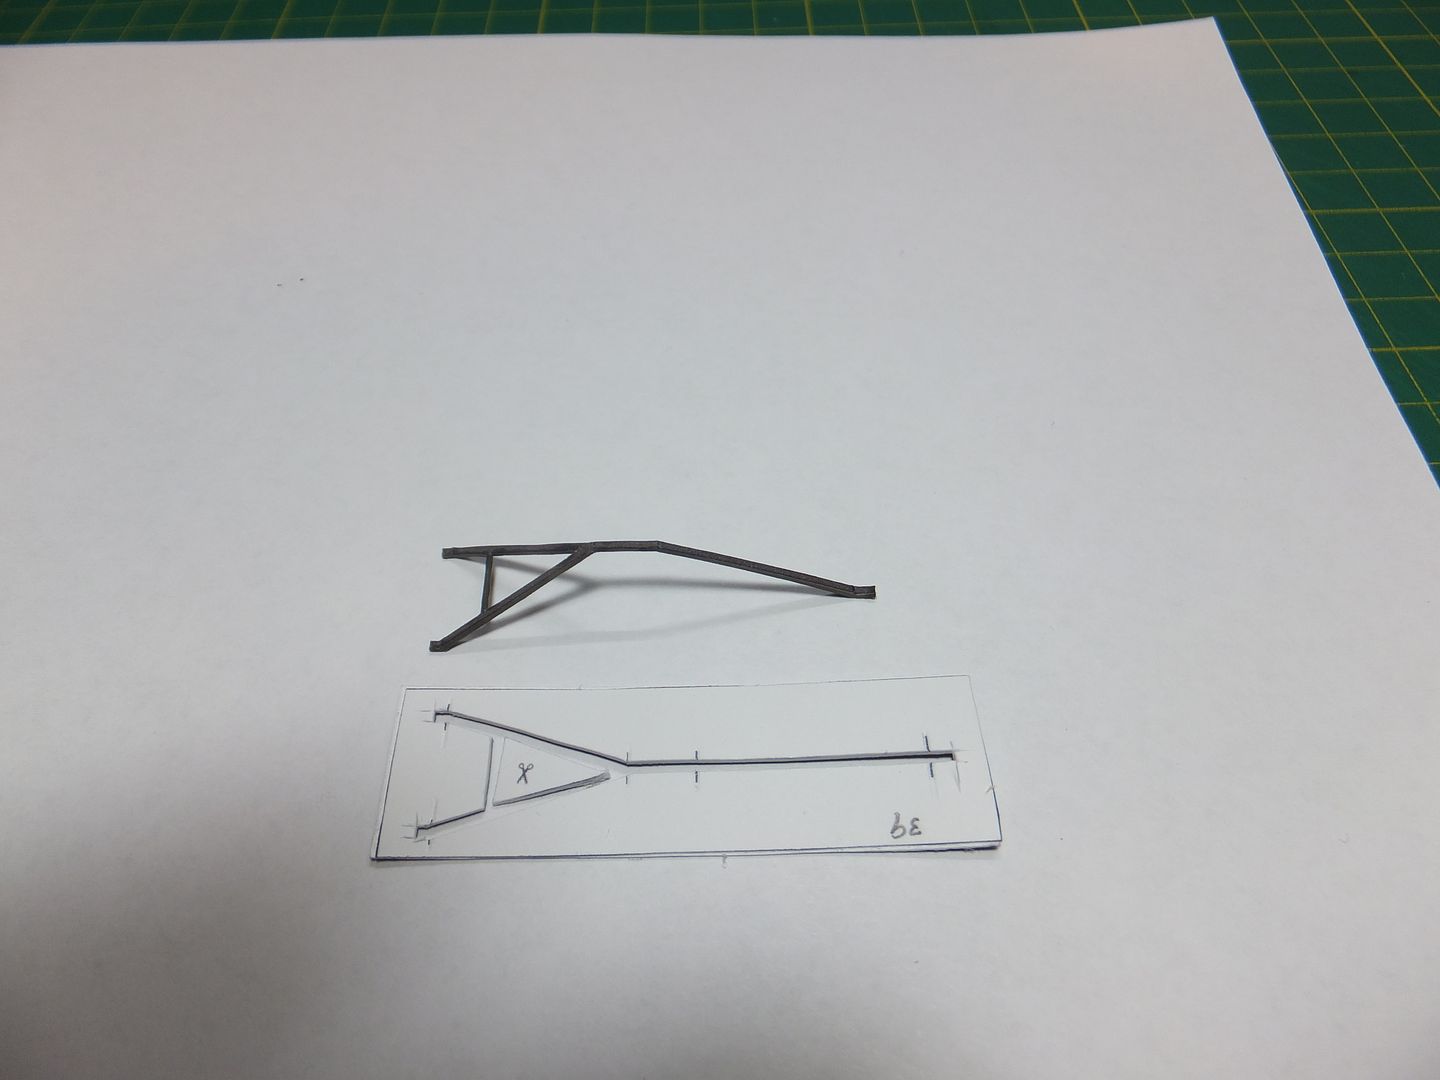 Here these components are installed.  Hull detailing was added to the stern section. 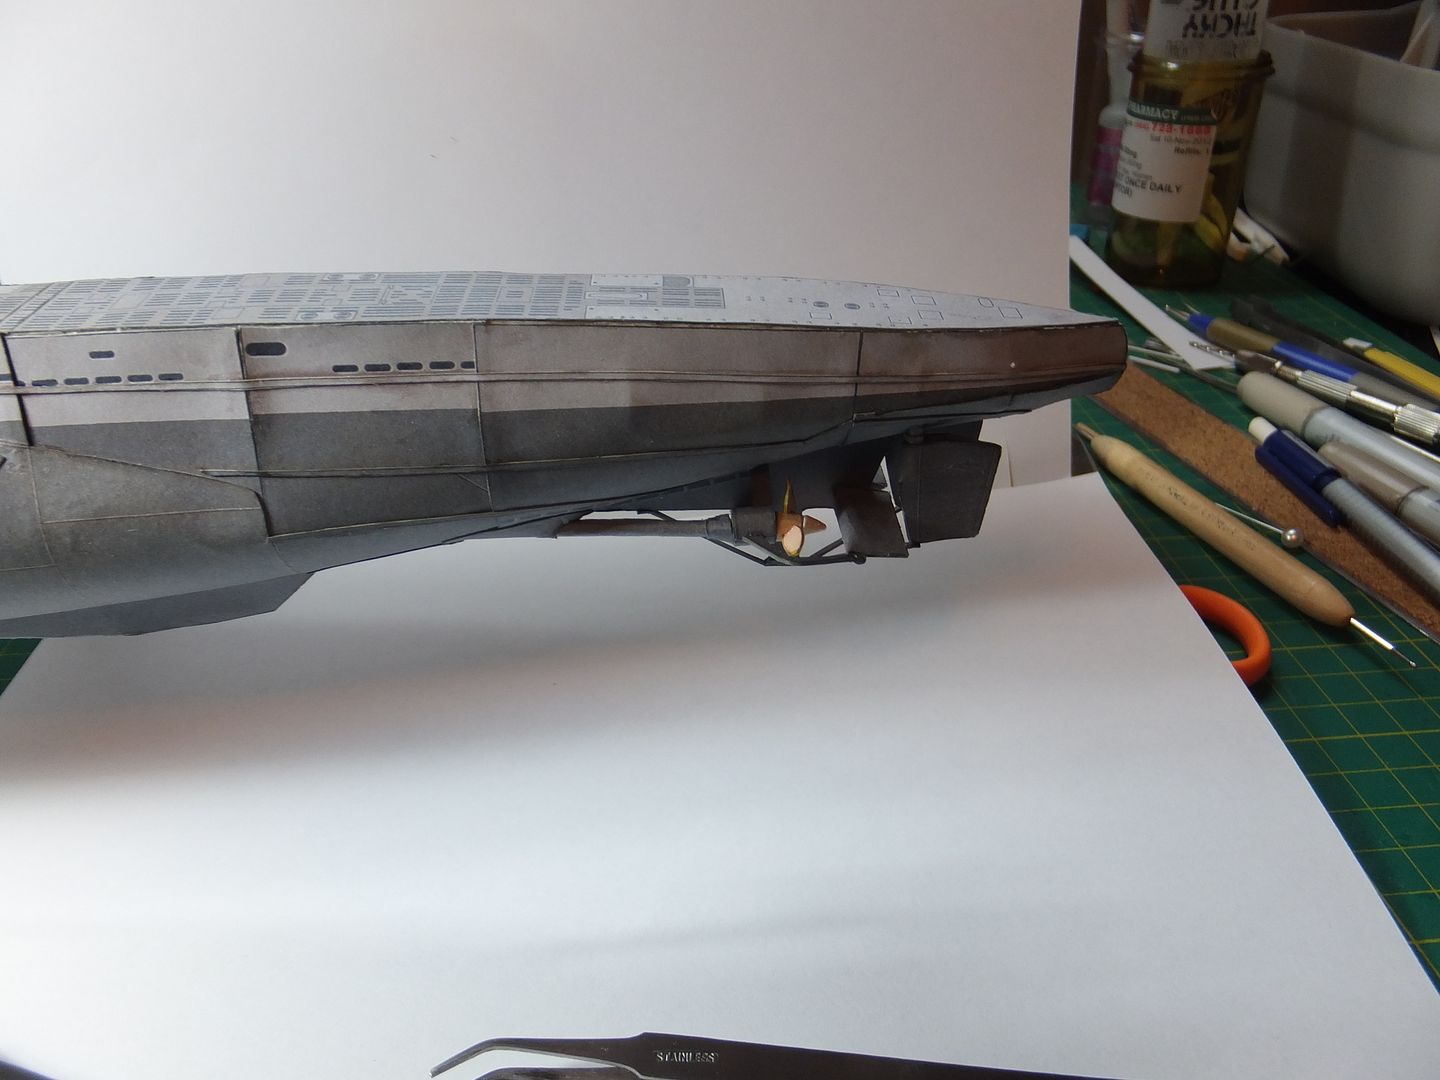 Just an aft on view. 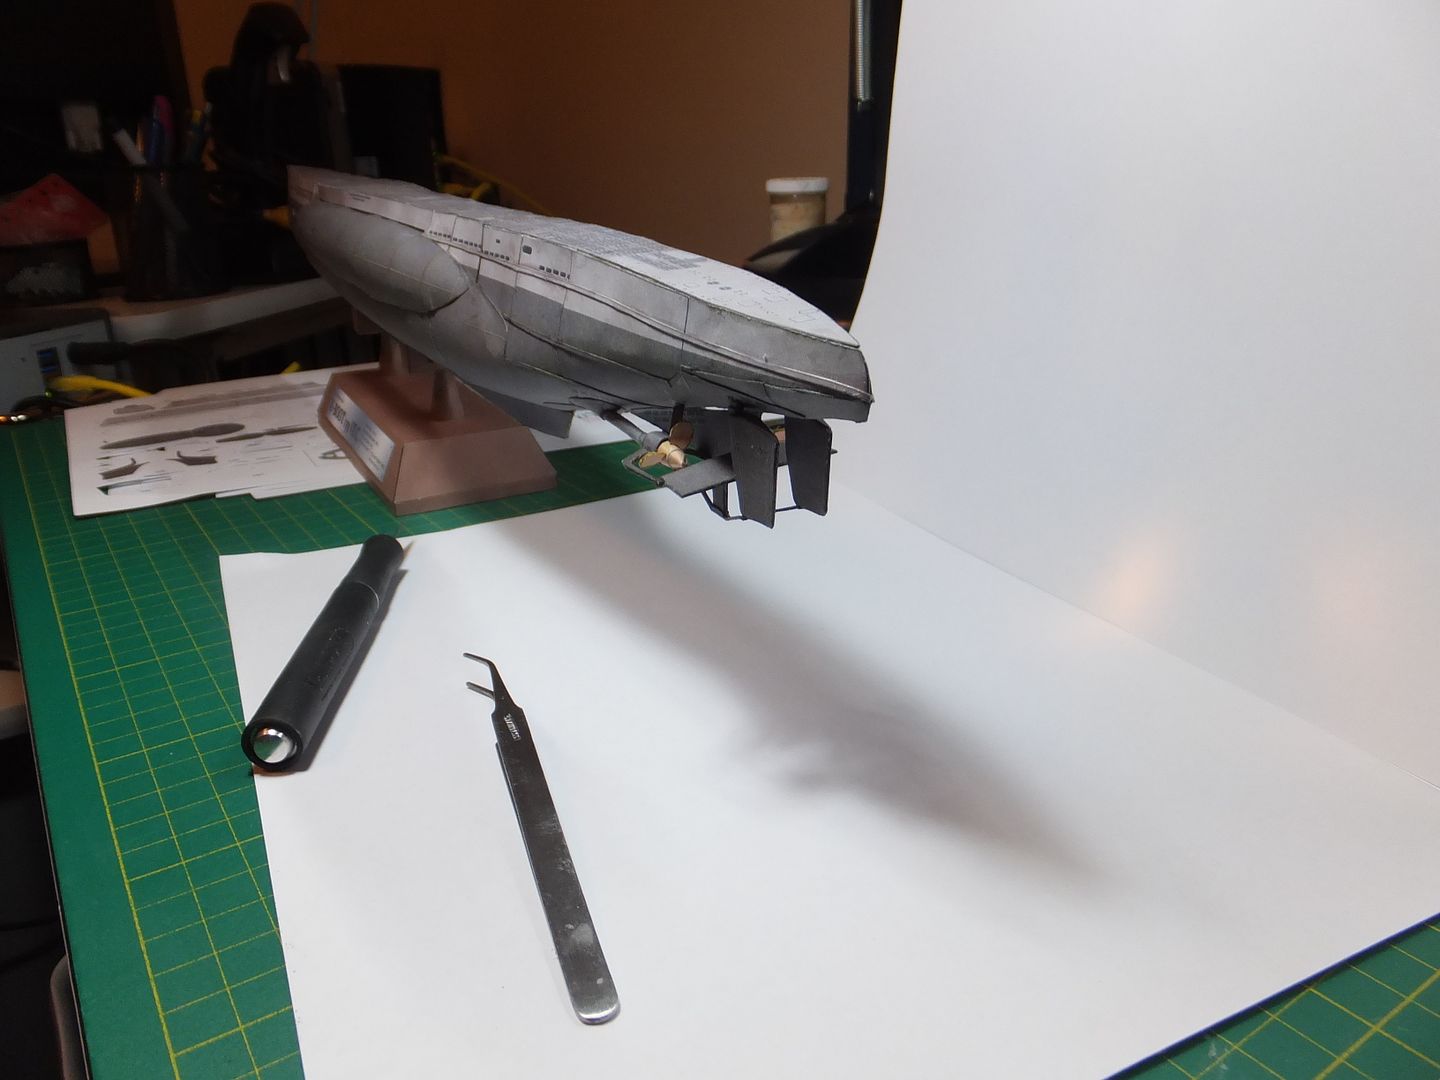 Tomorrow will start on the forward dive planes. Then I think we start working topside.  Have a good evening. Jim 
|
|
#32
03-30-2013, 04:03 AM
|
||||
|
||||
|
Nice build on the running gear! Looks great.
__________________
Currently building Heinkel Models/Ron Miller Authentic Nautilus.
|
|
#33
03-30-2013, 07:33 AM
|
||||
|
||||
|
Thank you Jagolden.
Jim
|
|
#34
03-31-2013, 01:33 AM
|
||||
|
||||
|
Very nice so far, I'm looking forward.
__________________
My commercial models
|
|
#35
03-31-2013, 02:56 AM
|
||||
|
||||
|
Thanks Dragos.
Jim
|
| Google Adsense |
|
#36
03-31-2013, 03:35 AM
|
||||
|
||||
|
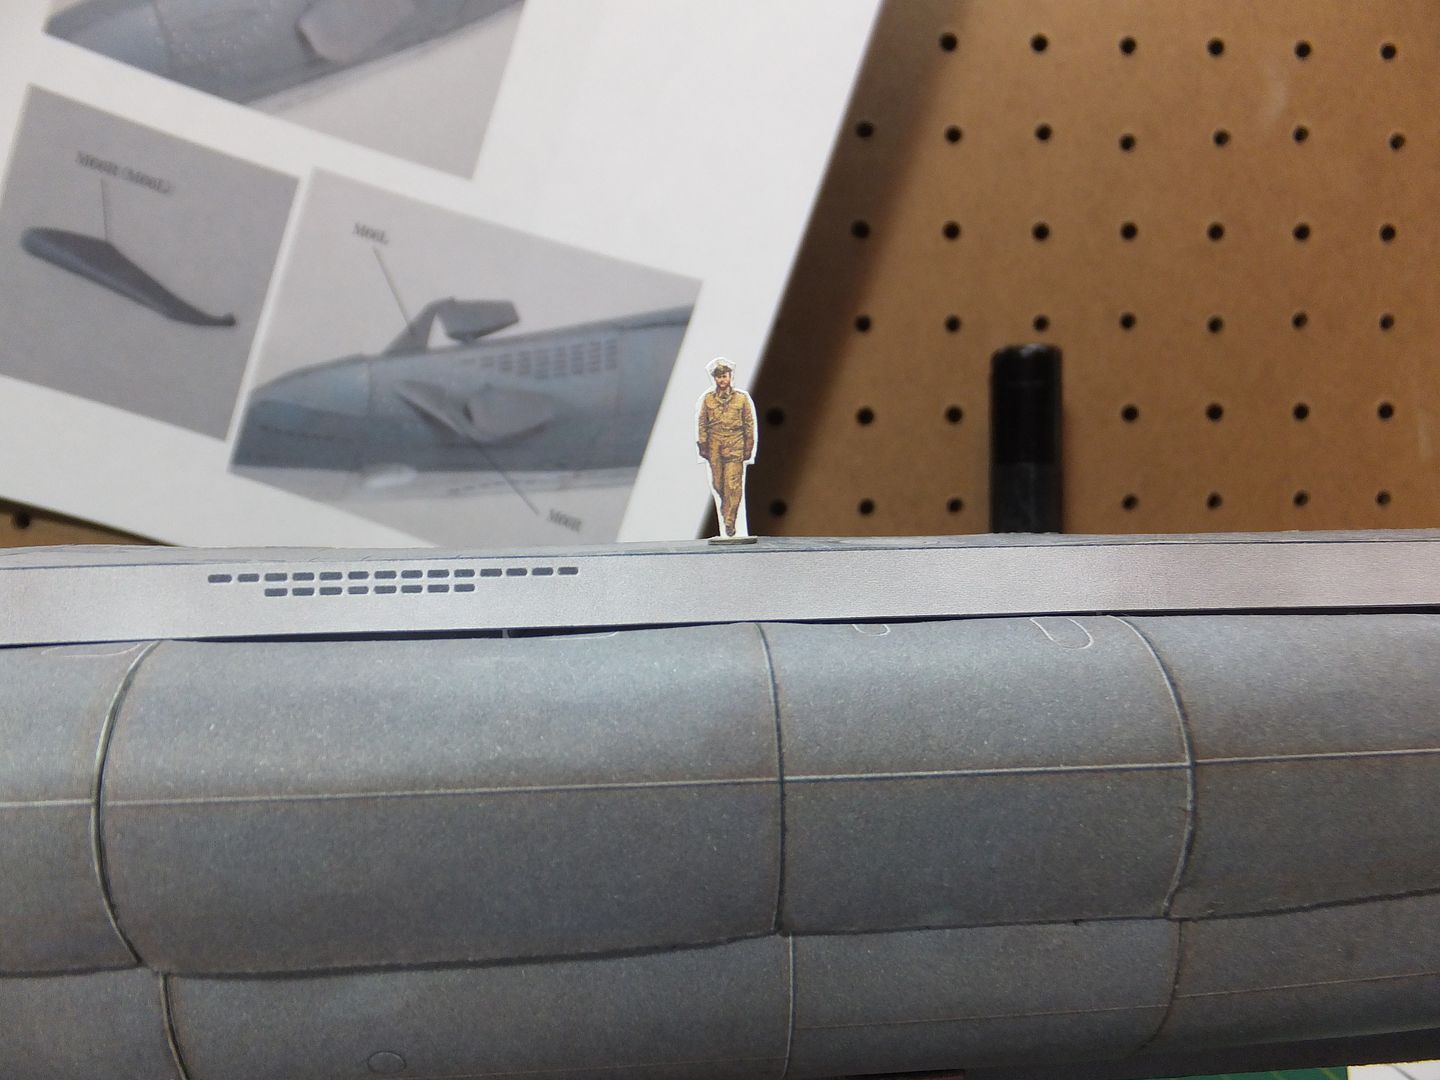
I found an image of Kapit. Fritz Lemp, scaled it down to match the sub and made a figurine. As he is posed around different parts of this craft, it helps to give a sense of real world size of this vessel. A perspective that we as modelers sometimes loose, I know I do. This is not a small boat.
 I have been working on the forward dive planes. 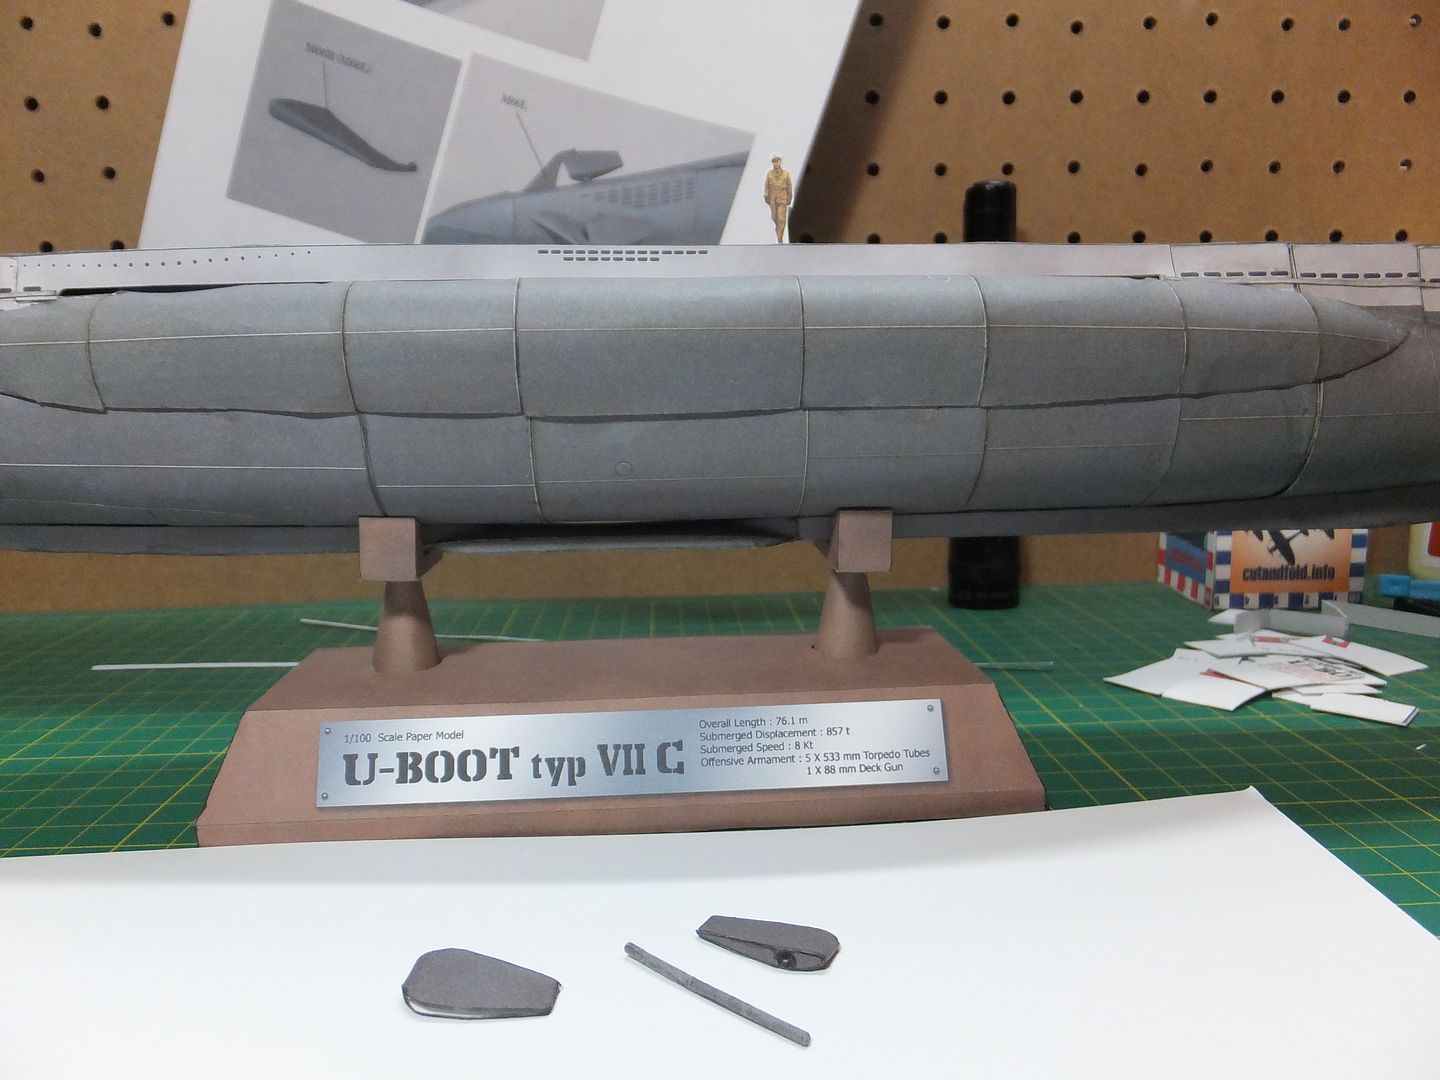 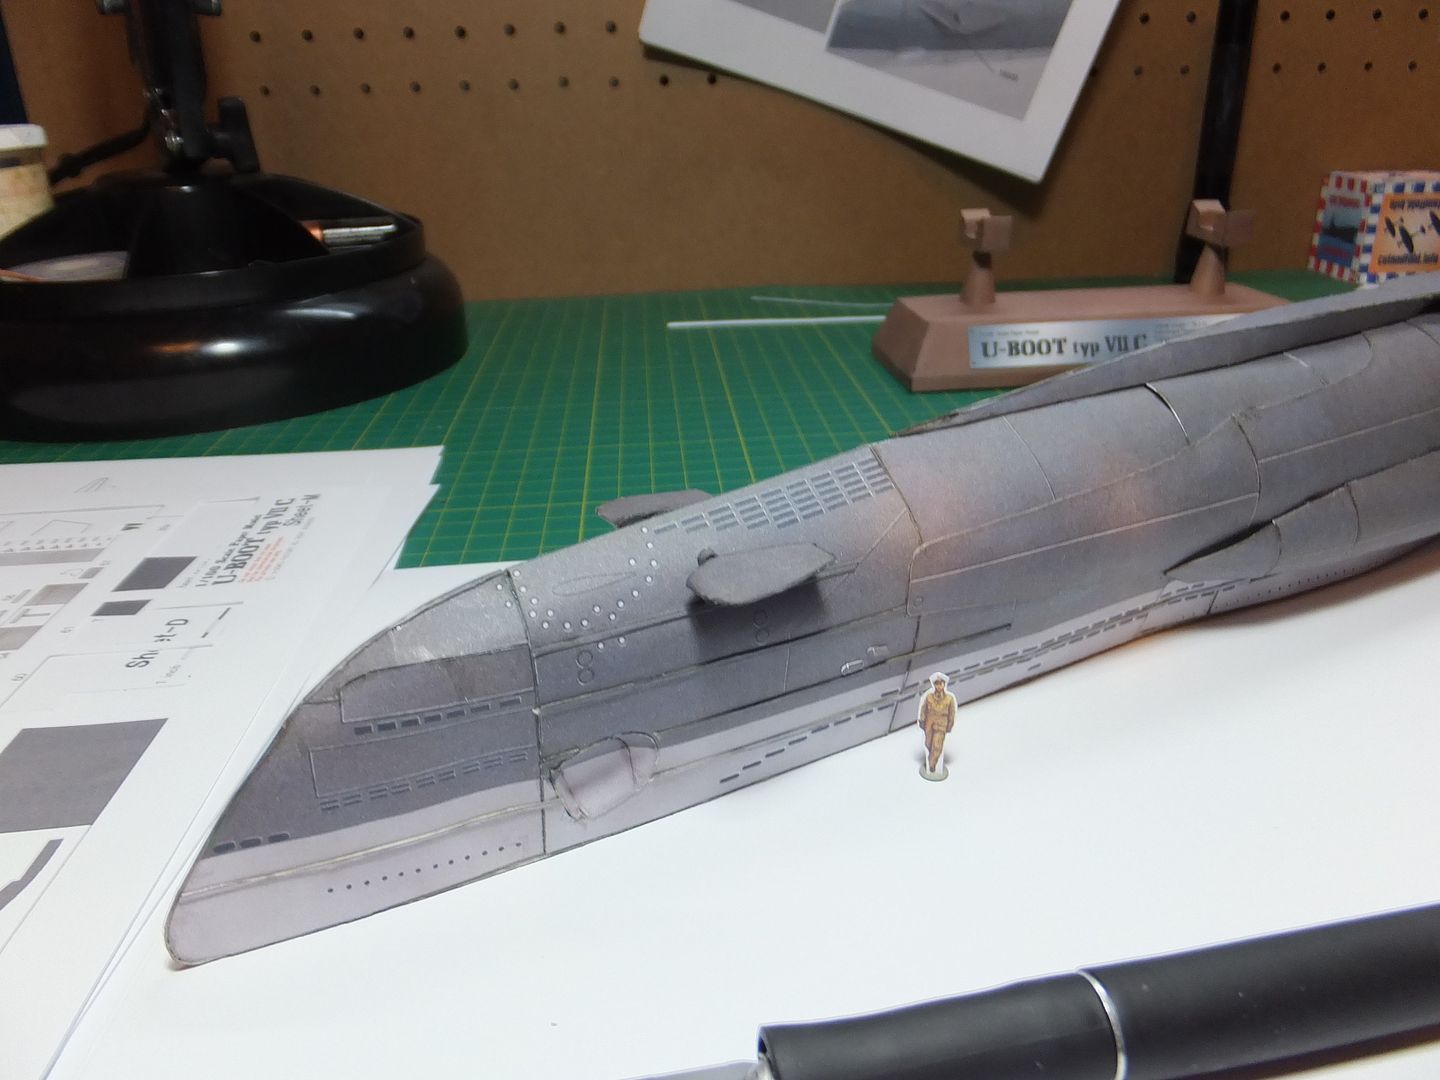 These are the outward supports for the dive planes. Did the same treatment as was done with the aft ones for the pivot point, rather than try to roll them. 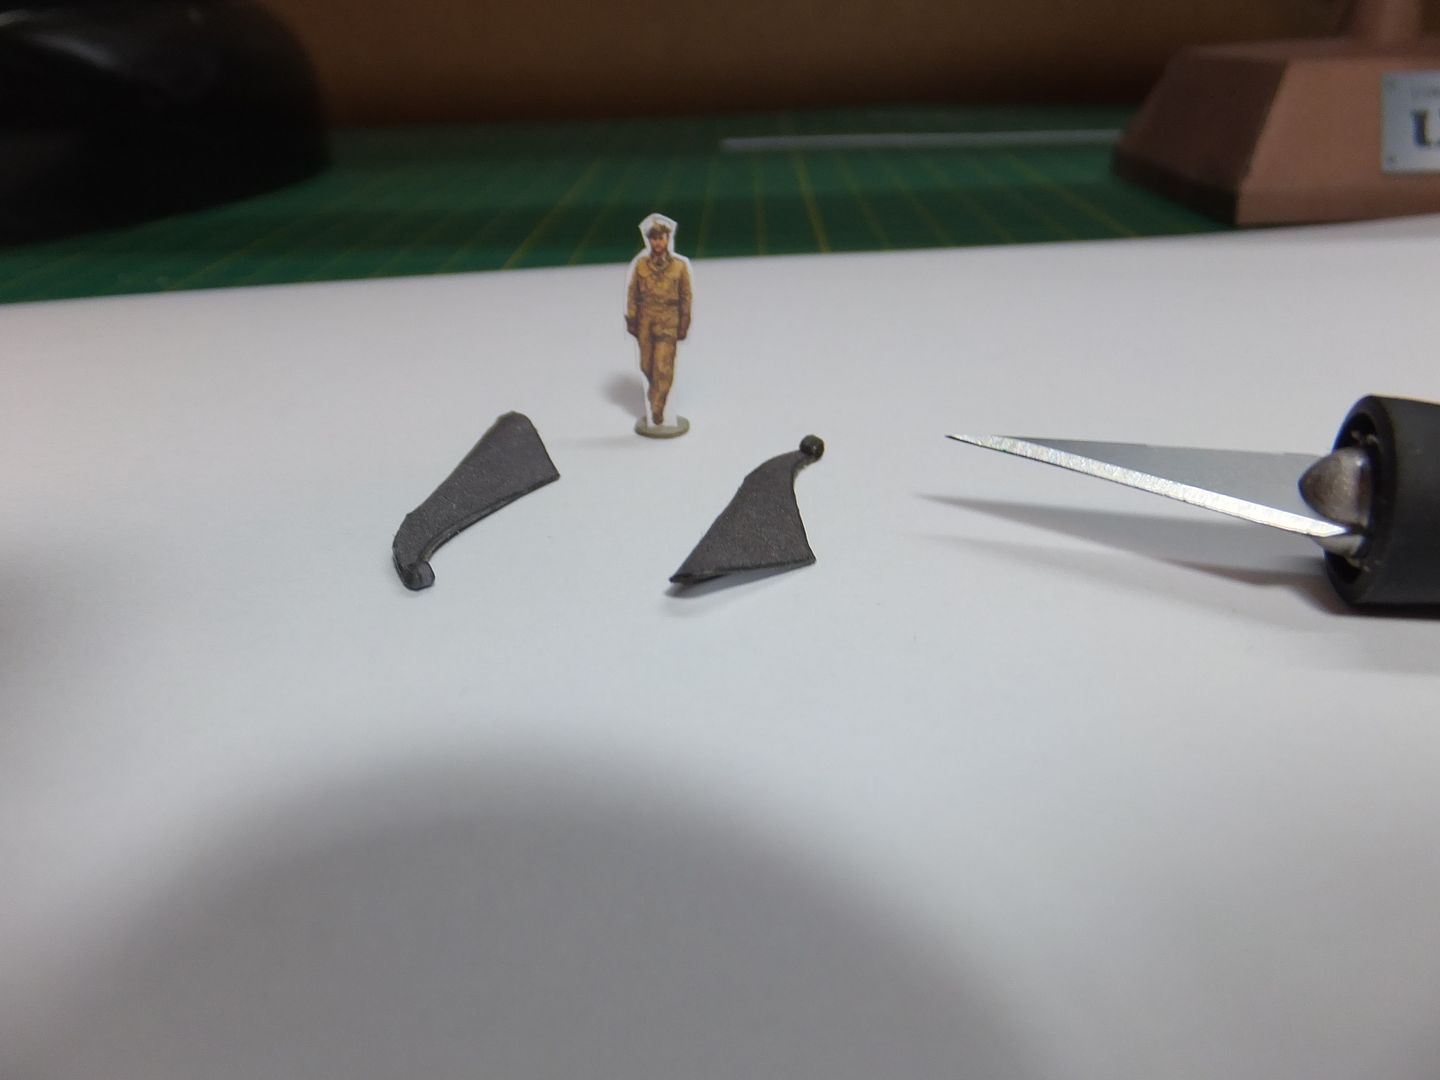 They are now installed. 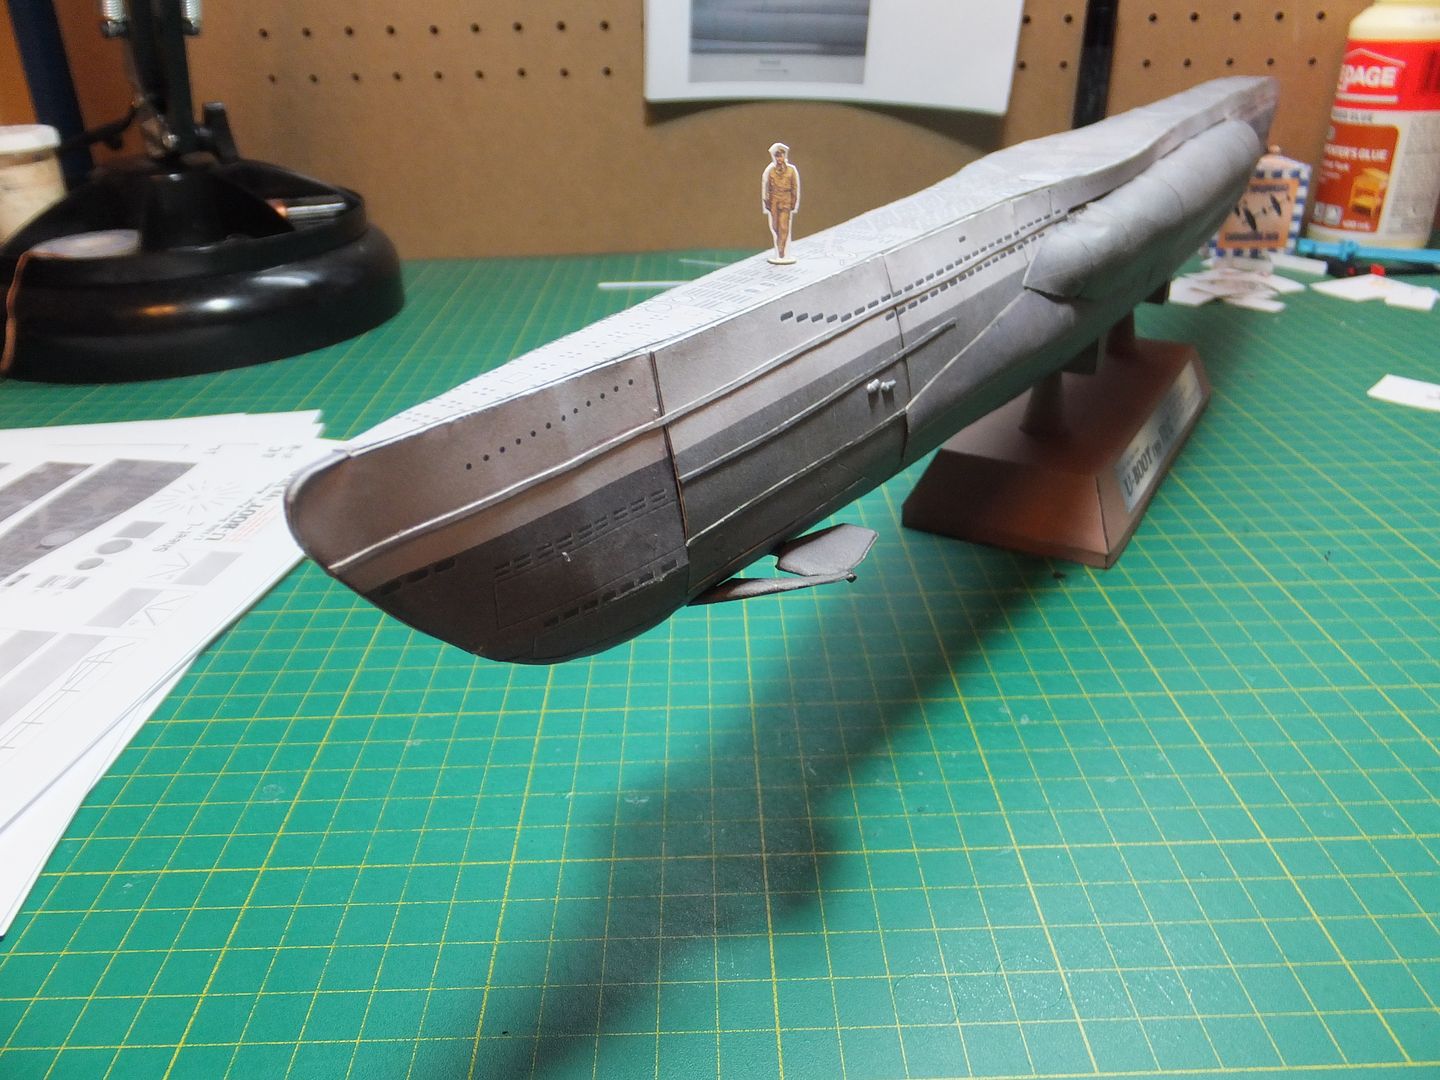 And last an overall view of the sub as she stands at this moment. 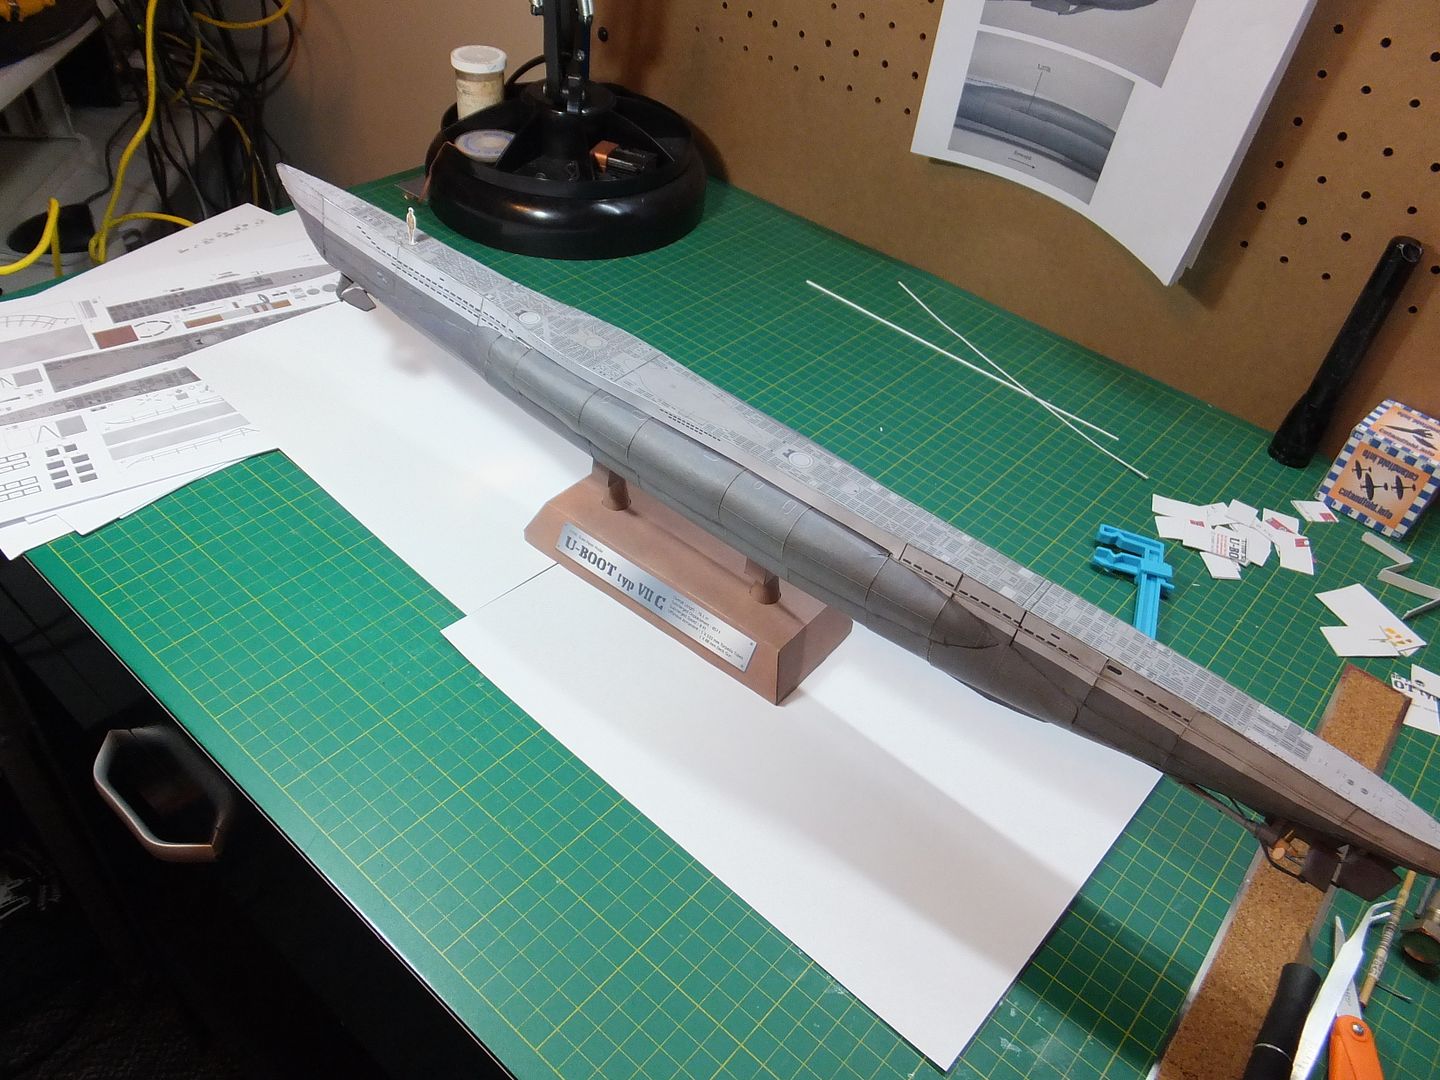 Next are some hull details, then can start work on the main deck. That's all for right now. Comments and questions are always welcome. Jim
|
|
#37
04-01-2013, 02:57 PM
|
||||
|
||||
|
Here is an update for today.
Was able to get a few things done this weekend. The last of the hull detail was finished, some vents were added. 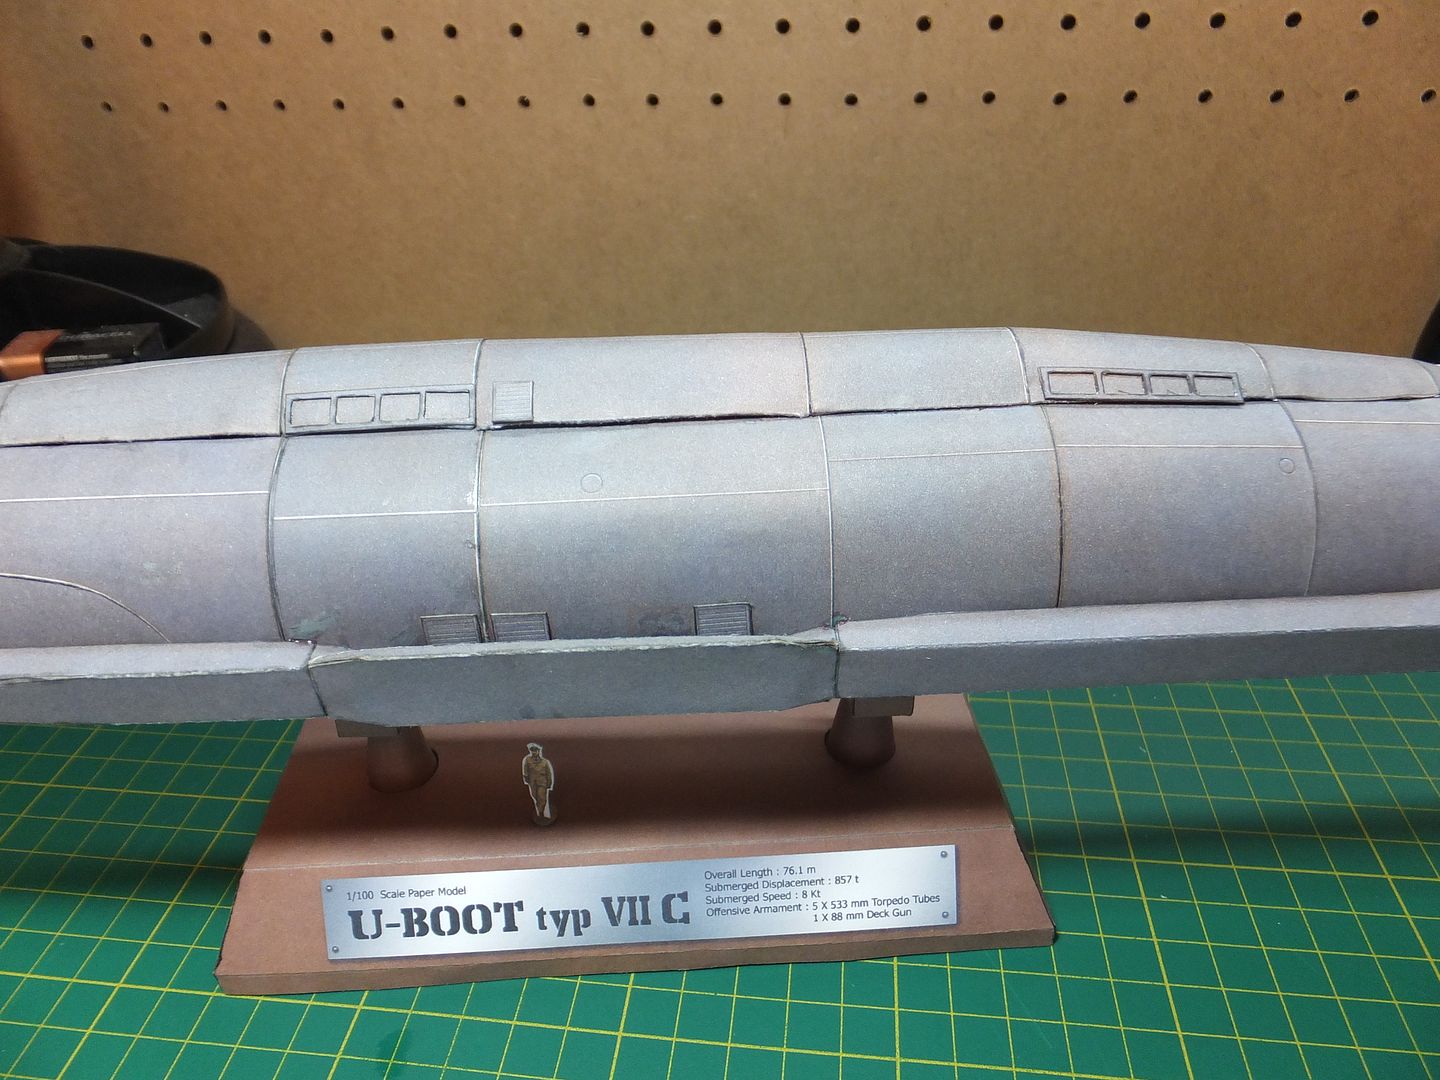 The anchor was constructed and installed. 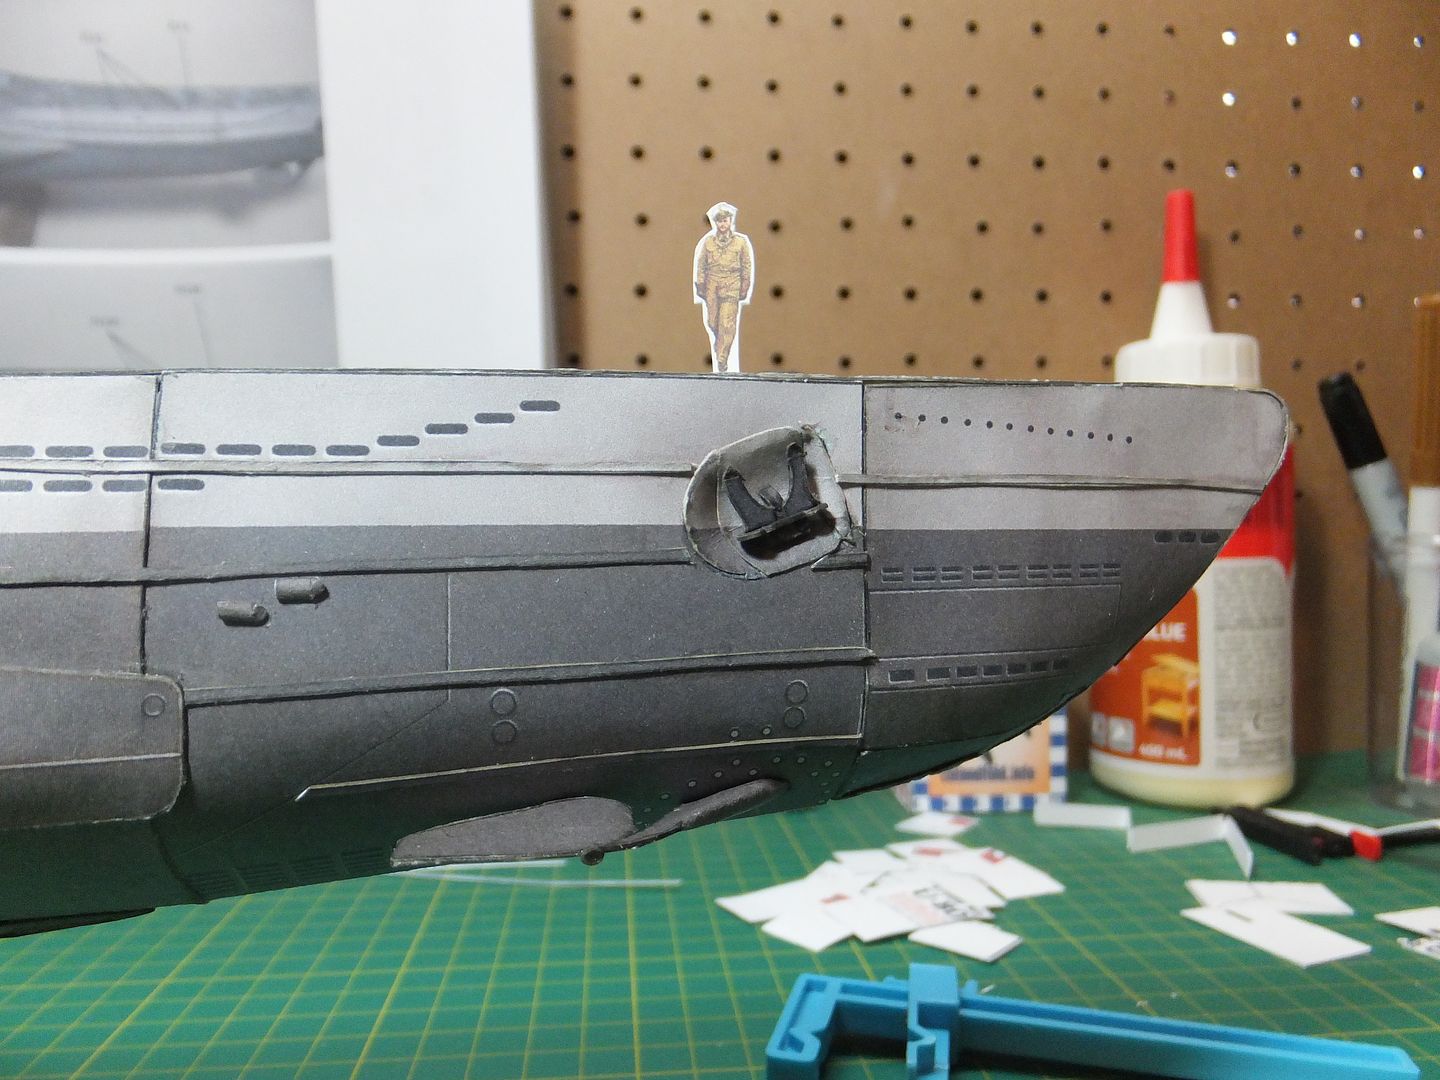 A side view of the detail. 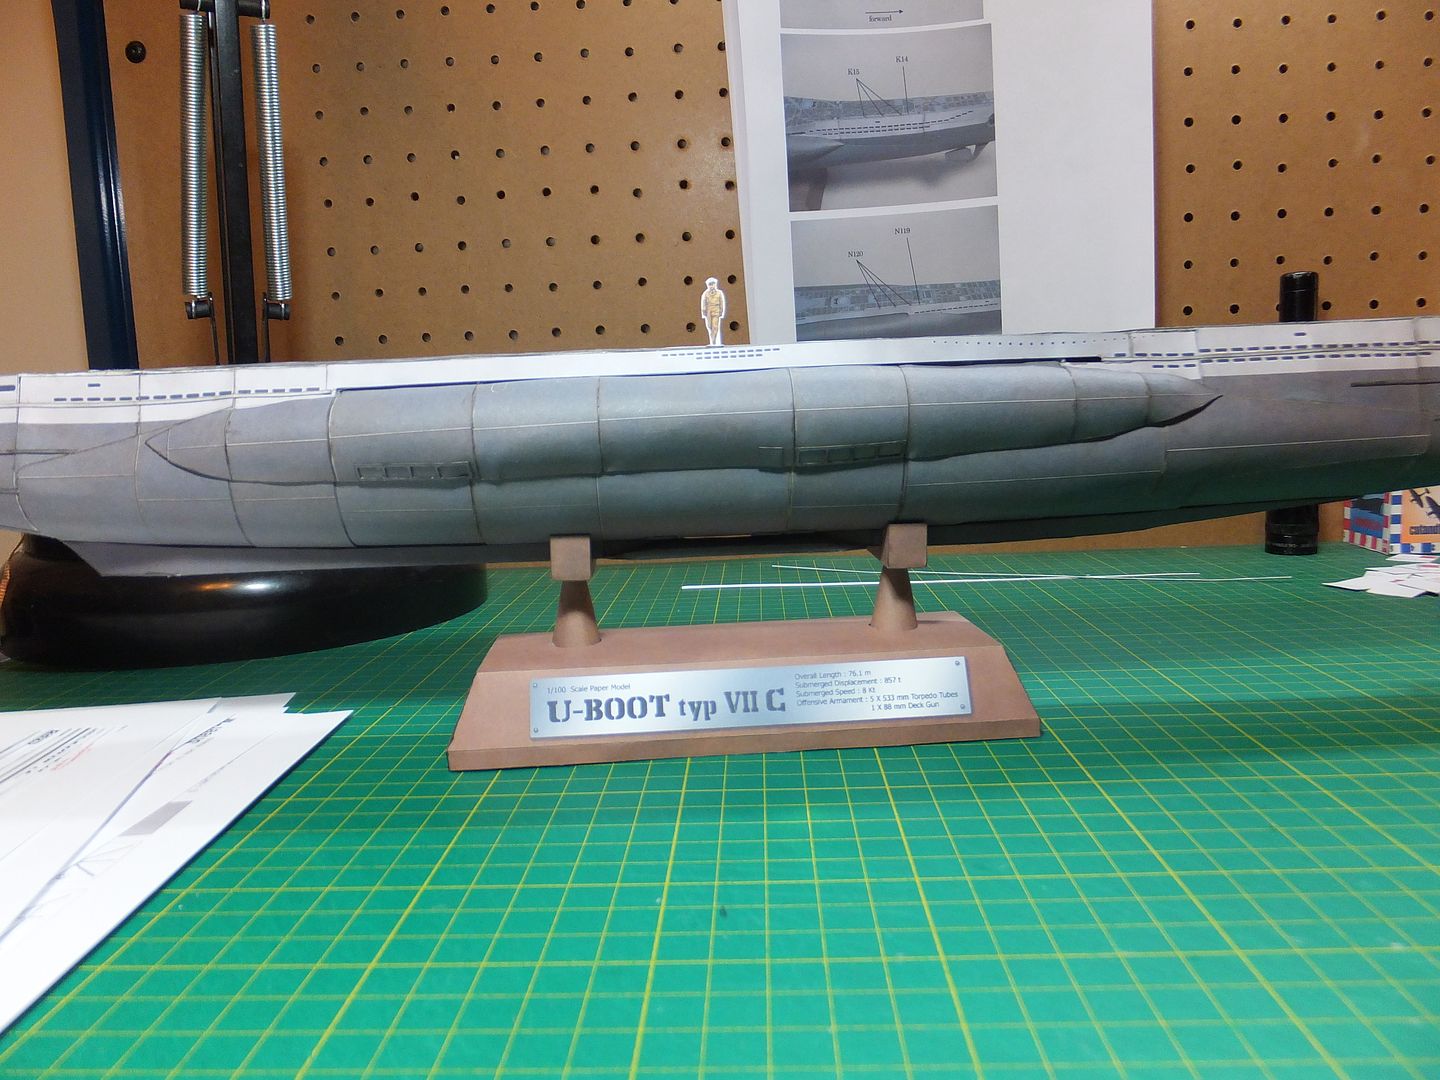 Finally am able to start adding detail to the main deck. The scuff rails were constructed and attached. These were added because they had a problem with scuffing the hoses during resupply from supply subs at sea.  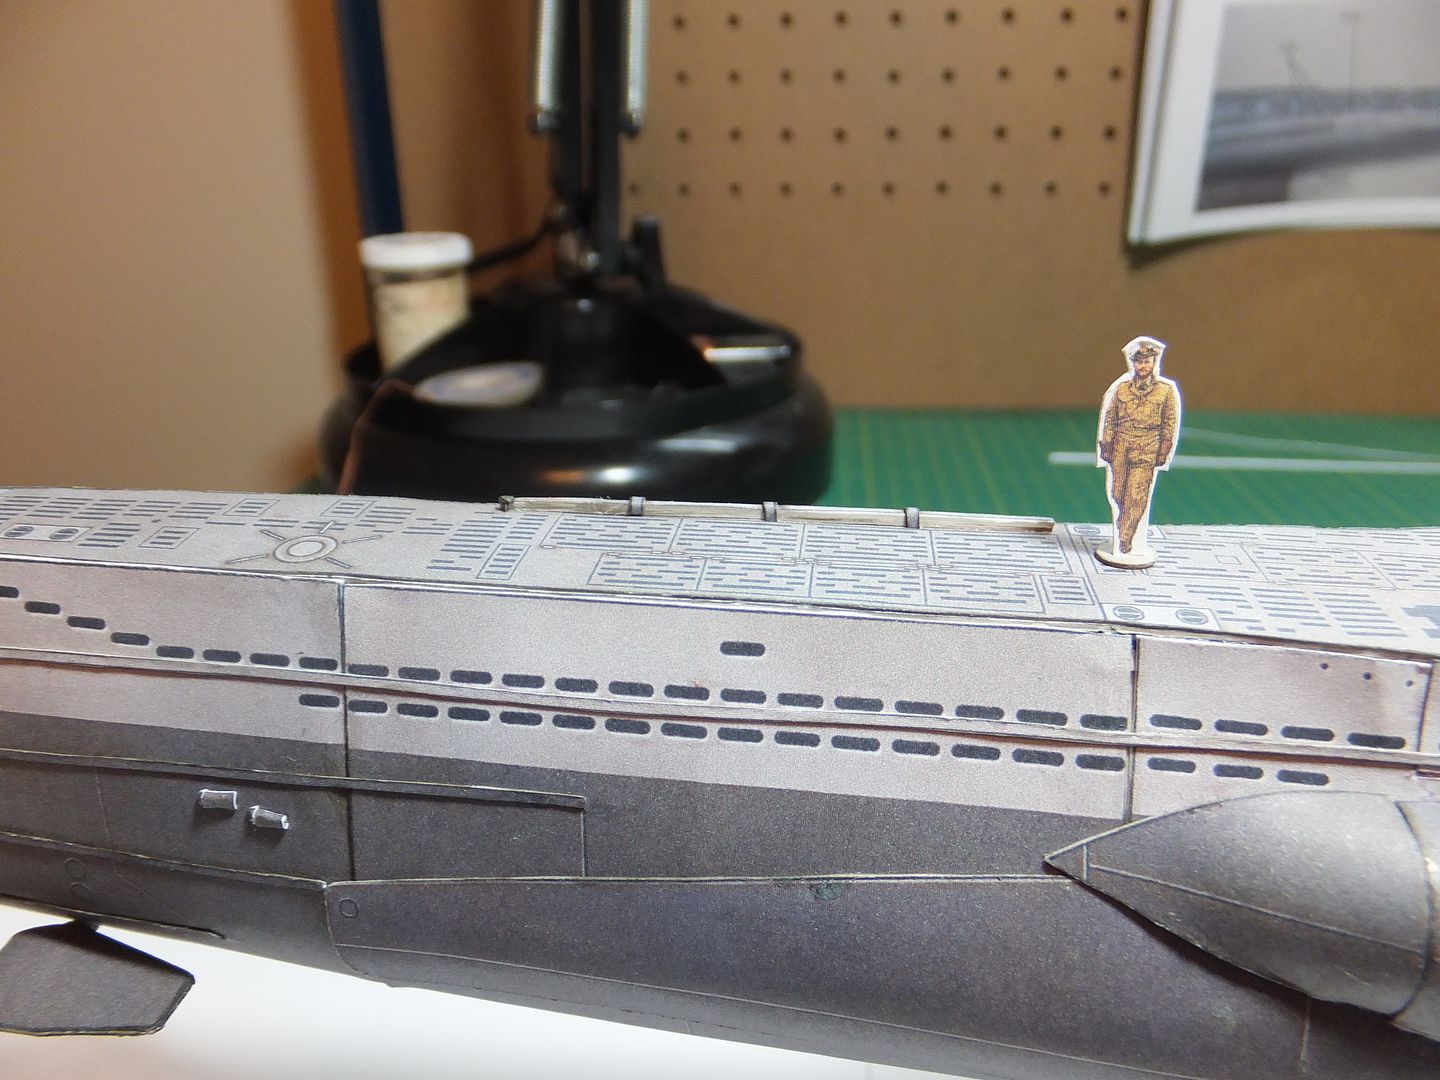 Today have been working on 2 of the hatches. forming the dome of the hatch was no problem, but those nuts for the hinge arms were fun. 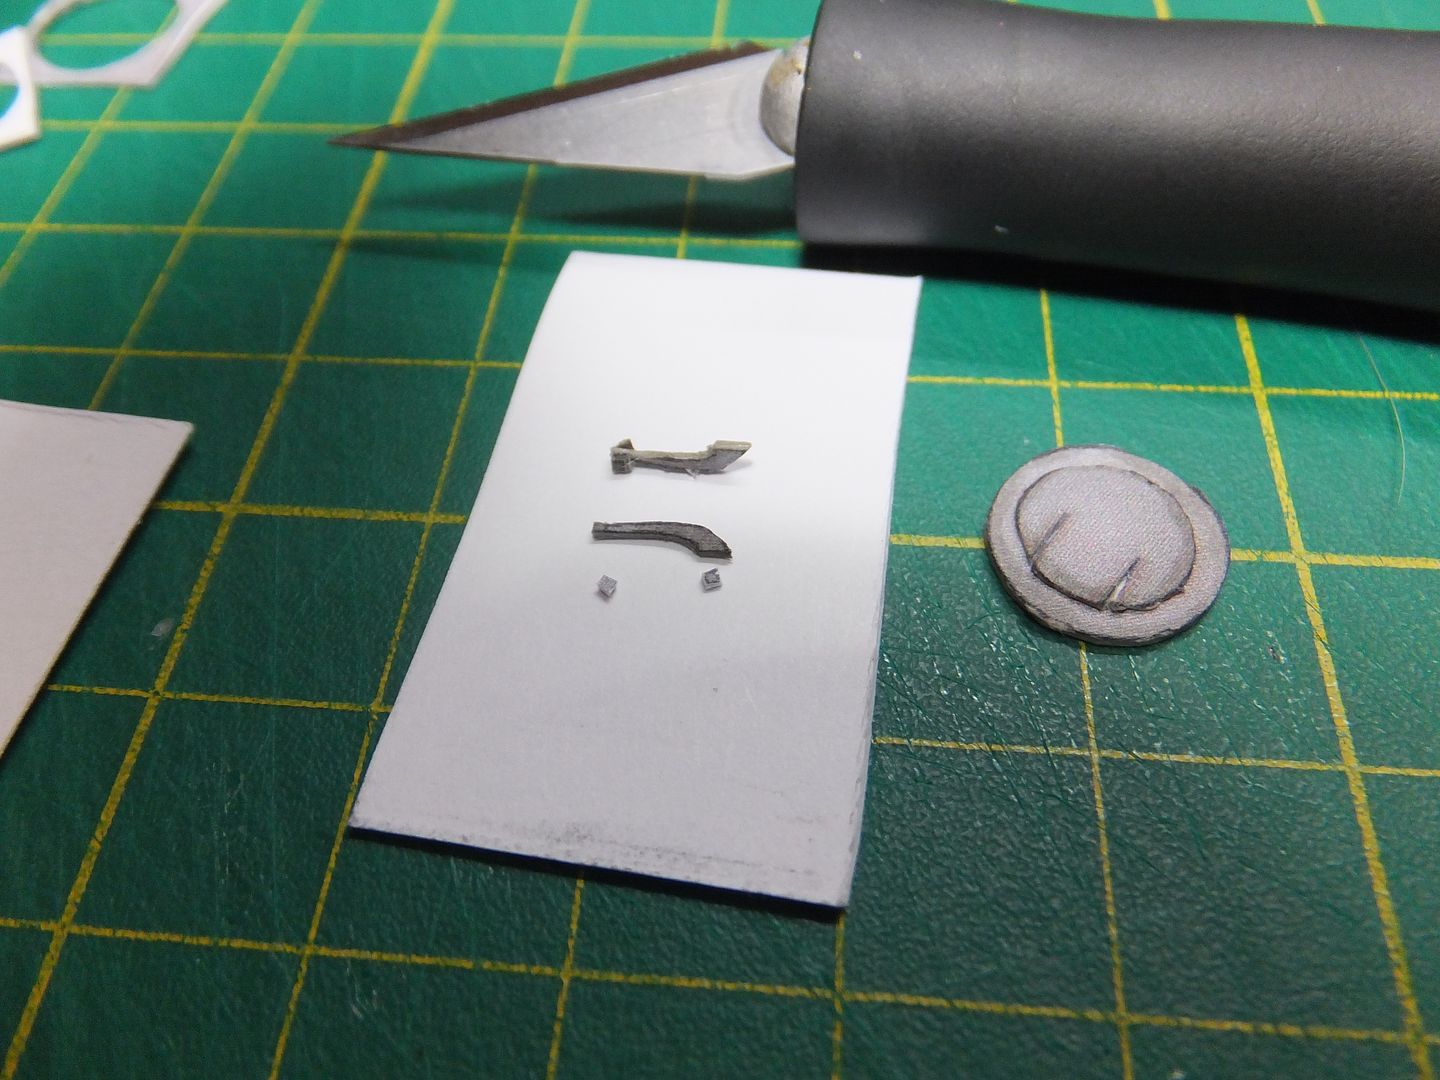 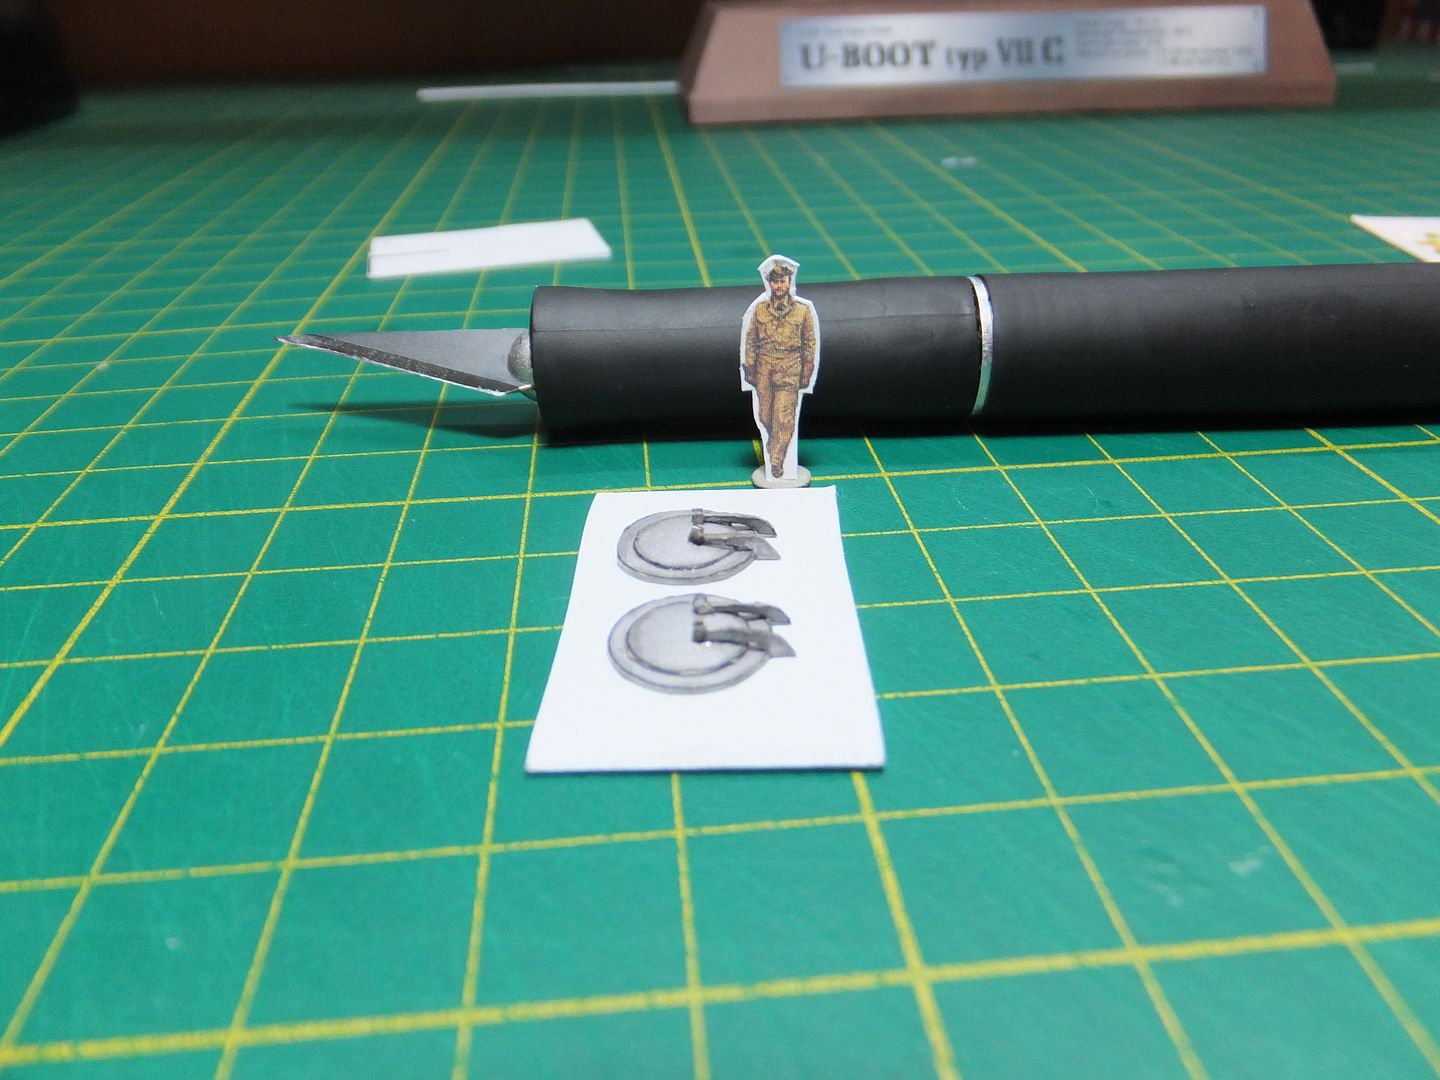 The hatches installed. 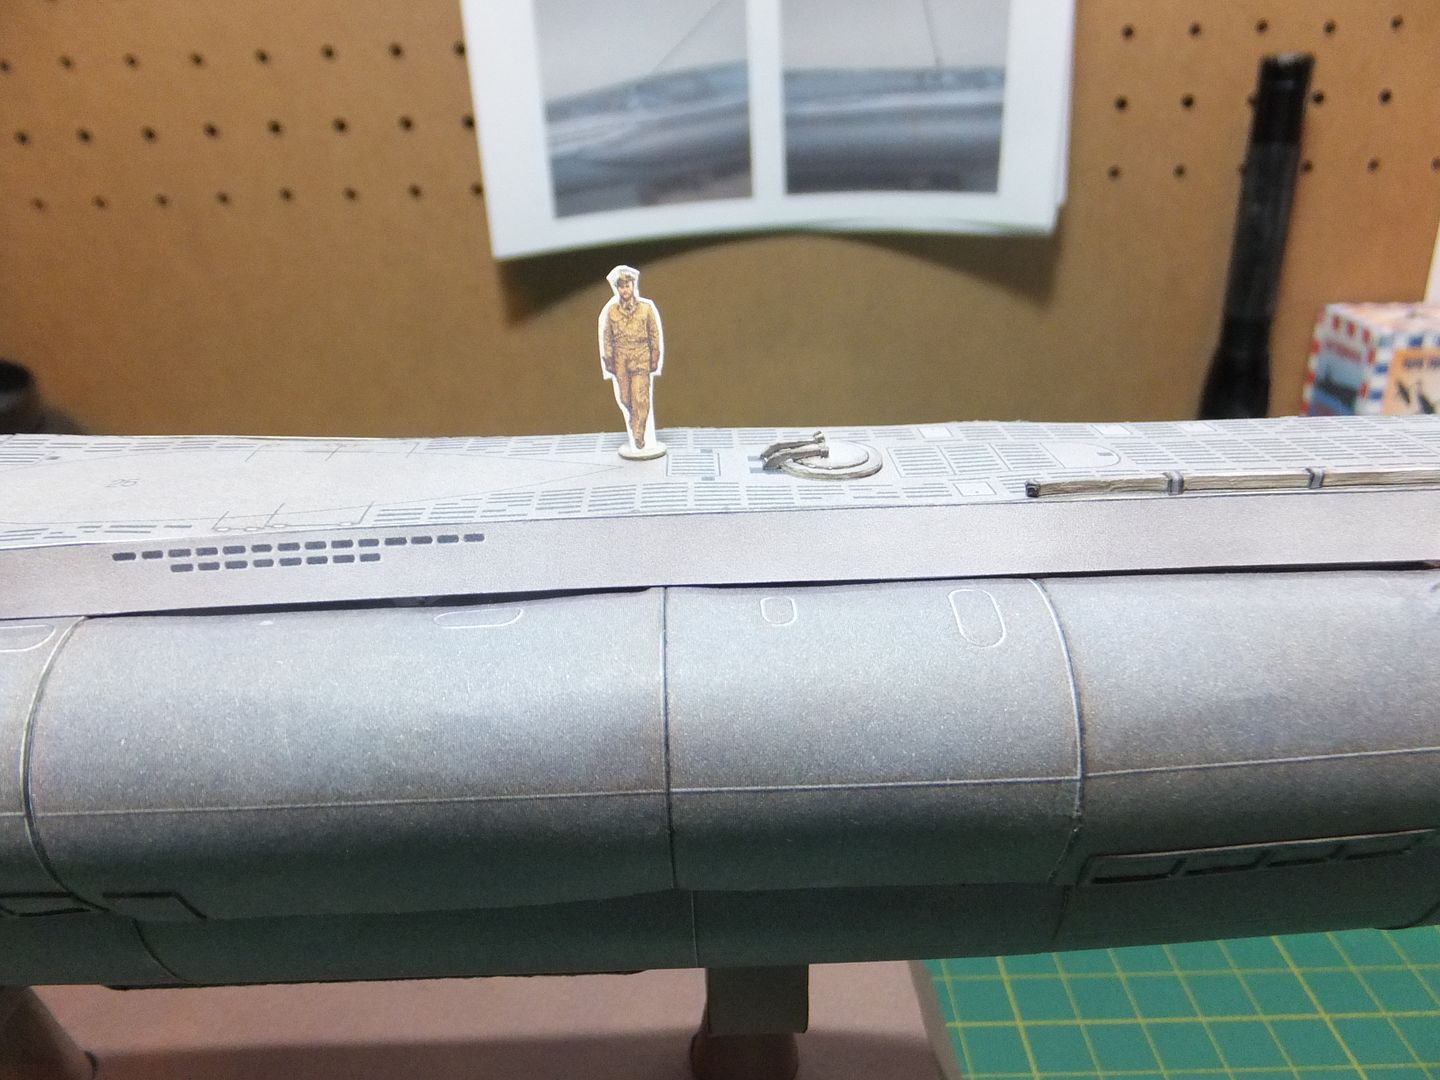 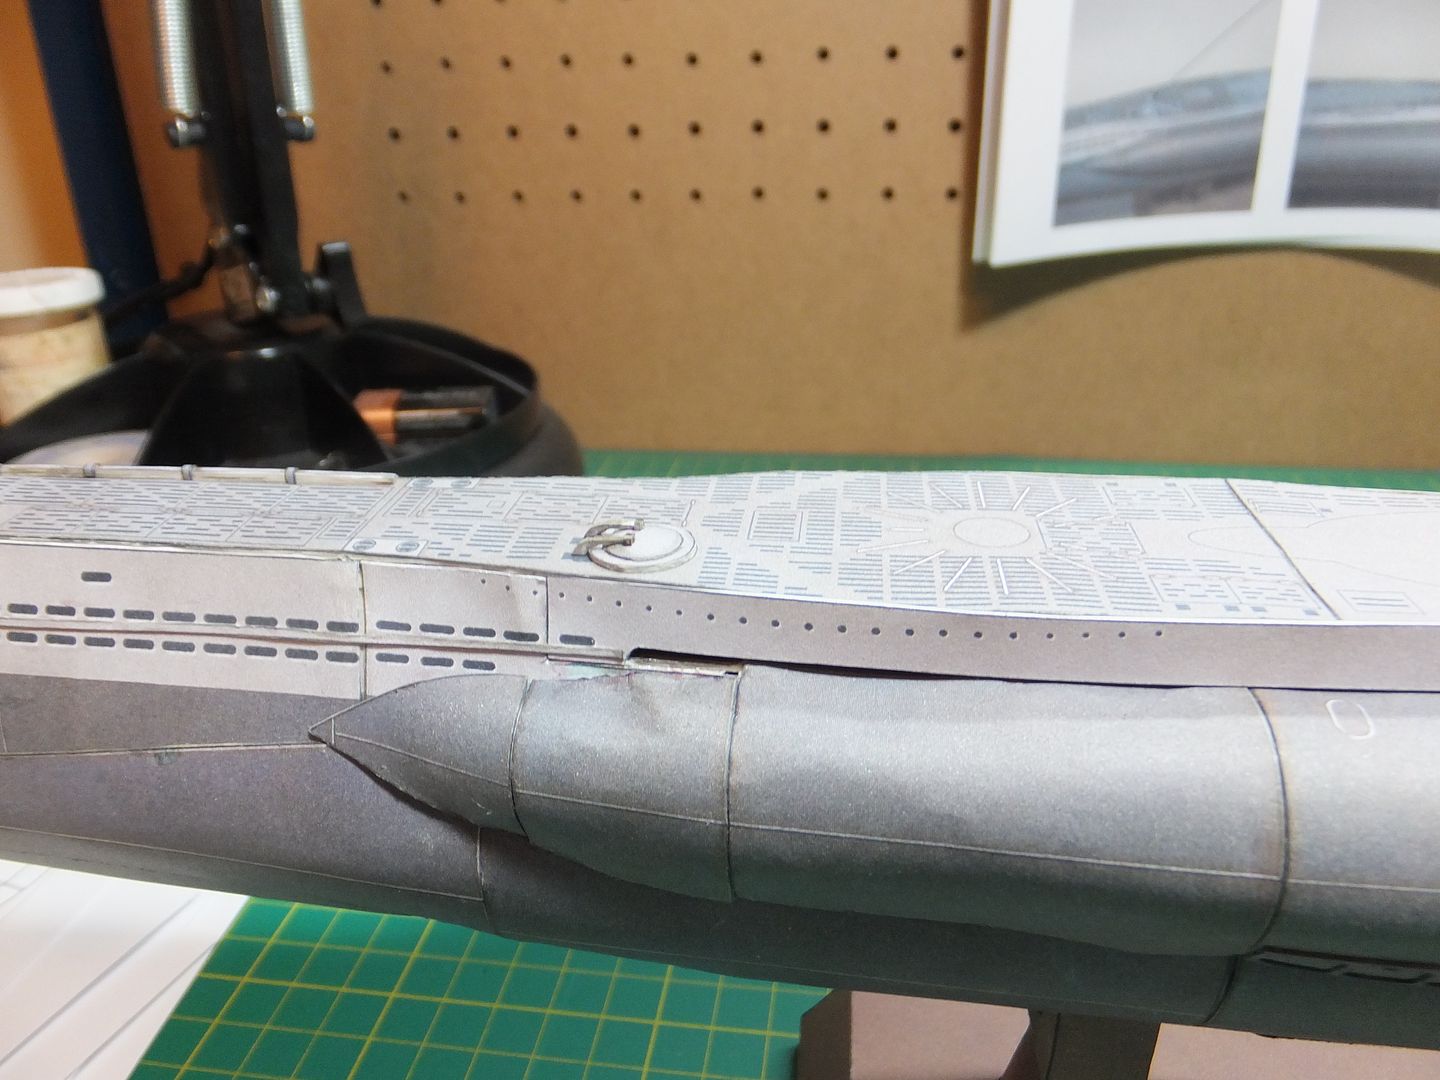 An updated side view. 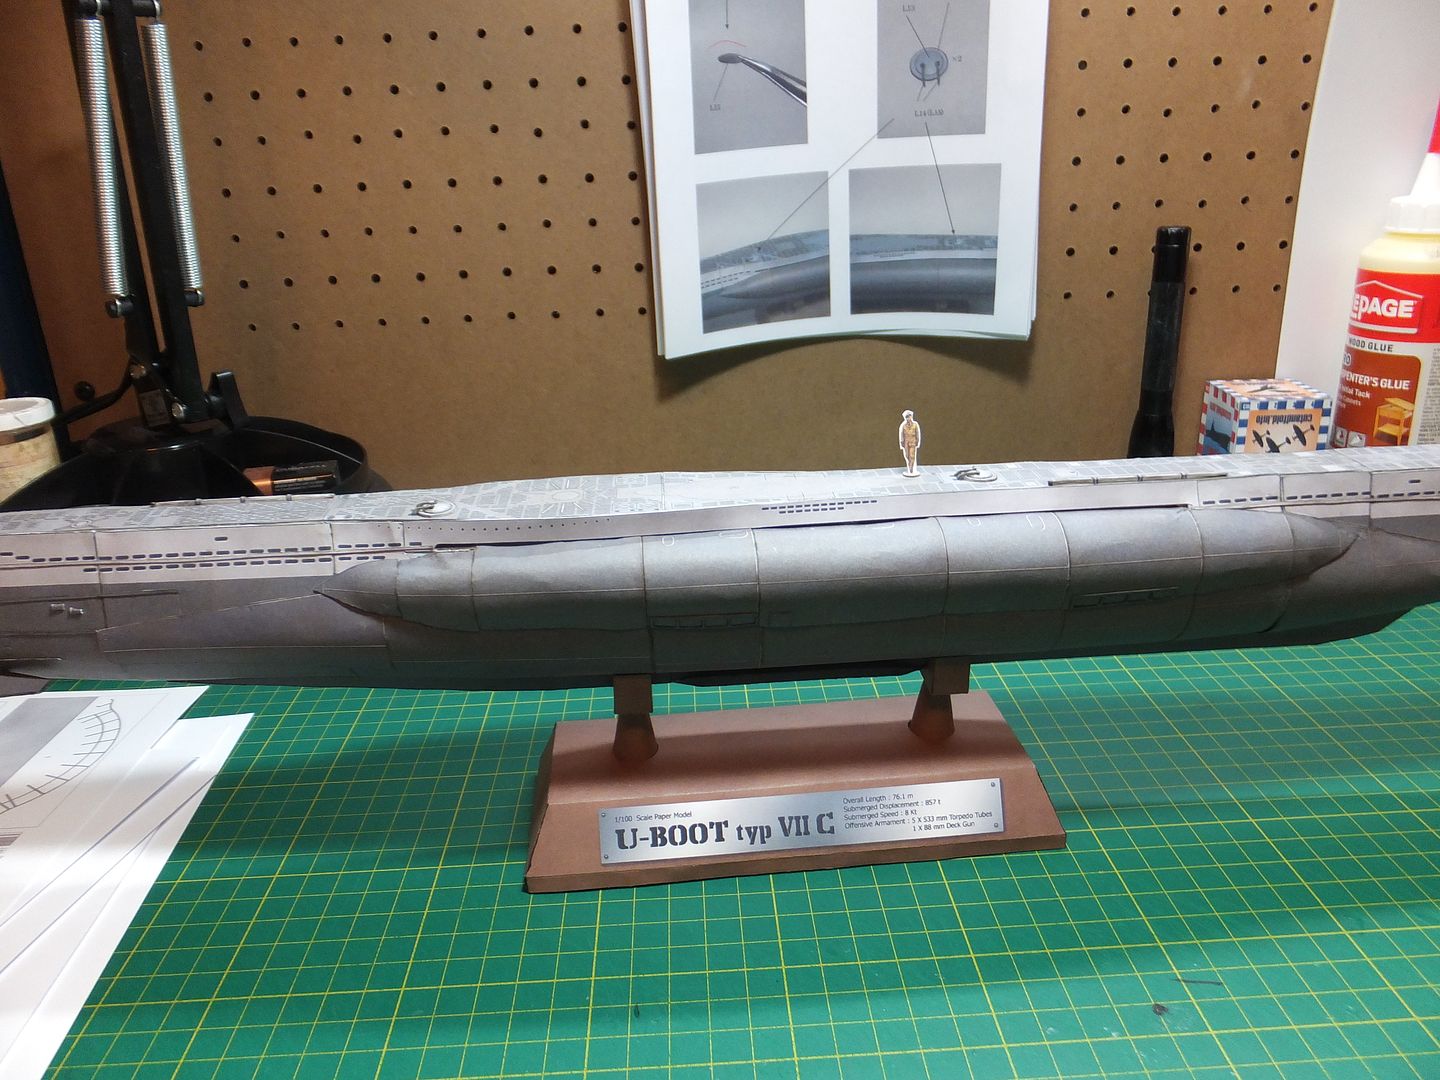 Now that I am working topside this is where this sub is coming to life. Thank you for watching. Jim
|
|
#38
04-01-2013, 10:30 PM
|
|||
|
|||
|
The easiest work around regarding A4 format in US, I found, is to use 115gsm artist 9x12 slicing off 1/2" to feed into inkjet printer. Then spray with acrylic to get +-160gsm. I had tried all sorts of ideas to get the extra 1/4" on letter to no avail without rescaling. Another idea is to use legal and laminate to another 20# to get card weight. The GP cardstock seems to delaminate so I think it is just two 20#.
|
|
#39
04-02-2013, 08:04 AM
|
||||
|
||||
|
Thank You CNT for the info.
Jim
|
|
#40
04-02-2013, 07:02 PM
|
||||
|
||||
|
Hello all. This is tonight's update.
Added some more detail to the deck today. Aft. 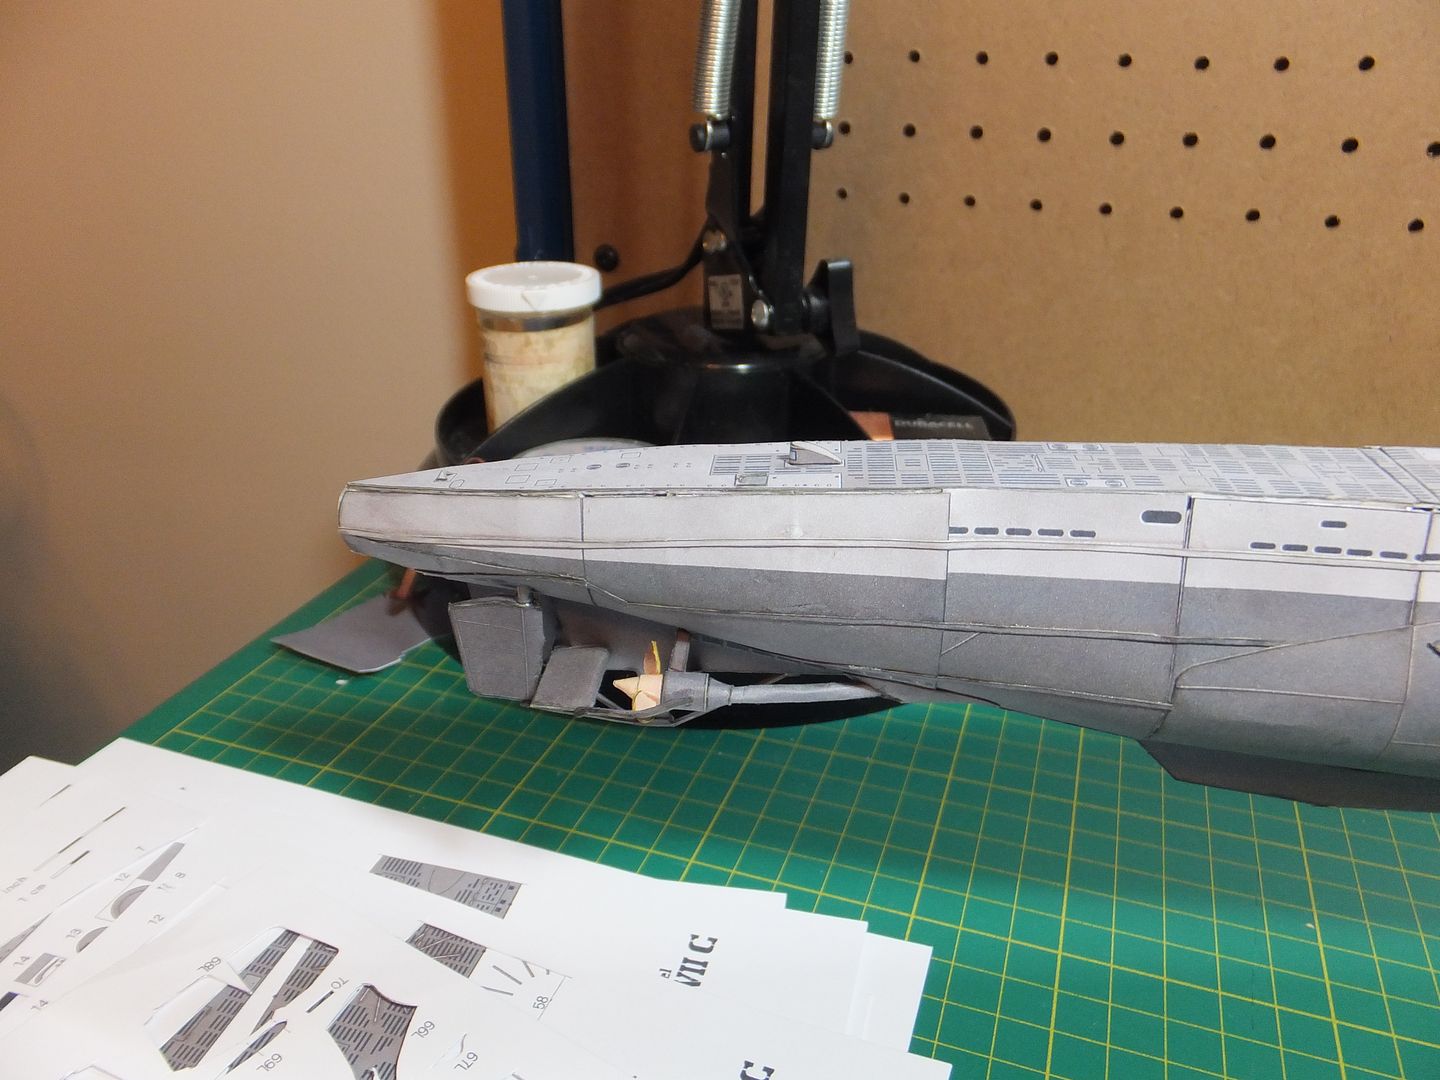 And forward. 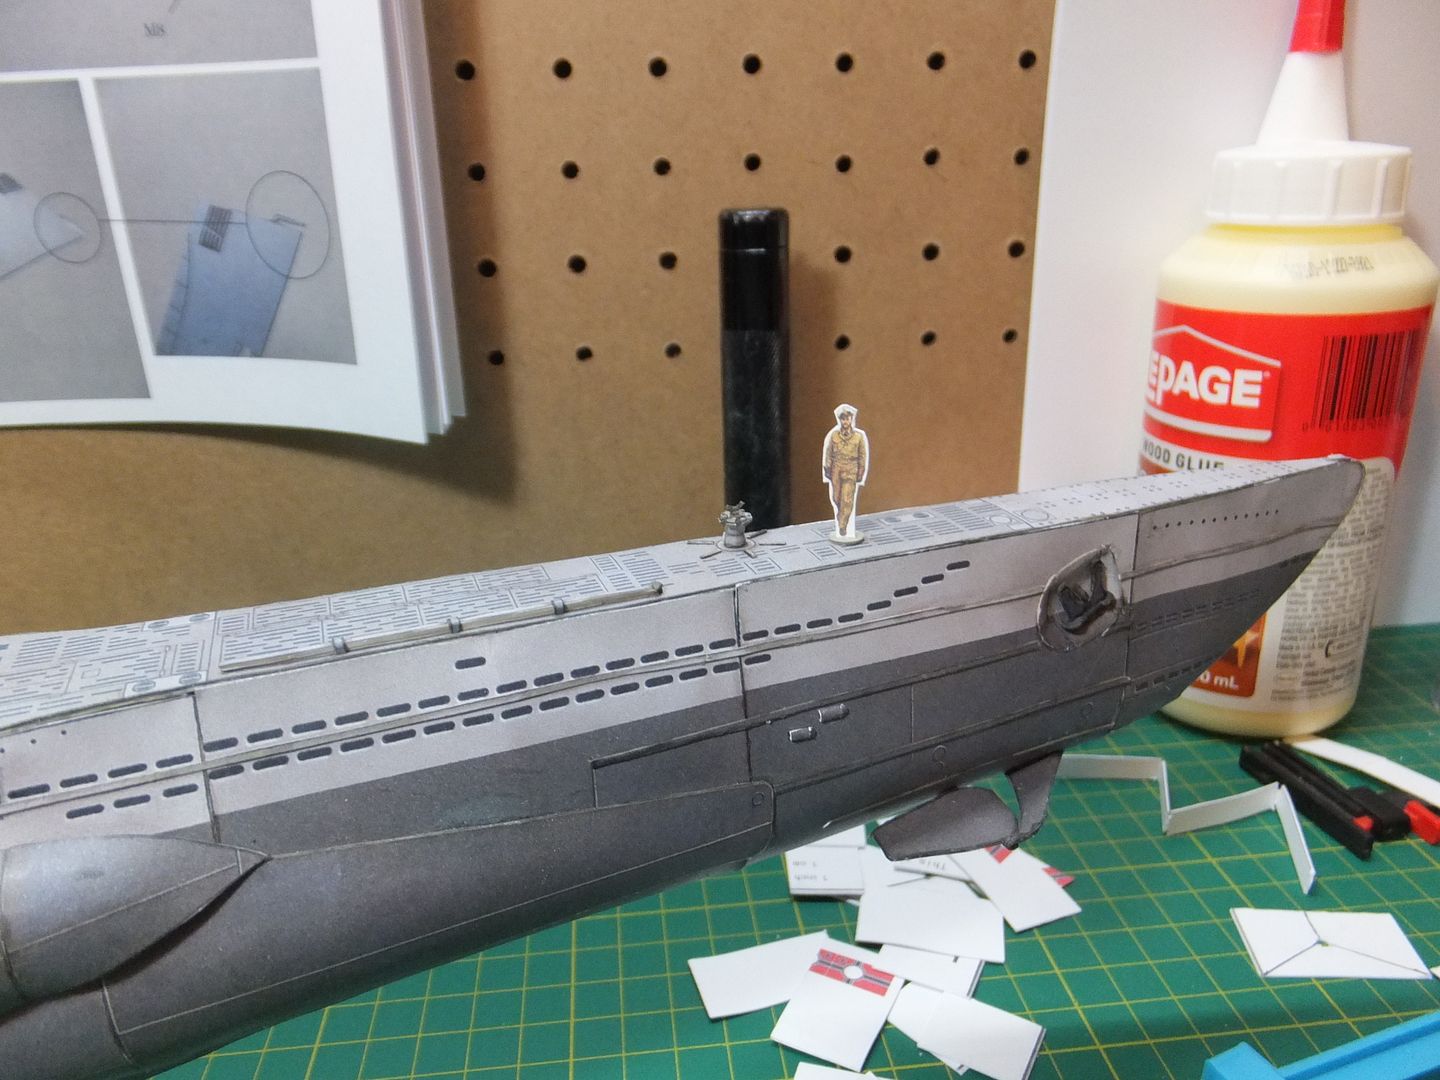 This main item, ( I do not know at this point what it is called.) took a bit of time to assemble. It consisted of 15 parts all small, but I like how it turned out. This afternoon started on the construction of the conning tower. It is quite detailed and will probably take a while to complete. 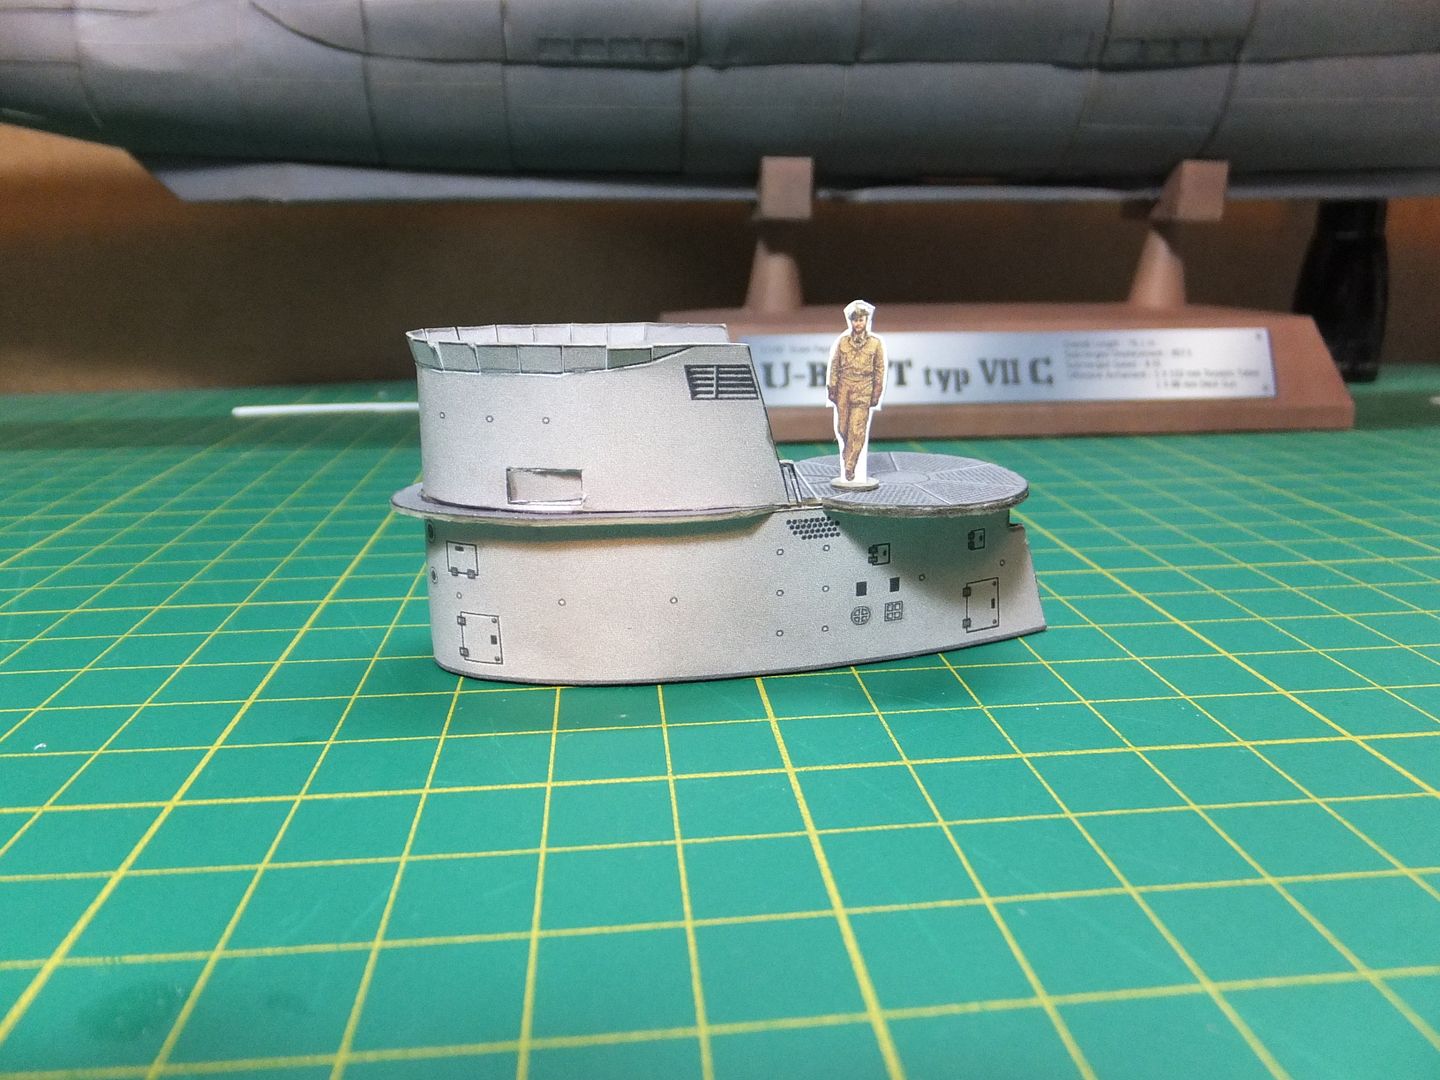 This is where I am at this evening. Thanks for watching. Jim
|
| Google Adsense |
 |
|
|


 Linear Mode

