PaperModelers.com

Go Back   PaperModelers.com > Designers Corner > Software

Reply
 
Thread Tools Display Modes
  #21  
Old 09-26-2012, 03:35 AM
thorst thorst is offline
Member
 
Join Date: Jan 2011
Posts: 943
Total Downloaded: 7.44 MB
The layer work is basically the same as in photoshop, the differences are just where to find the commands... I customized GIMP to have the same key shortcuts like PS (at least for the commands I need), I really don't see a lot of difference here.

Thorsten
Reply With Quote
  #22  
Old 09-26-2012, 04:34 AM
Les007's Avatar
Les007 Les007 is offline
Member
 
Join Date: Aug 2012
Location: Somerset
Posts: 80
Total Downloaded: 0
Cheers Thorsten

I'm trying, But as of yet no luck with any of the programs
Don't think I'm cut out for this PC lark. But will stick with it for now

Les
Reply With Quote
  #23  
Old 09-26-2012, 06:15 AM
jleslie48 jleslie48 is offline
Member
 
Join Date: Aug 2007
Location: Airmont, NY
Posts: 1,152
Total Downloaded: 528.35 MB
Quote:
Originally Posted by Les007 View Post
Hi jleslie48
30 Seconds, impressive, Any chance that you could show me how you done it? with pic's if possible, easier to follow

Les
well maybe if I get some time later I'll take the snapshots, but here is the synopsis:

1) saved the first picture to my disk
2) saved the second picture to my disk
3) opened PSP60, and browsed to the directory I saved the pictures at.
4) opened the first picture.
5) under Image->Canvas Size... I changed the canvas of the picture so it was twice as wide (plus a little) and increased the height just a bit too just in case. oriented the picture so the new canvas was all the way to the right.
6) opened the second picture. ^A selects the entire canvas, ^C copies it to the clipboard. closed the second picture.
7) clicked on the first picture and then did an Edit->paste->pase as new layer.
8) ^D to De-select the entire layer.
9) In the layer pallete (I have psp always show the layer pallete and tools options pallete) I right-clicked on the new layer (layer1) and clicked on properties to change to 50% opacity.
10) ^A on the layer, switched tool to box tool. this allows me to drag the image of the second picture around, I aligned it so the overlap looks pretty good. Unfortunately, when you have the part selected its as 100% color so you can't see through it, You have to do a ^D to deselect, see the alignment and then do a ^A to reselect and move. keep doing this until is aligns.
11) when properly aligned, change the properties of layer1 back to 100% opaque.
12) merge the two layers into one, using layers->merge->all.
13 save picture.

in this case I reduced the picture by 50% afterwards so i could upload it. I also didn't trim with the box cut tool to square everything off, but that is no big. deal. Really, typing these directions is taking much longer than actually doing the procedure. It doesn't hurt that I have many of the hotkeys comitted to memory. for example merging all the layers for me is just <alt>LRM
Reply With Quote
  #24  
Old 09-26-2012, 11:10 AM
Les007's Avatar
Les007 Les007 is offline
Member
 
Join Date: Aug 2012
Location: Somerset
Posts: 80
Total Downloaded: 0
Cheers jleslie48
Thats a big help mate, And thanks for taking the time to do it. going to print it out now and see how it goes

Les
Reply With Quote
  #25  
Old 10-01-2012, 07:04 AM
Les007's Avatar
Les007 Les007 is offline
Member
 
Join Date: Aug 2012
Location: Somerset
Posts: 80
Total Downloaded: 0
Well Folk's it didn't go well, In fact I failed miserably, So I have given up on the whole layer thing

Anyway, thanks to every one who tried to educate.

Les
Reply With Quote
Google Adsense
  #26  
Old 10-01-2012, 07:19 AM
jleslie48 jleslie48 is offline
Member
 
Join Date: Aug 2007
Location: Airmont, NY
Posts: 1,152
Total Downloaded: 528.35 MB
yeah, you can read a whole lot of books on skiing, but it won't take the place of lots and lots of time falling down a mountain.
Reply With Quote
  #27  
Old 10-01-2012, 07:32 AM
Les007's Avatar
Les007 Les007 is offline
Member
 
Join Date: Aug 2012
Location: Somerset
Posts: 80
Total Downloaded: 0
So true my friend, So true Give me a wooden ship anyday.

Les
Reply With Quote
  #28  
Old 10-01-2012, 07:35 AM
jleslie48 jleslie48 is offline
Member
 
Join Date: Aug 2007
Location: Airmont, NY
Posts: 1,152
Total Downloaded: 528.35 MB
Quote:
Originally Posted by Les007 View Post
So true my friend, So true Give me a wooden ship anyday.

Les
Lol, I'm in the middle of a boat build right now, adding a lot of wood to the paper model though.


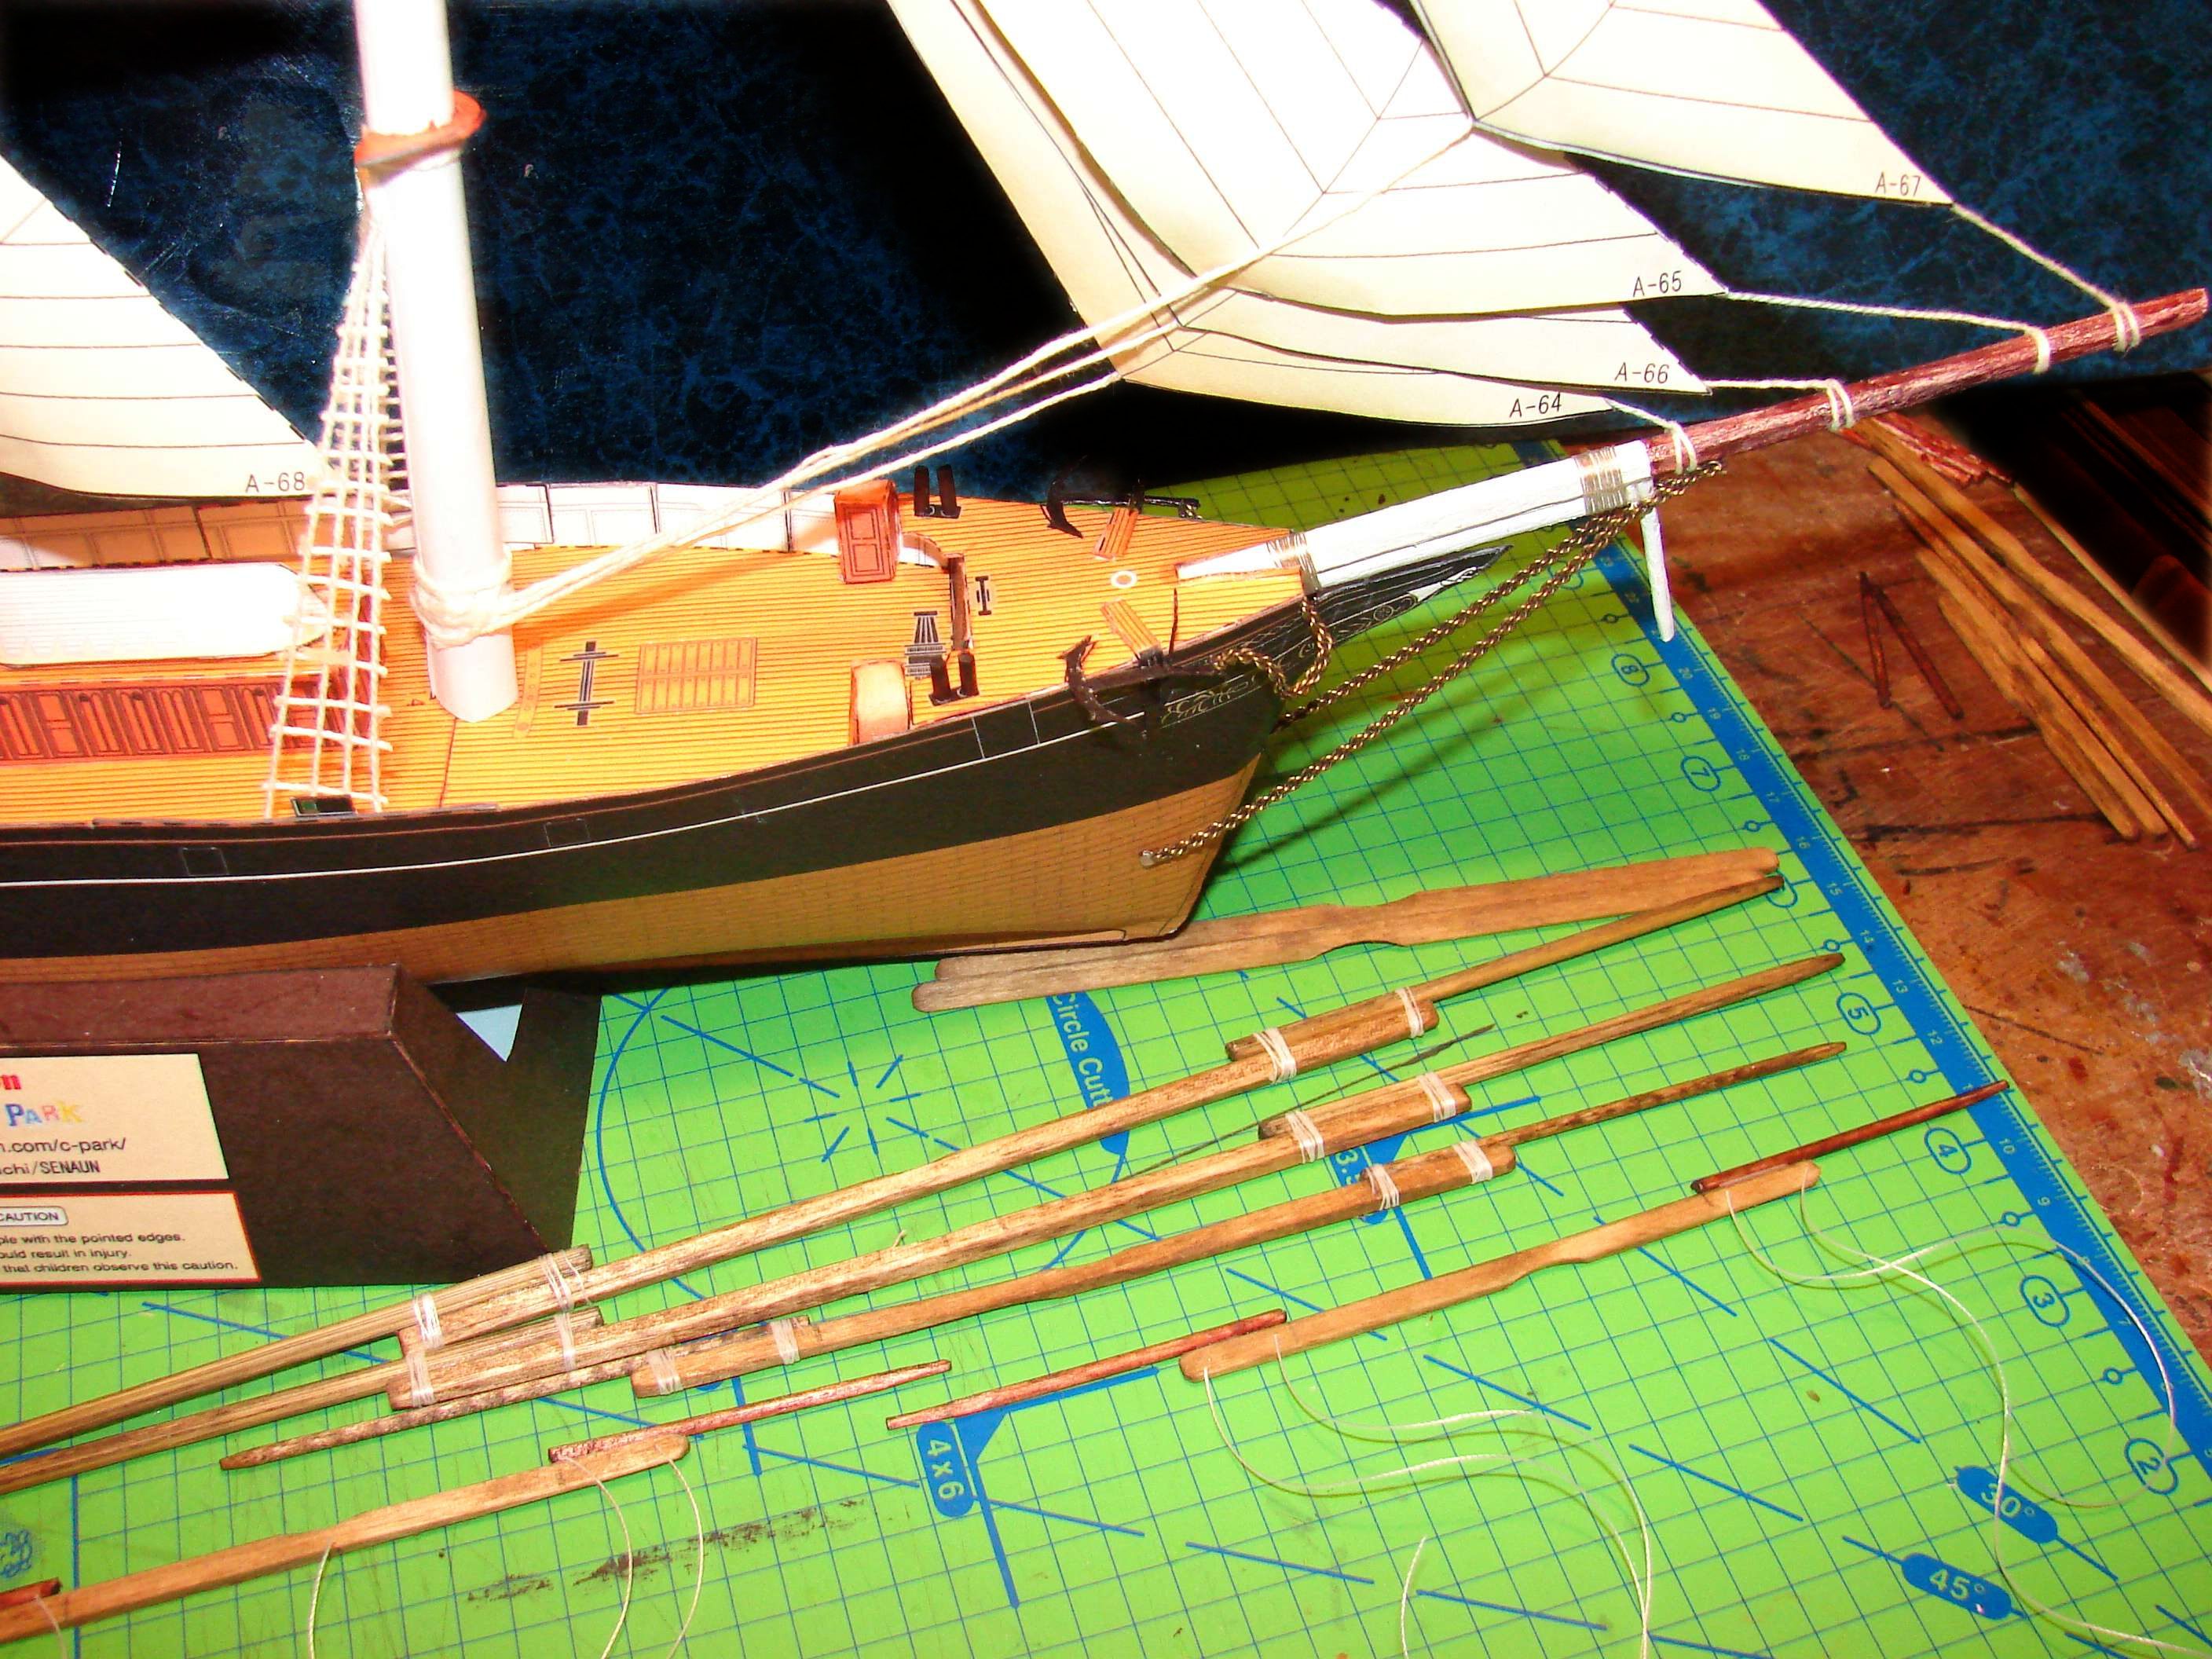
and I converted the entire model from PDF, to Jpg enlarged it and had to splice and combine all the model parts up to fit on my paper.
Reply With Quote
  #29  
Old 10-01-2012, 07:43 AM
Les007's Avatar
Les007 Les007 is offline
Member
 
Join Date: Aug 2012
Location: Somerset
Posts: 80
Total Downloaded: 0
Yah,Yah, Smart Ass, But that is a good looking ship you have there, More my style, Except no Gun's

Les
Reply With Quote
  #30  
Old 10-01-2012, 07:49 AM
jleslie48 jleslie48 is offline
Member
 
Join Date: Aug 2007
Location: Airmont, NY
Posts: 1,152
Total Downloaded: 528.35 MB
Quote:
Originally Posted by Les007 View Post
Yah,Yah, Smart Ass, But that is a good looking ship you have there, More my style, Except no Gun's

Les
hey, If you had any idea how many hours and hours and hours I put into learning paint shop pro so I COULD get to the point to be able to do those kind of manipulations, you'd never touch a paper model again. My version of paint shop pro I use is 6.0, from 1999. People ask me why I don't use [xyz] and its because I will not go through another learning curve like that again.
Reply With Quote
Google Adsense
Reply


Posting Rules
You may not post new threads
You may not post replies
You may not post attachments
You may not edit your posts

BB code is On
Smilies are On
[IMG] code is On
HTML code is Off

Forum Jump


All times are GMT -6. The time now is 04:37 AM.


Powered by vBulletin®
Copyright ©2000 - 2024, Jelsoft Enterprises Ltd.

Parts of this site powered by vBulletin Mods & Addons from DragonByte Technologies Ltd. (Details)
Copyright © 2007-2023, PaperModelers.com