


|
|
|
#1
 09-14-2010, 03:57 PM
|
|||
|
|||
|
Heat Reactivated Card Stock Gluing
Heat reactivated gluing is a method of joining paper model card stock parts. It offers an alternative to joining parts while the glue is still wet. The advantages of this method are little to no glue being squeezed from between the joint onto joiner tabs or the beauty surface of the model itself, the ability to precisely align the parts with no premature or delayed glue grab and no softening of the parts being joined. It can produce a really accurate and nearly invisible joint. The heat reactivation method of gluing is not an original idea. It came from the Model Rocket community for making body tubes. I am just applying the technique to general purpose card modeling. If I knew the author of the original idea I would give him or her credit but I do not know who first came up with the idea. This method is best used for laminating, gluing cylinders and cone shaped parts. It requires a solid surface under the joint area to allow pressure to be applied from a sealing iron. 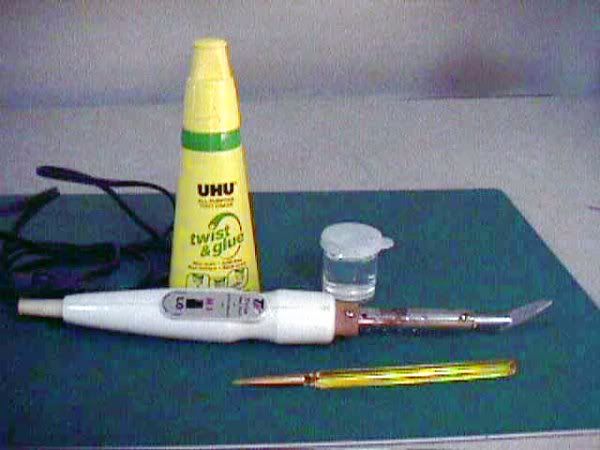 The supplies needed for this tutorial are:
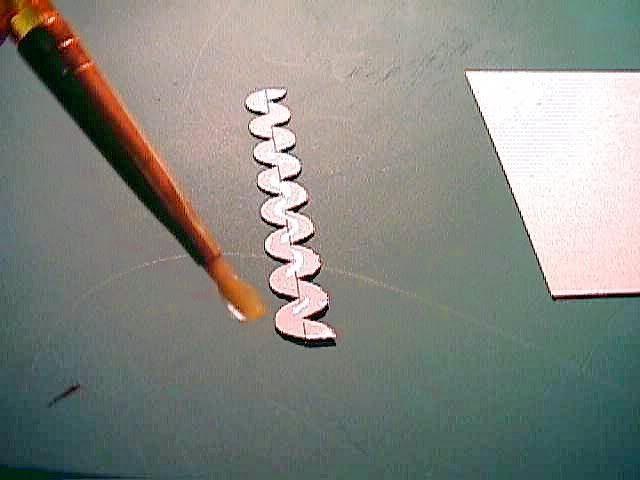 A glue that has the heat reactivation property is applied to all contacting surfaces and allowed to dry. This means that both surfaces of a joint that will contact each other will have a layer of dried glue. Here the joiner tab has glue being applied. Note how a fairly heavy application of glue is used so that after evaporation there is enough glue solids remaining to make a good joint. 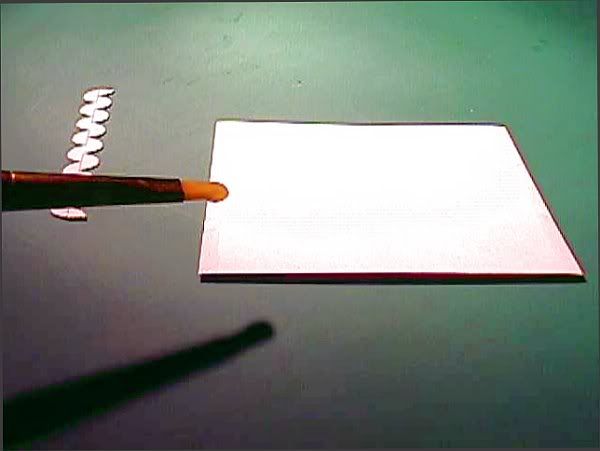 Glue is applied to the next contacting surface on the left side of the joint. 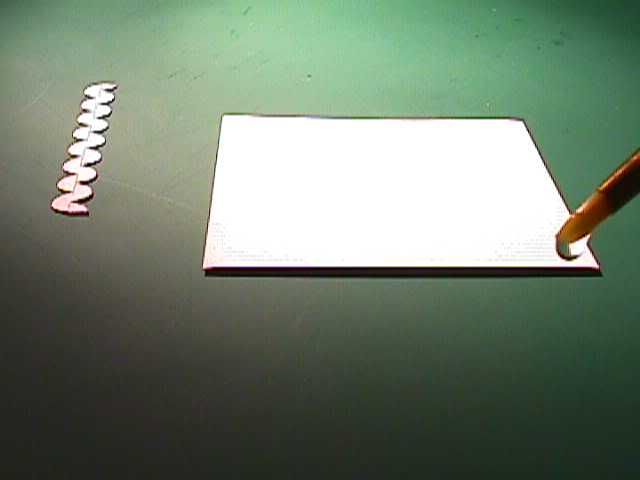 The final surface of the joint on the right side has glue being applied.  The glue is allowed to fully dry, this is the dried appearance when the proper amount of glue has been applied. 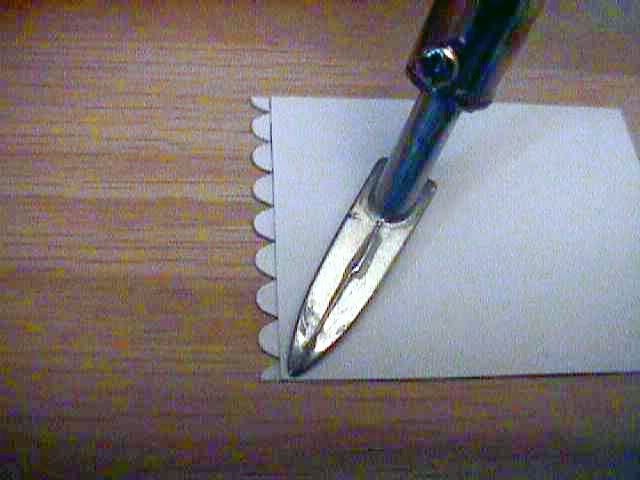 The sealing iron is set on the Hi setting and gentle pressure is applied while ironing. 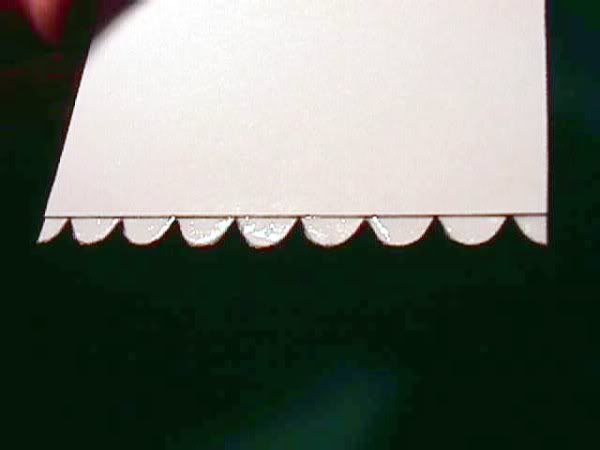 The first half of the joint is completed and is stronger than the card stock. 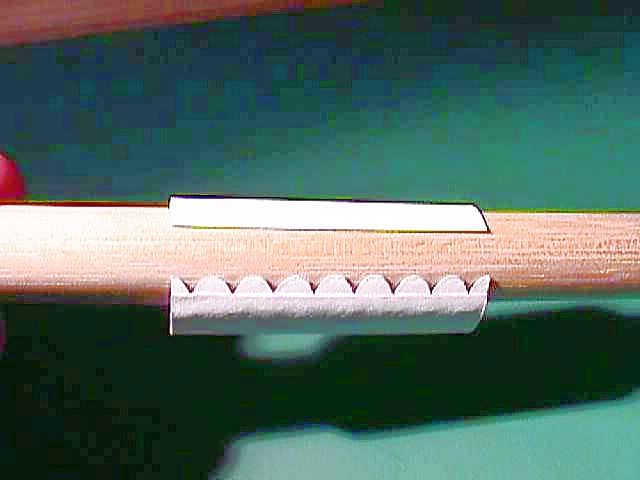 The part is then formed around a dowel to make joining easier. 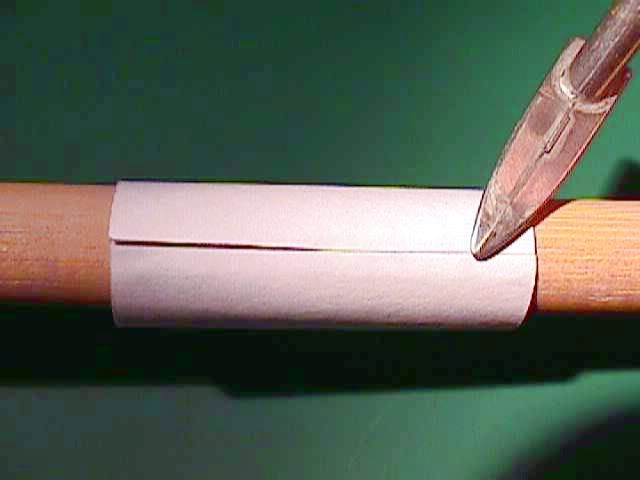 The joint is ironed in order to heat reactivate the dried glue. You can tack the part together prior to sealing the entire joint when desired or needed. The joint would be nearly indistinguishable if not for the black line from the printer. 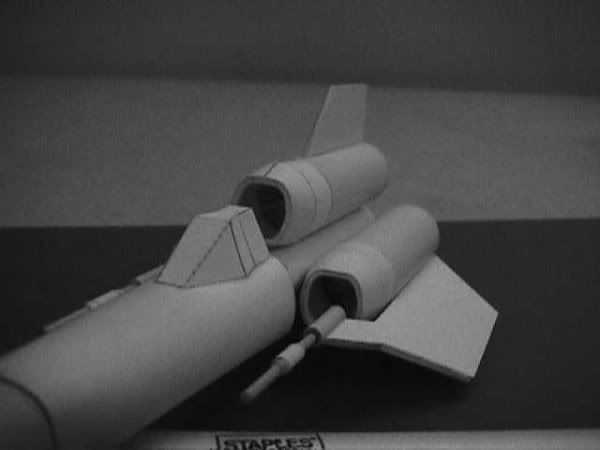 The example cylinder is for the main engines on a Viper model that I have designed. It is a flyable model rocket that did not start out as a 100% card stock model. The non card stock parts such as the laser canons and model rocket body tubes are currently being replaced with card stock versions. 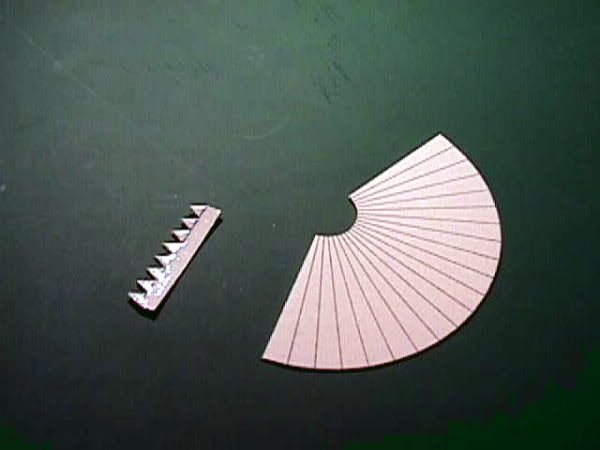 This is a cone being prepared for heat reactivated gluing.  A dowel is inserted through the cone to provide a firm surface to iron against. 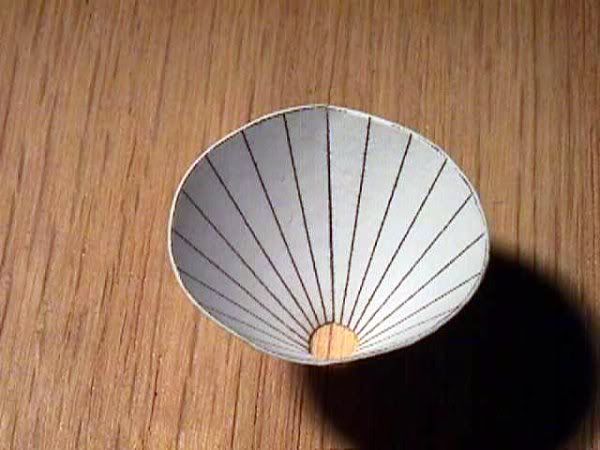 The joint on this completed cone is along the centered upper vertical line and is nearly indistinguishable from the rest of the part. With practice you really can achieve a joint free appearance without glue having been squeezed out of the joint like can happen with a wet glue joint or indentations from pressure applied to a softened card stock part. Always remember to apply glue to both contacting surfaces or the glue joint will not be very strong. In the liquid state the glue penetrates the paper, in the dried state the glue will adhere to itself under the application of heat. A fun part of this is trying different glues to see which ones have the heat reactivation properties needed for this technique. I would like to invite those of you that try this method and like it, to test the various glues you have in your inventory and add to this post with your results. Always tear apart the tested glue joints to make sure the paper tears at the joint and not in the middle of the glue layers. I have been using UHU all purpose glue in the yellow bottle and a Top Flight Models Trim Seal Tool (iron). Not all glues have the heat reactivation properties and different glues can also vary in effectiveness or degrees of adhesion when heat reactivated. I have found that UHU all purpose glue has excellent properties for this method. On a final note, please be extremely careful with hot irons. They can and will burn you if you inadvertently contact the hot surface. This technique is not recommended for the younger card modelers among us. Also remember to turn the iron off and allow to cool in a safe place when you are done using it. Be as careful with the iron as you are with sharp knives and you will have a lot of enjoyment and satisfaction creating your card models. Happy Card Modeling,
- Denny 
|
| Google Adsense |
|
#3
09-14-2010, 06:45 PM
|
|||
|
|||
|
Very very cool technique. I had no idea that Uhu glue, which I also really like, had that property, likewise, I shall keep models out of extreme heat areas, as this may explain why some parts came apart (forced air heating!). Thanks for sharing.
|
 |
|
|


 Linear Mode

