


|
|
|
#12
 06-03-2011, 01:01 PM
|
||||
|
||||
|
Thank's my friends! In the weekend more to coming...

|
|
#13
06-06-2011, 09:33 PM
|
||||
|
||||
|
Resuming the work, in the last week a my work in this model is very few... But showing the last progress in this planes...
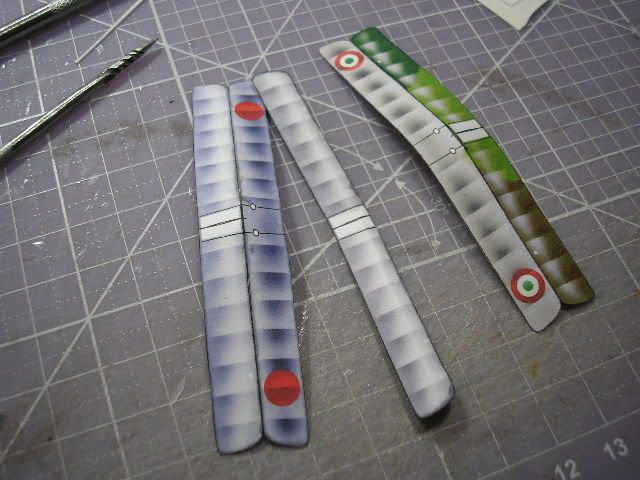
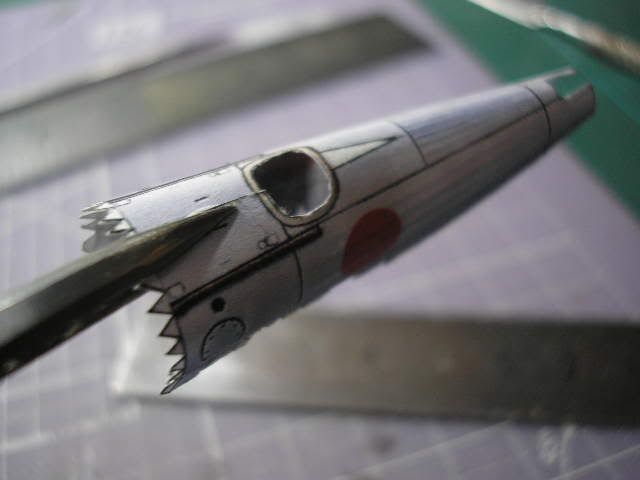 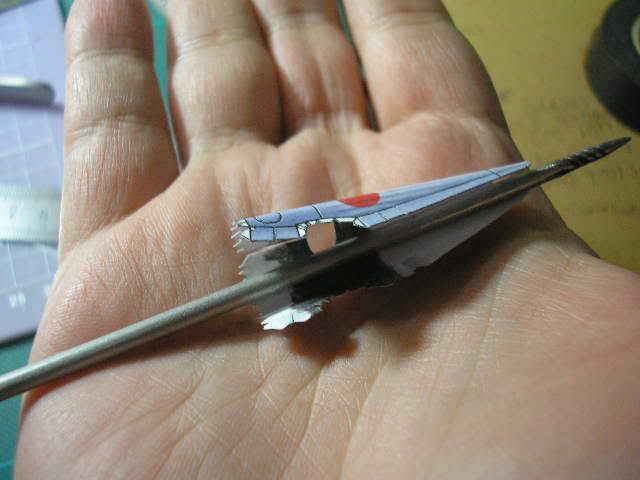 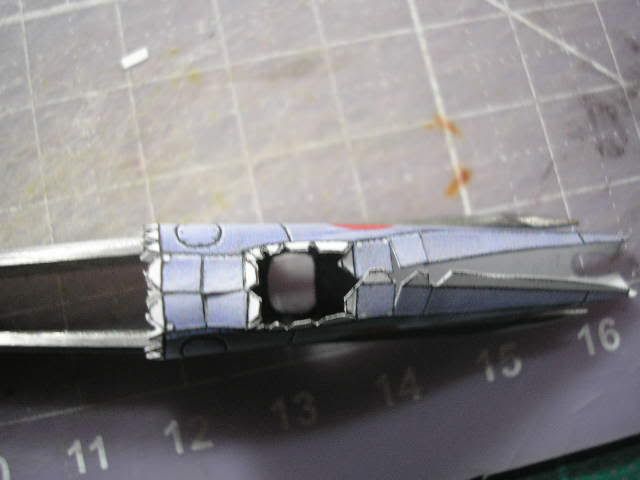  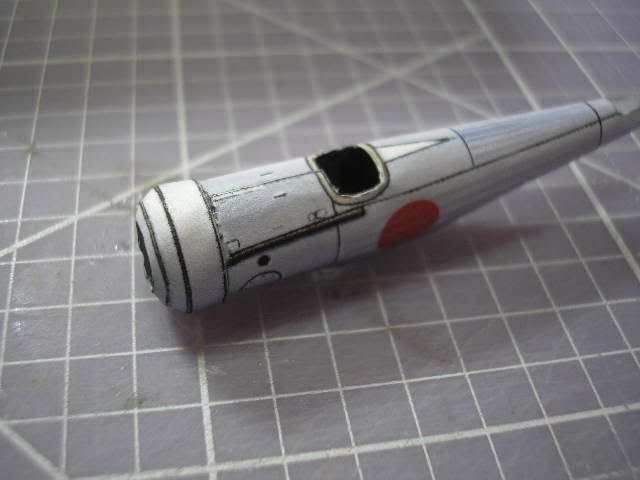 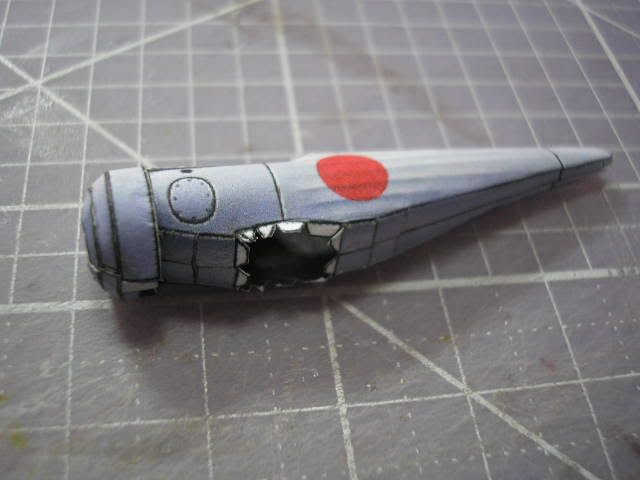 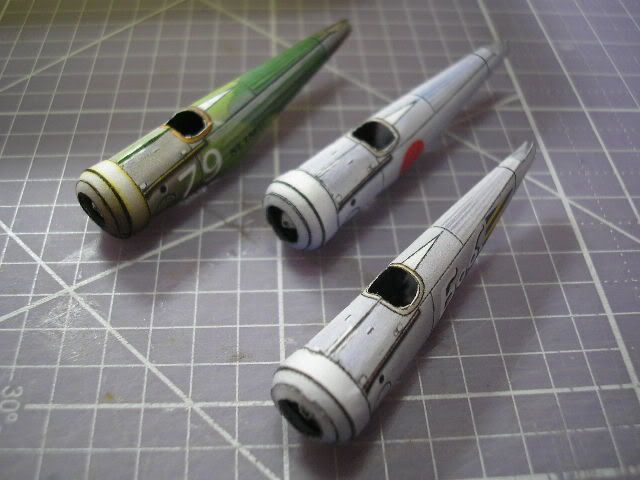 I promissed show the work to made a fuse of Nie 24, is a sequence of building, I glue first the gun area, rounder the fuse and glue the front, set the cownling and after gluing the rest... Continue...
|
|
#14
06-06-2011, 09:39 PM
|
||||
|
||||
|
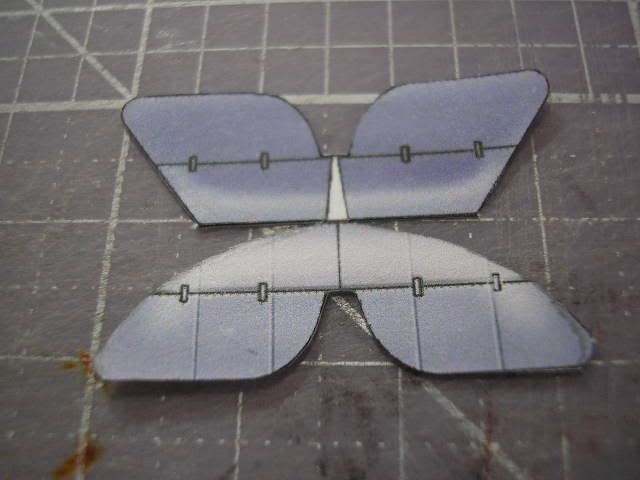
After I made the underwings, the model have a problem is a simulate correct the atack border of wing, for this i made tabs with 90 gsm paper to glue in front area, and duplex cardboard for internal reinforcement.
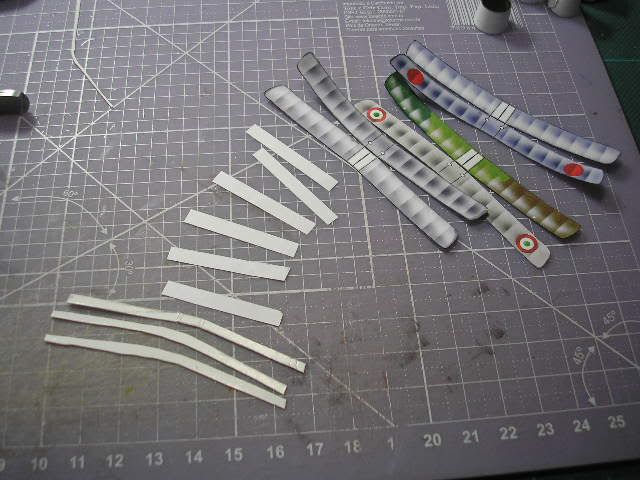 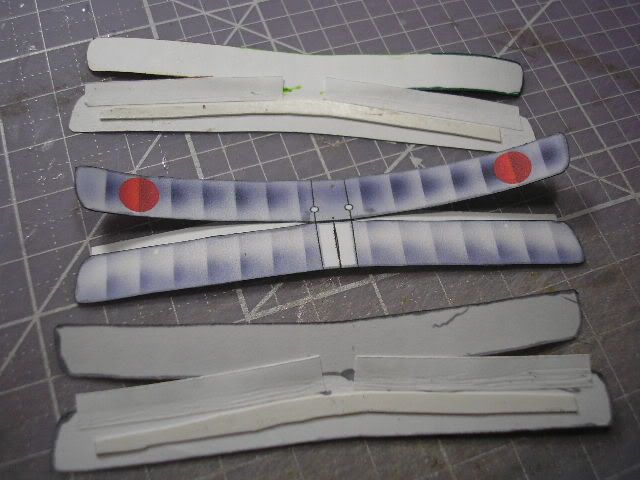   After a long dry I rounded and form the wings... 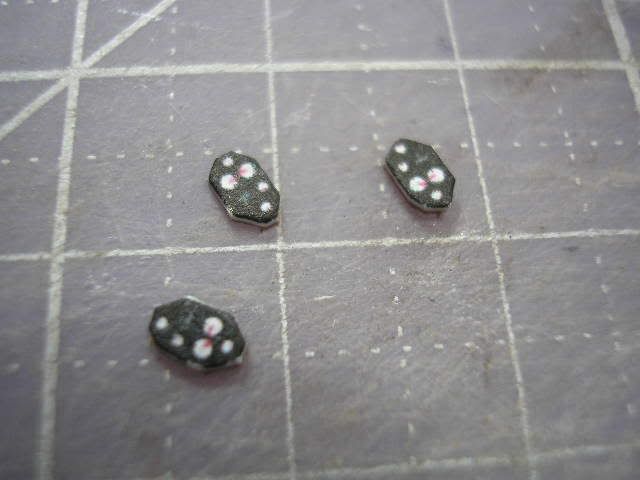 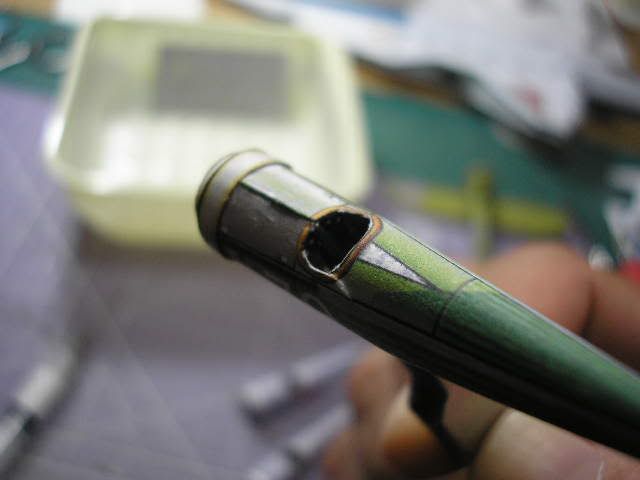 Before the gluing wings I gluing the instrumet board in this place in each plane... So I glued the wings... 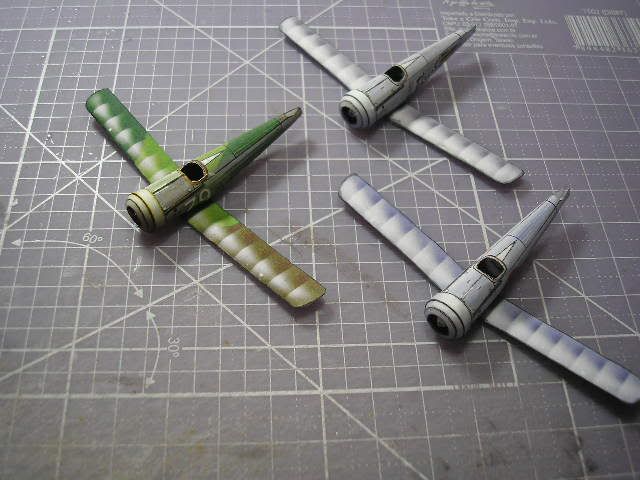 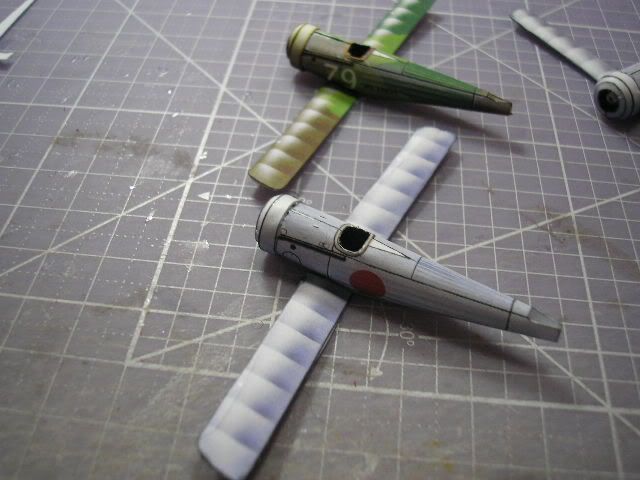 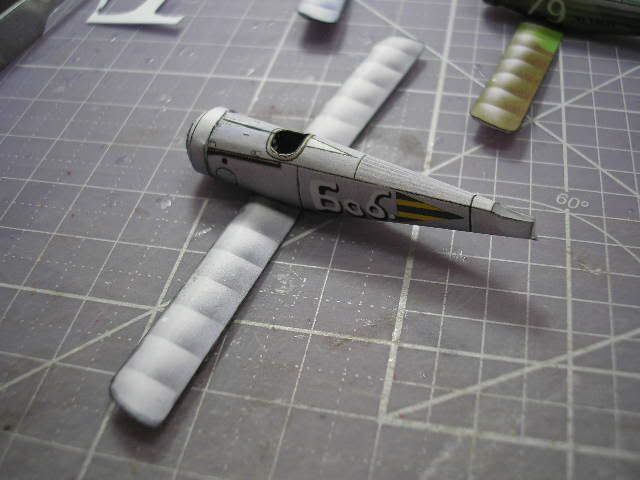 Next steps, tail, and undercarriage...
|
|
#15
06-08-2011, 03:52 PM
|
||||
|
||||
|
Another step done, at this time I build the tail of Nie 17/24, acording my first analisys in first post the major problem is a tail of Nie 24, need a small modification.
 I cut made a form in superior face, gluing and cut before... 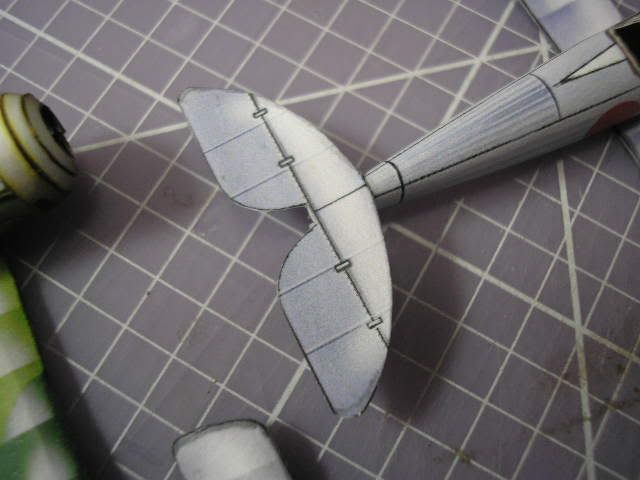 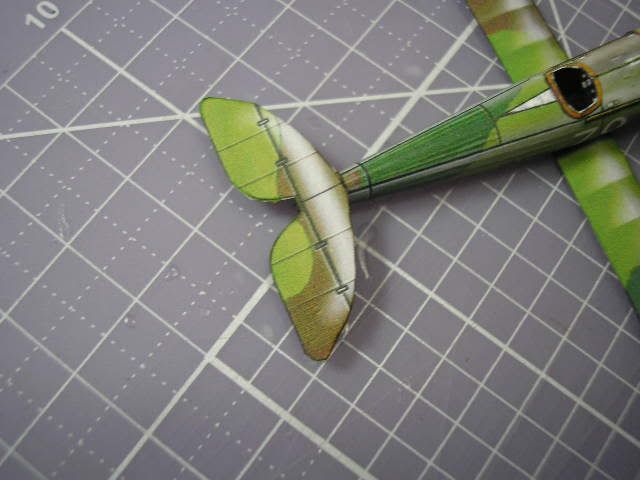 The same modification is made for Italian Nie 24... 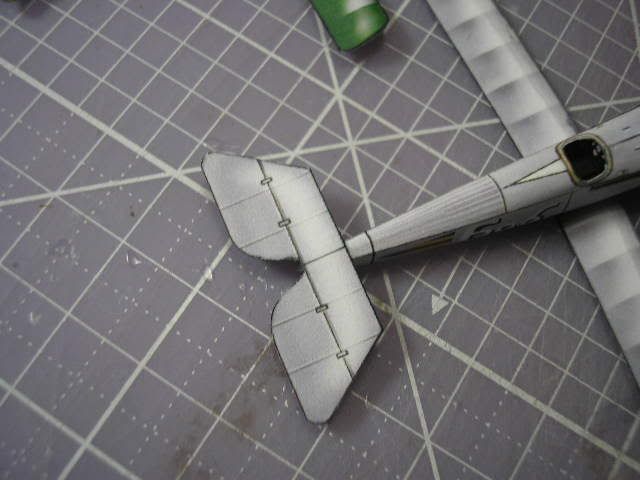 For Russian Nie 17 I use the original layout tail... 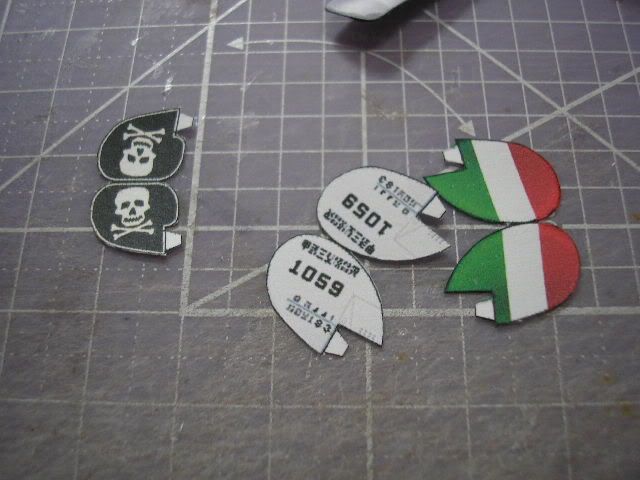 I cut and made each rudder... 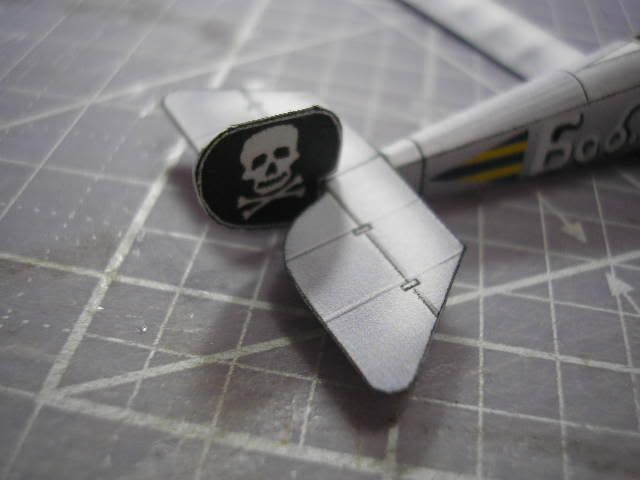 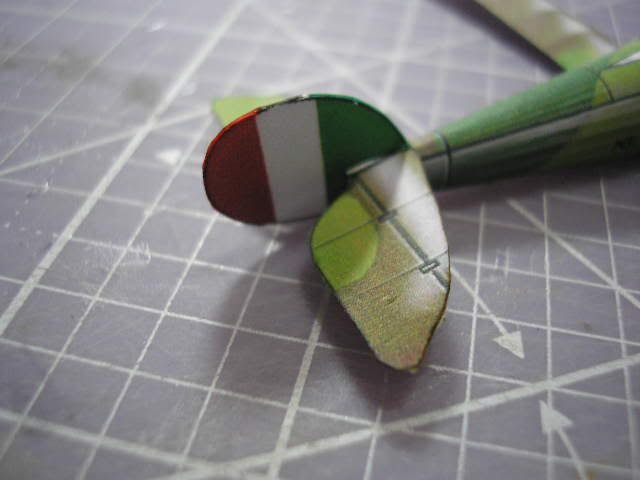 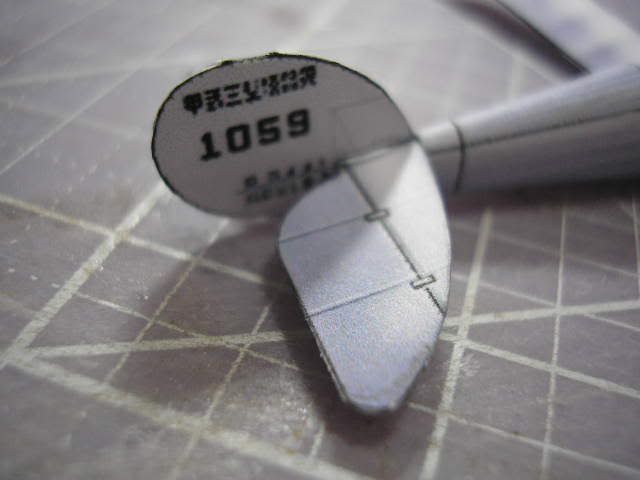 The form of aircraft is show.... 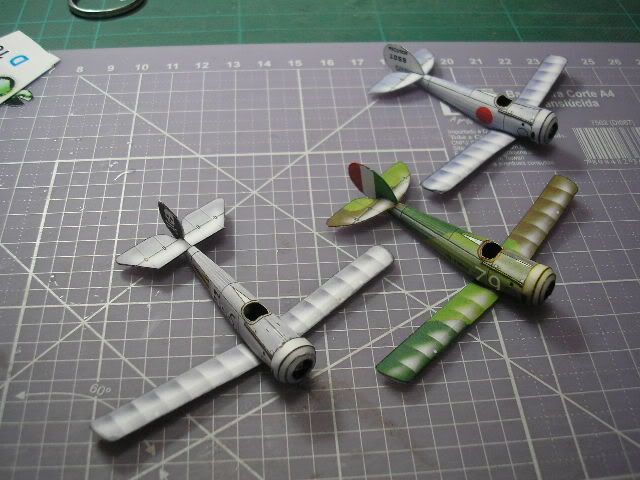 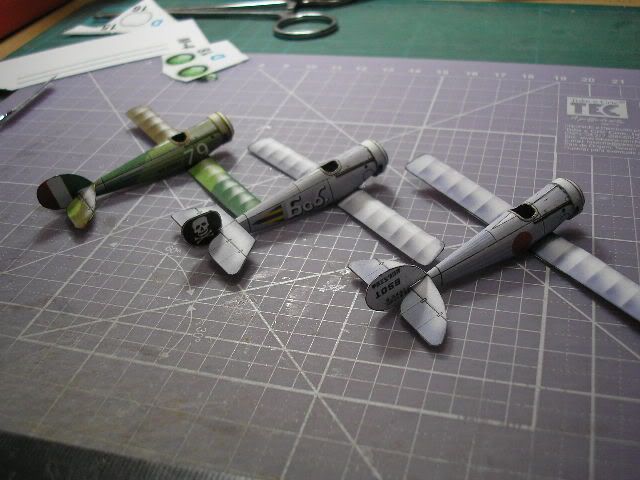 Next steps undercarriage and fuse details...
|
| Google Adsense |
|
#17
06-09-2011, 07:36 AM
|
||||
|
||||
|
Thank's Don... In the weekend more to coming... Zio models is very funny to build, and I love the textures...
|
|
#18
06-13-2011, 07:41 AM
|
||||
|
||||
|
More to coming, today I made the tail atuactors, and undercarriage... Pics later...
|
|
#19
06-13-2011, 08:23 AM
|
||||
|
||||
|
All are lookking very good. Nice rounding on the cowls.
__________________
Regards, Don I don't always build models, but when I do... I prefer paper. Keep your scissors sharp, my friends.
|
|
#20
06-19-2011, 10:32 PM
|
||||
|
||||
|
Thank's!!!
 After a long hiatus, I resume the tiple build. At this time I make a small detail in Nieuports... 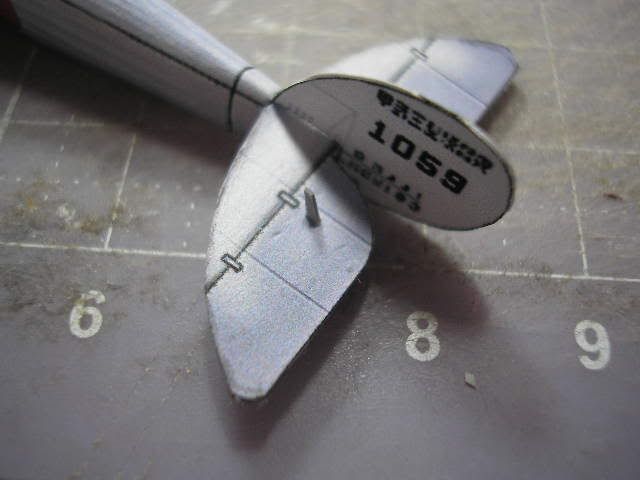 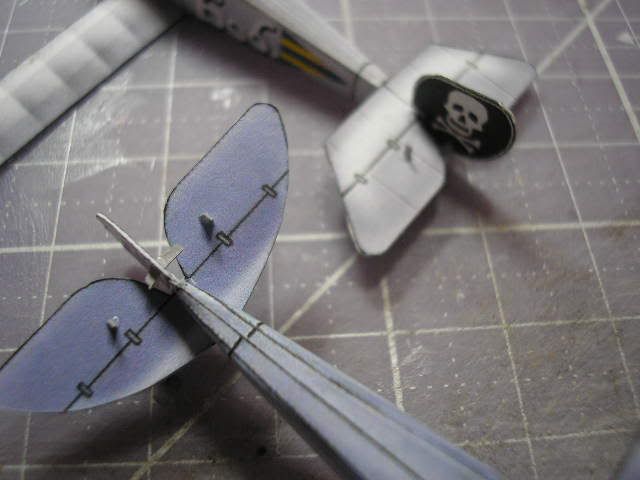 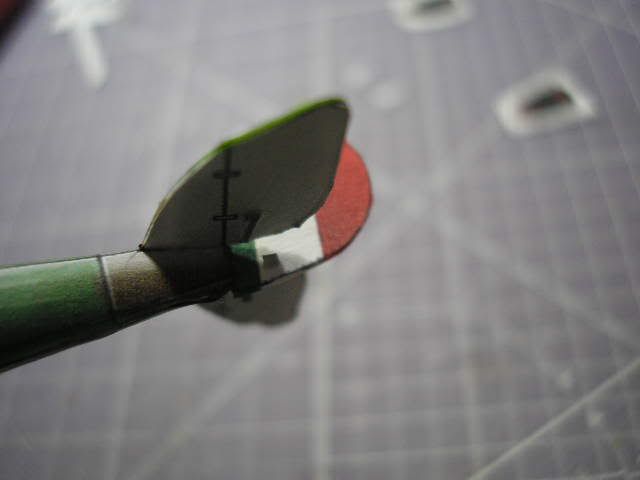 With scraps of colored papaer, I made the atuactors of elevons and rudder... 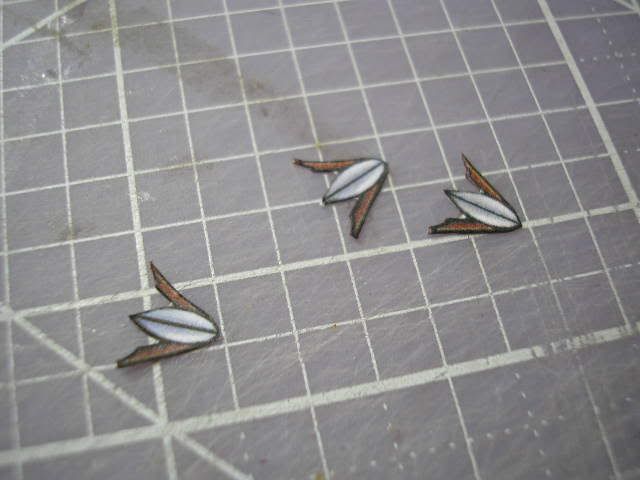 I cut, fold and glue the tail ski... Is a simple piece, is better if laminated, but I preserve in this case the original concept of build... 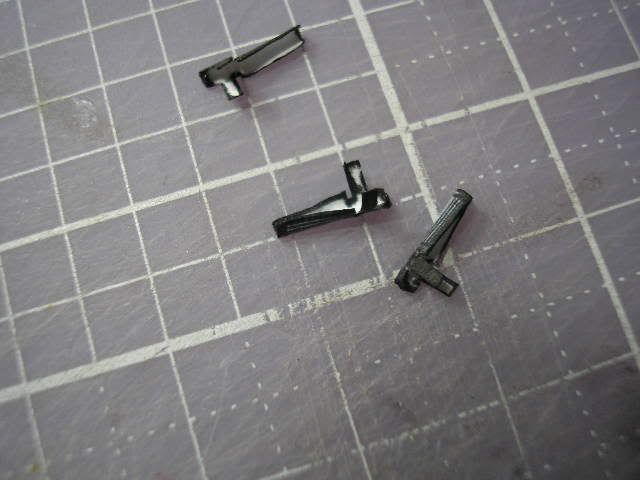 The machine guns is a complicated piece to build, and the Prudenzio use a unusual soluction the ejector of cartridges is glue in hole in each side, with careful is posible glue with saisfatory results... 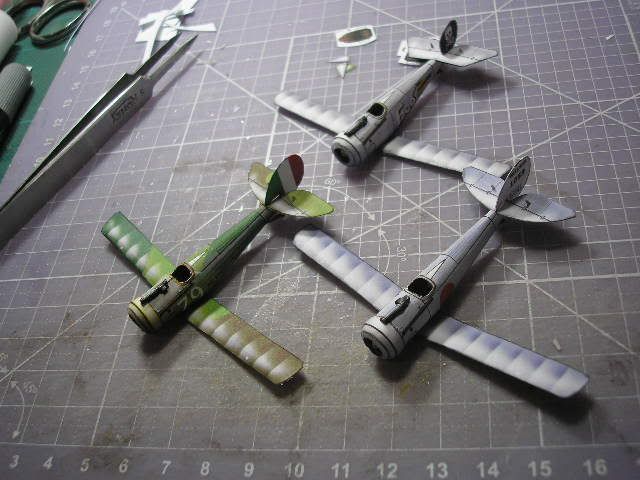 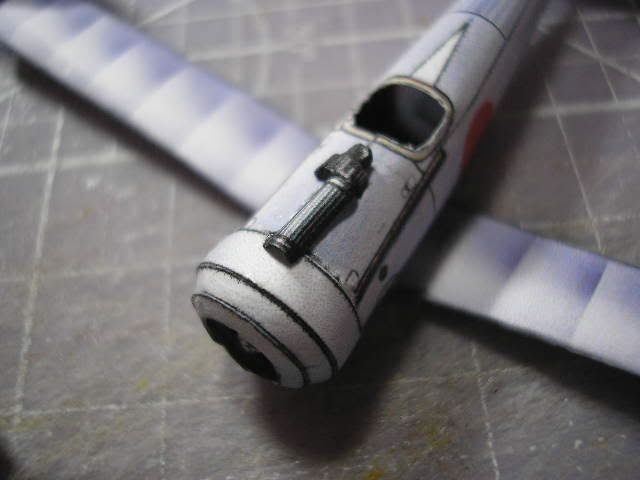 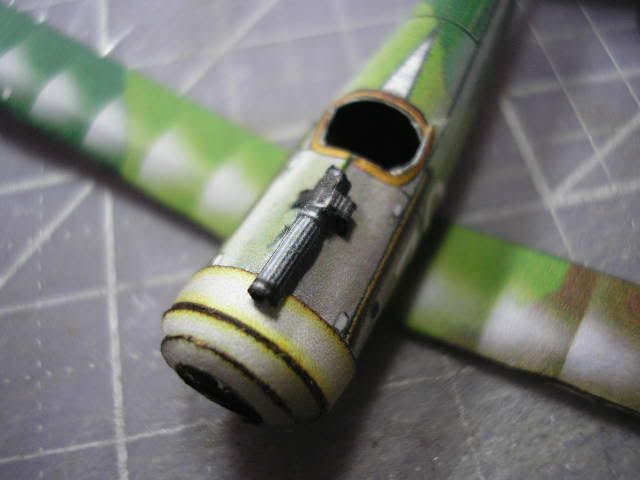 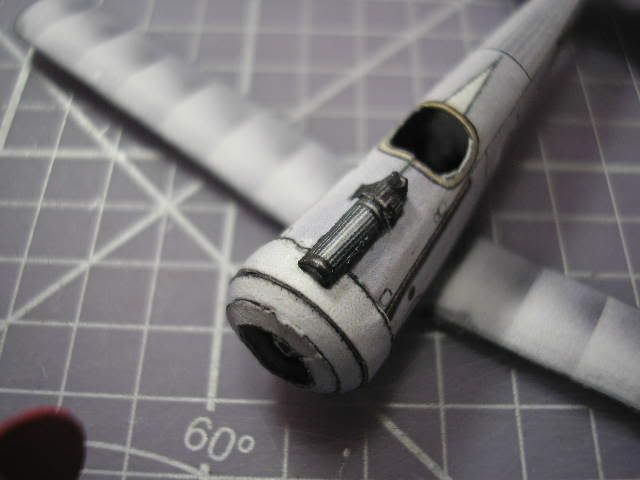 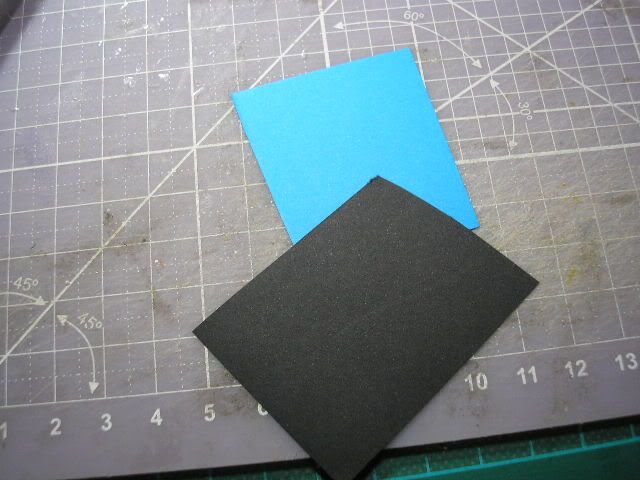 After I used 120g colored paper to make windshield (lack in this kits), and front plate of machine guns... 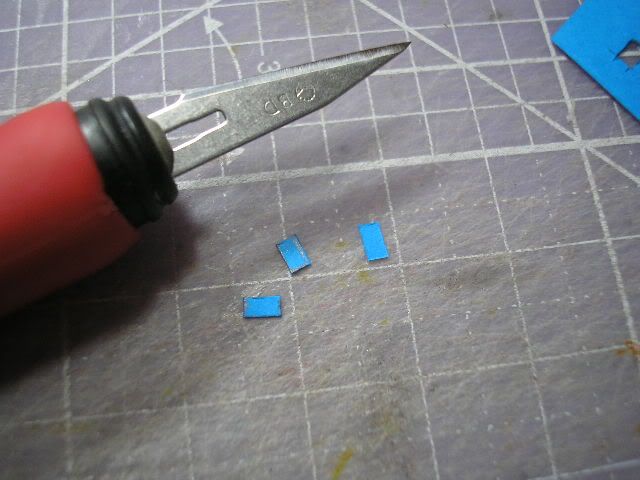 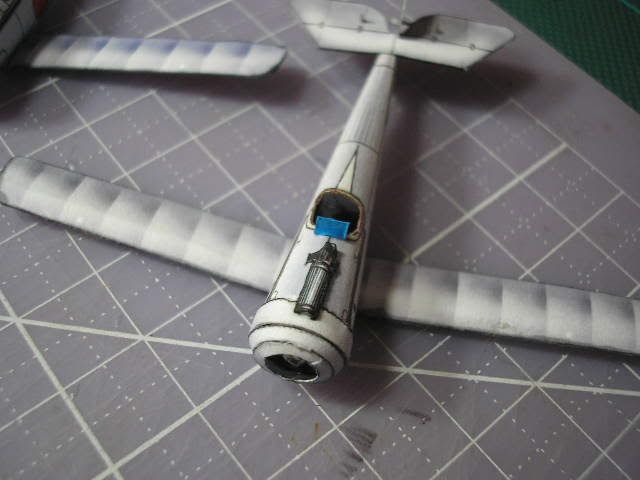 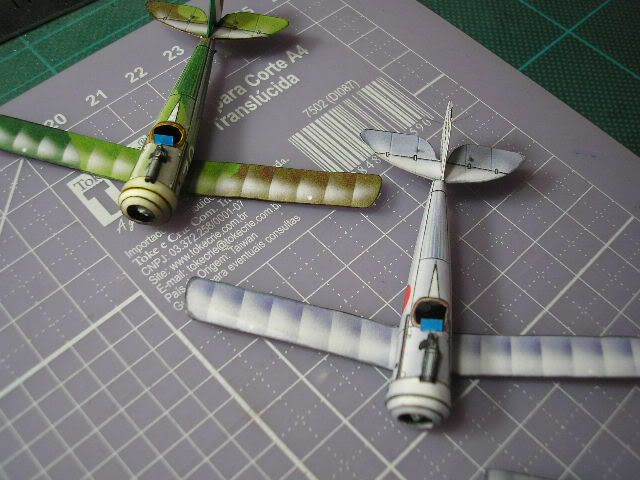 I paint the armation on windshield with acrilic paint, is a tiny and delicated work made with a brush 00... 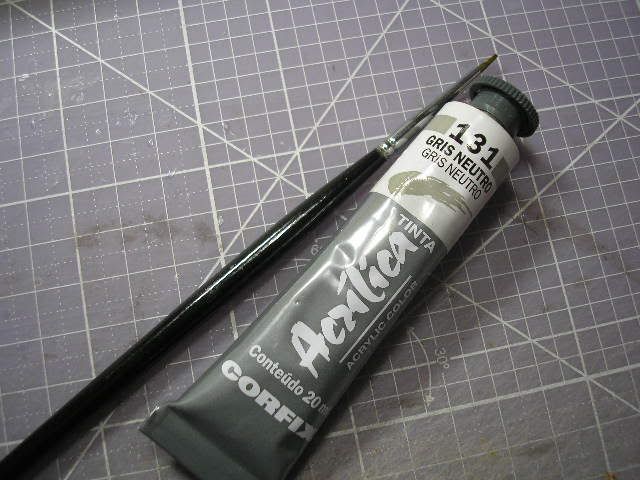 I use a part of seat (irreal to comparation a real aircraft) to make a former and part of the protection head, I use the top for this and laminated in duplex paper... 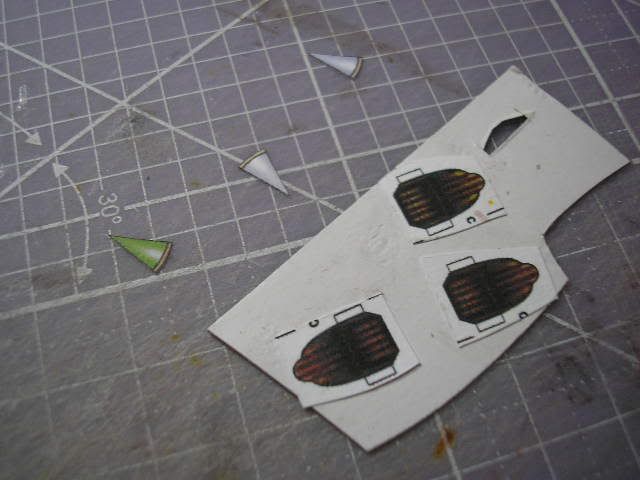 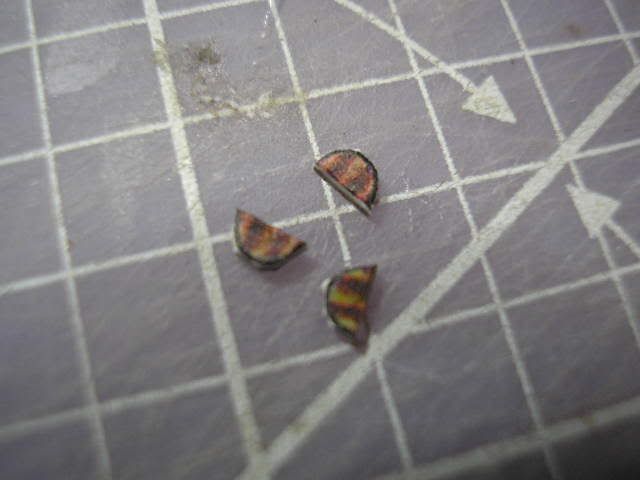 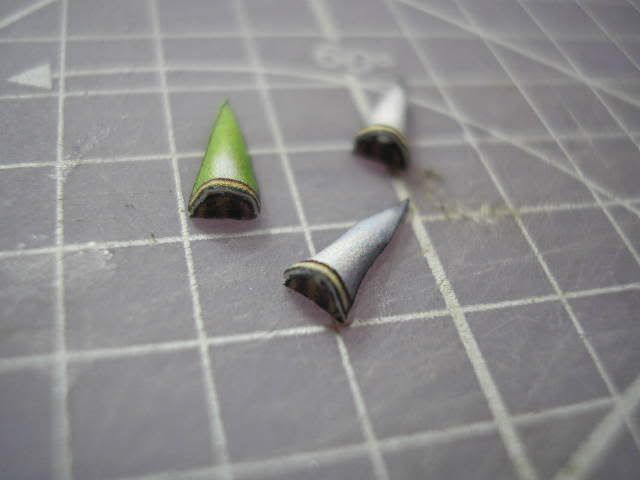 This results: 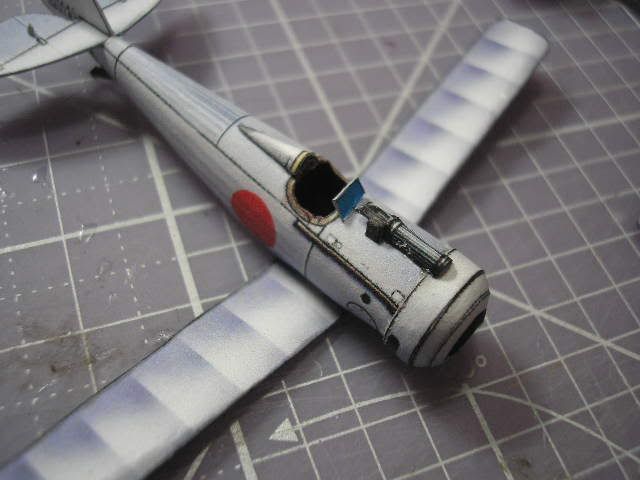 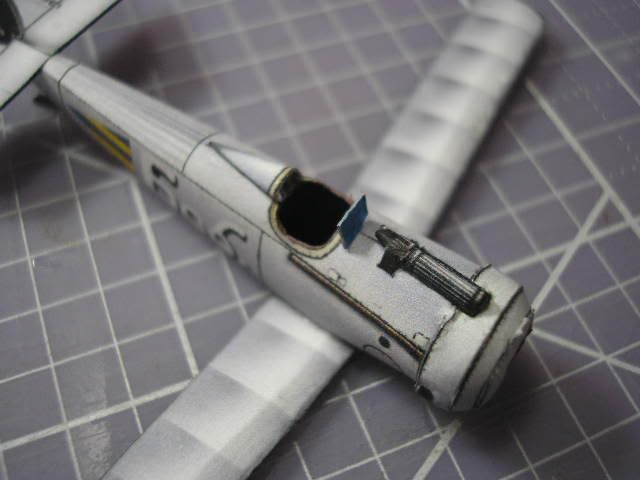 Continue...
|
| Google Adsense |
 |
|
|


 Linear Mode

