Hello everybody,
let's continue with the
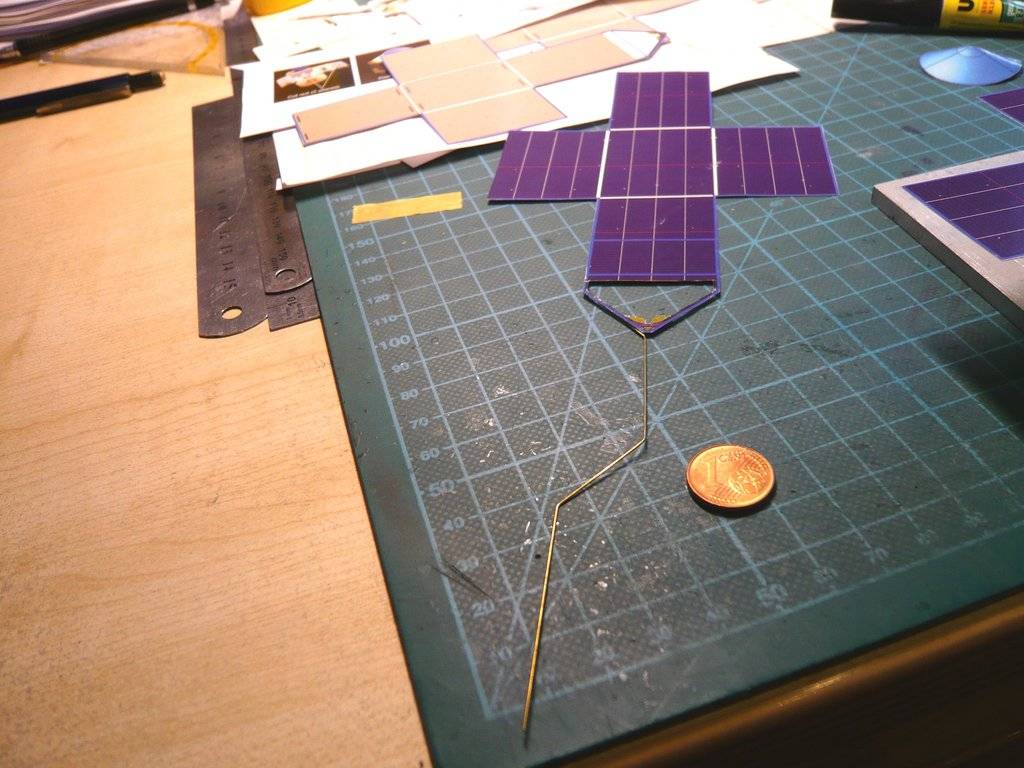
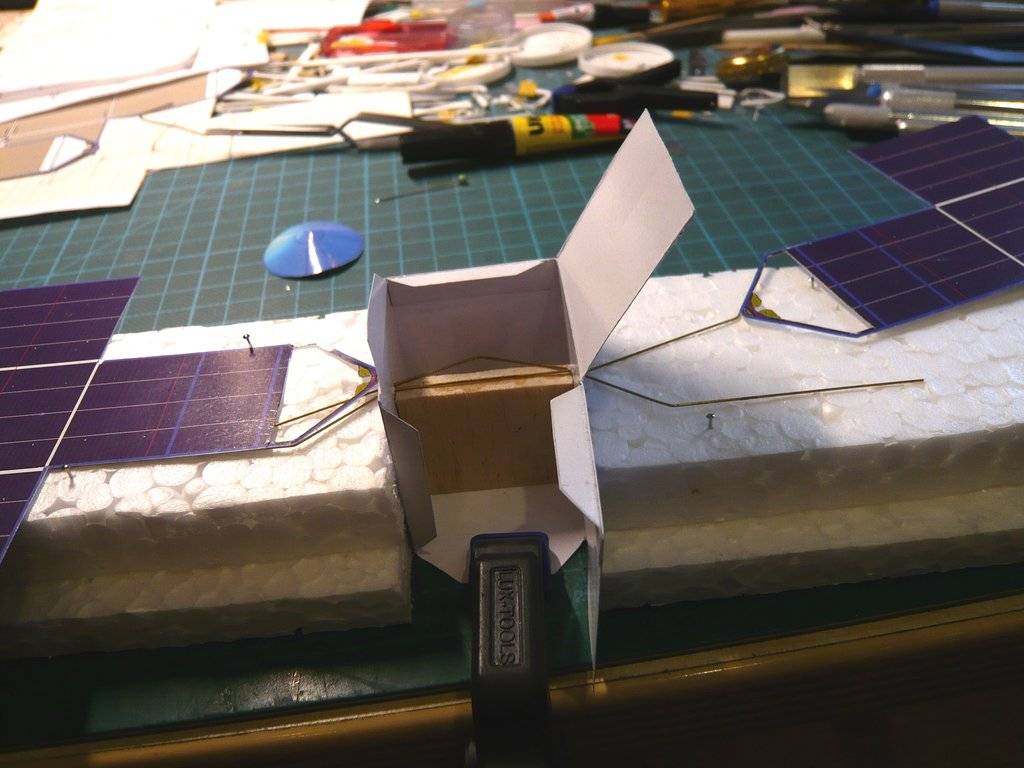
Solar panel on the other side, whereby I changed the assembly sequence a little bit.

First I glued the longer leg of the
brass strut up to the bend onto the underside of the panel.

And then it went to the
Styrofoam platform, in order to thread the strut, hoping that everything would work.

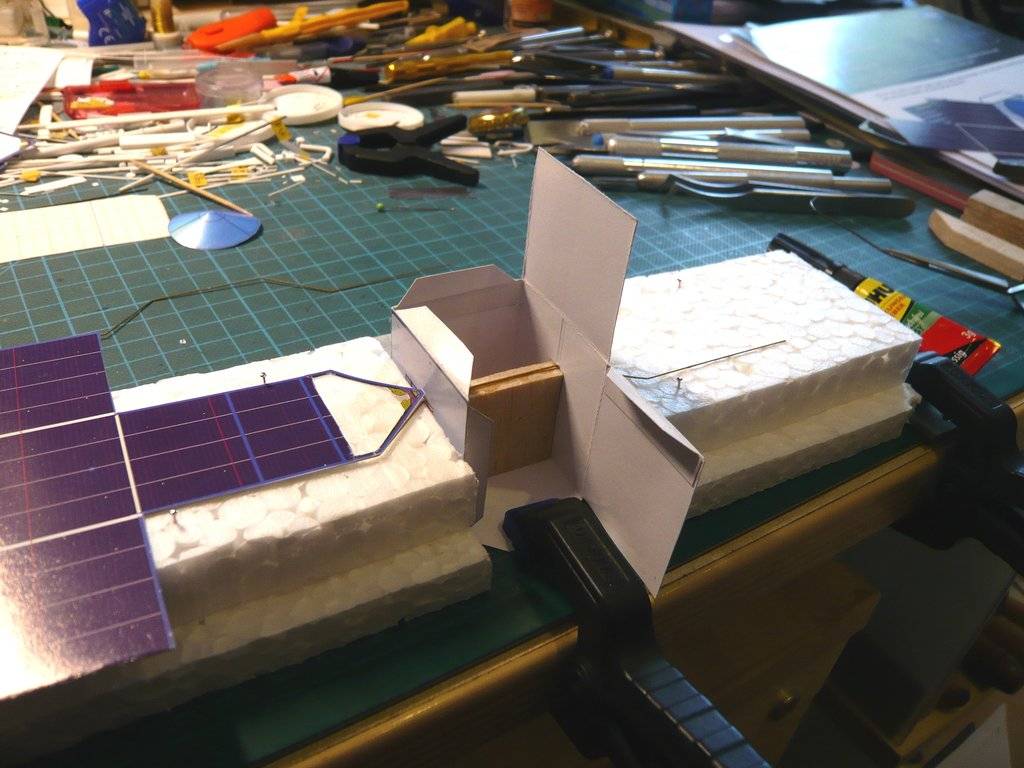
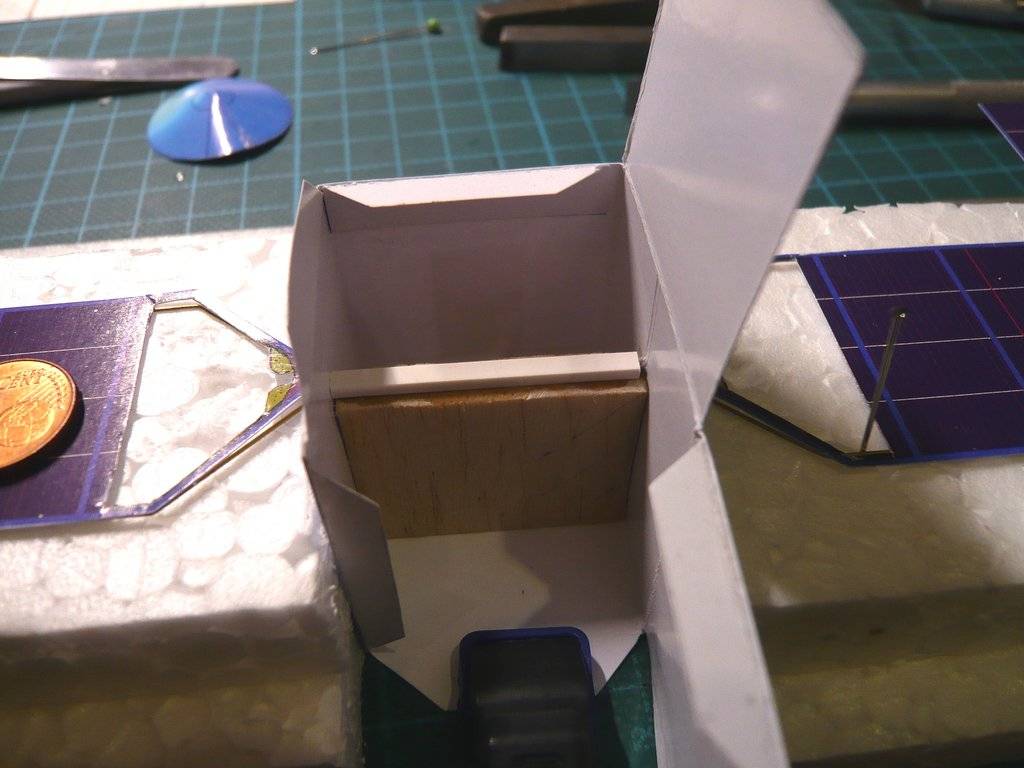
To ensure the panel had a sure laying, I had to put another block of
Styrofoam underneath. I then carefully threaded the front end of the brass strut with tweezers a few millimeters into the tiny opening on the side wall,

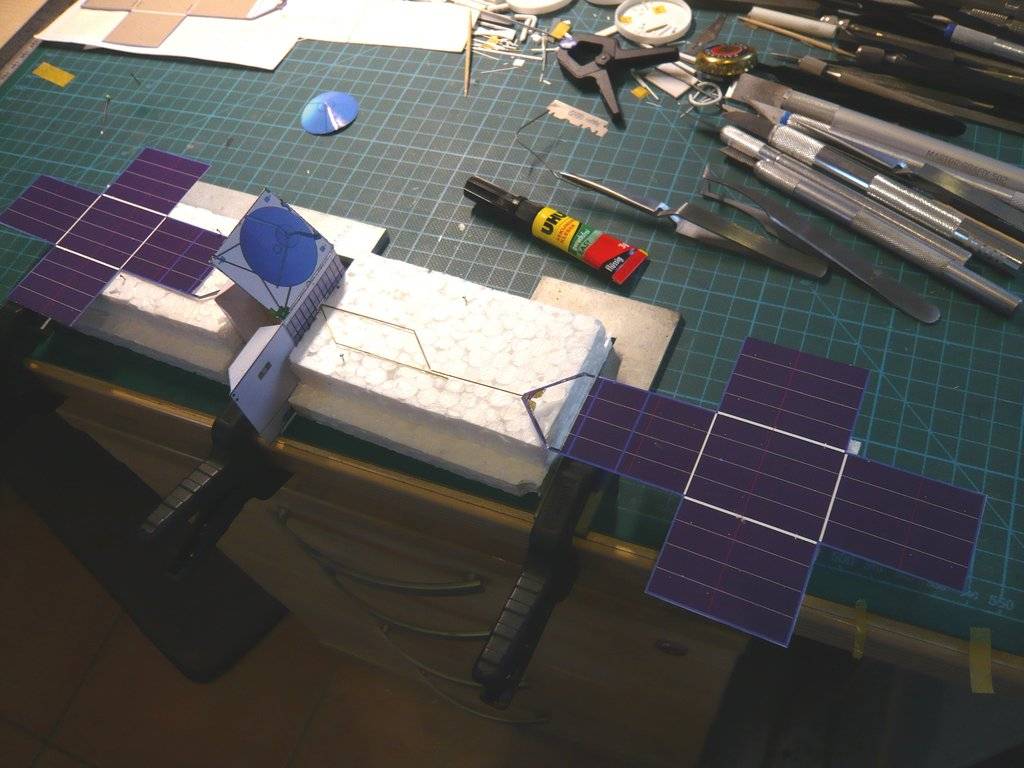
then slowly pulled across the Balsa support to the other side wall and carefully pushed through the opening there until it could be seen on the other side. So far so good!

After that, however, it became increasingly difficult as the bend in the brass support had to go through the wall and I had to be extremely careful not to bend everything,

especially since the front end behind the other wall had also to be pulled at the same time, which was quite tricky.

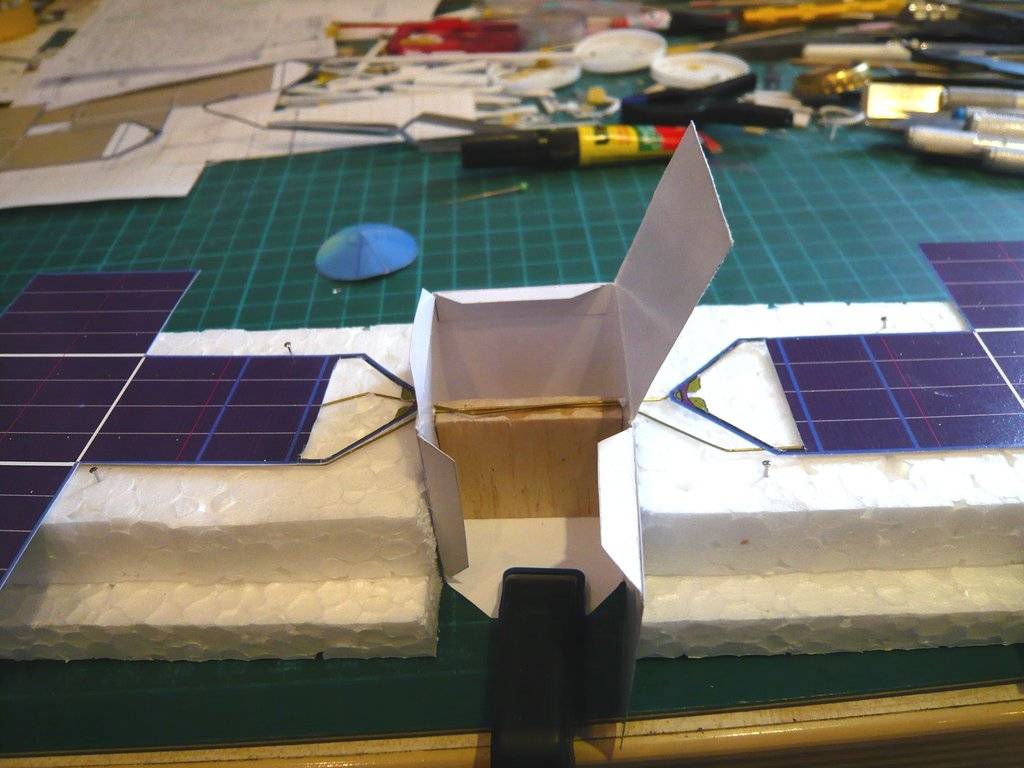
But finally I have succeed in doing it,
and was able to take a little breather.

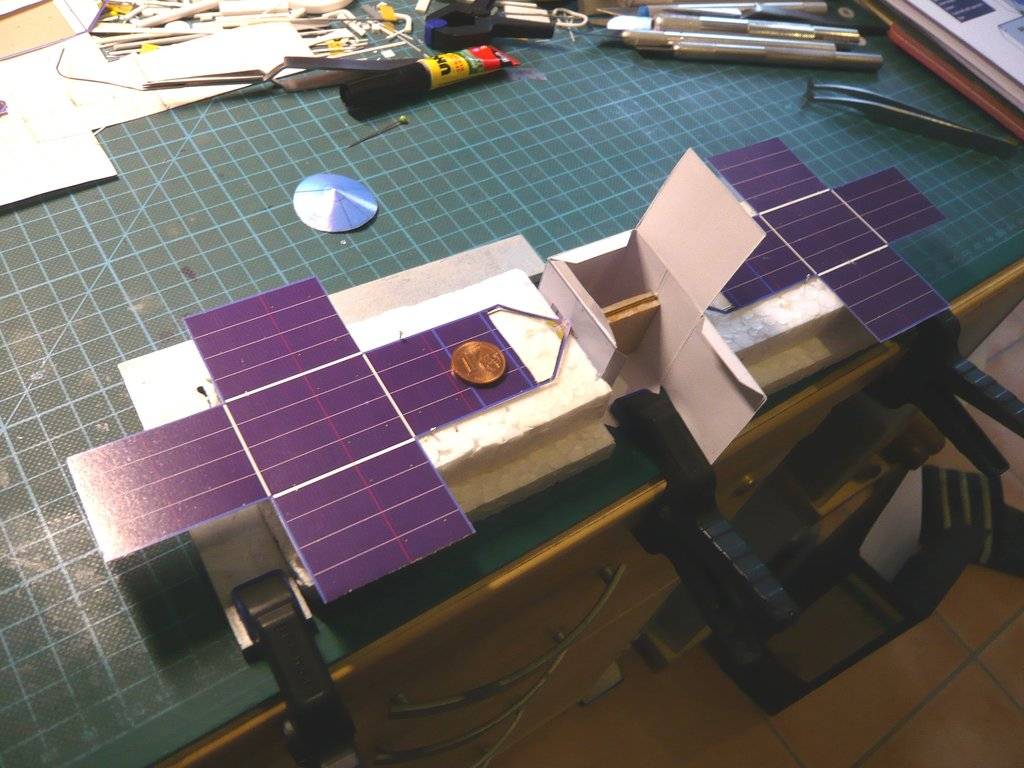
Then I still glued the wires to the
Balsa support on both sides with UHU CA.
I then still glued a
Channel profile (1,5 mm x 3 mm) onto it to make sure that the glued wires would not get loose if I would have to bent the finally glued panels a little for position correction.

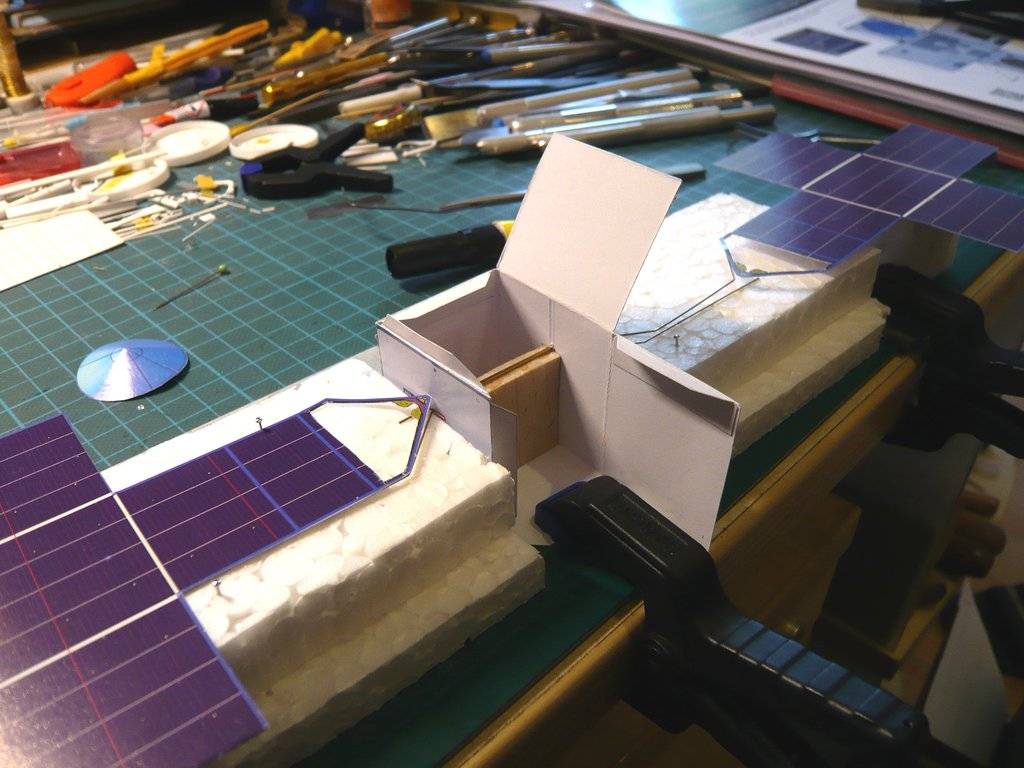
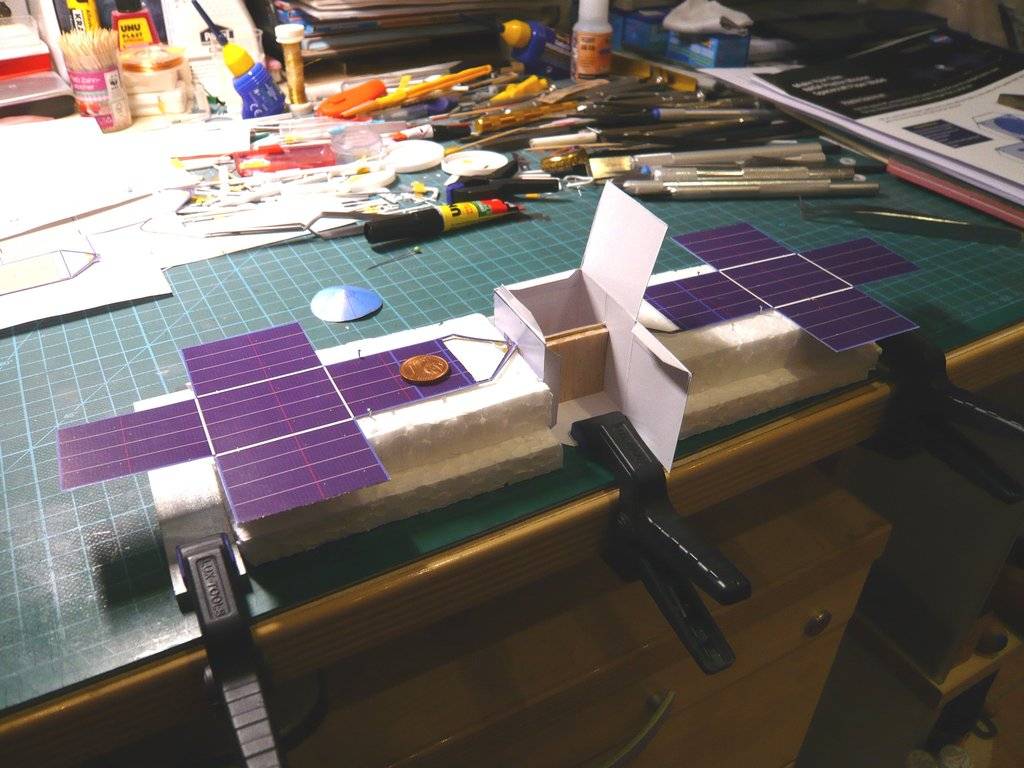
Tomorrow the
steps 6 and 7 can also follow now, whereby the last side wall and the ceiling will be glued.
And then I'm already excited to see what everything will look like when I turn the space probe over to glue the struts onto the undersides of the panels too.

