Hello everybody,
today it was time to implement the sketched parts of the
rod systems and their
claddings, whereby I changed my plans again a bit and because of the easier gluing of the
Foil cladding will not use steel wire but
plastic round rods.


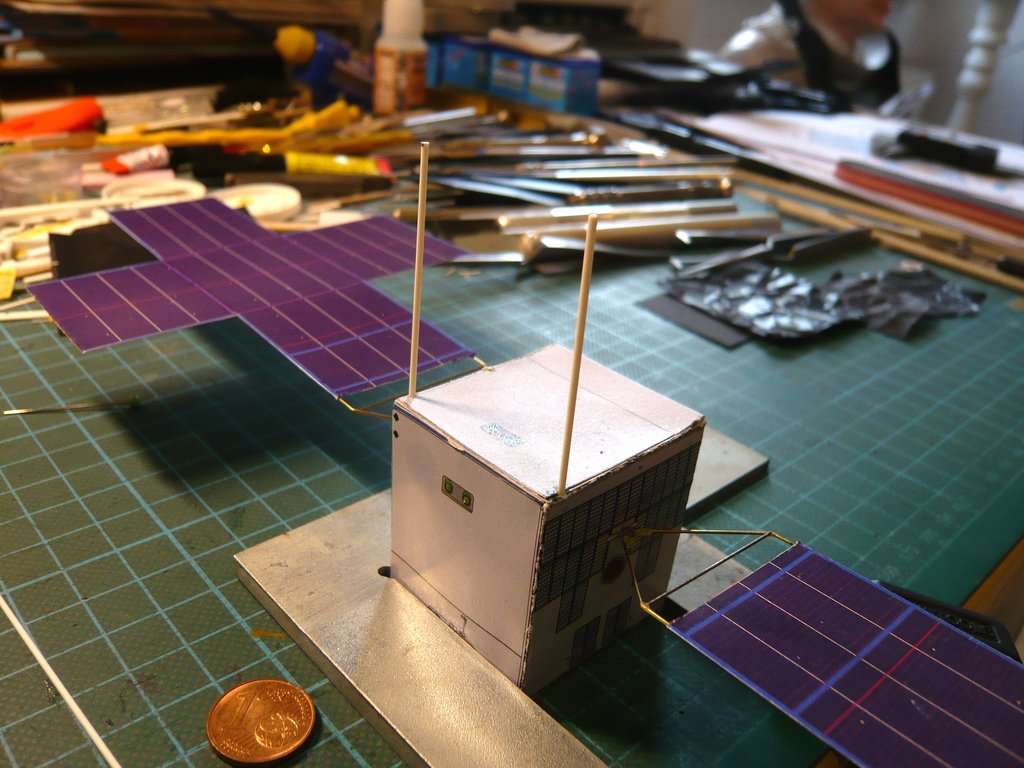
First, as a test, I inserted a rod
Evergreen Styrene Rods ((Ø 1 mm) of the rear rod system into the pre-drilled holes in the
probe top, down to the ground,
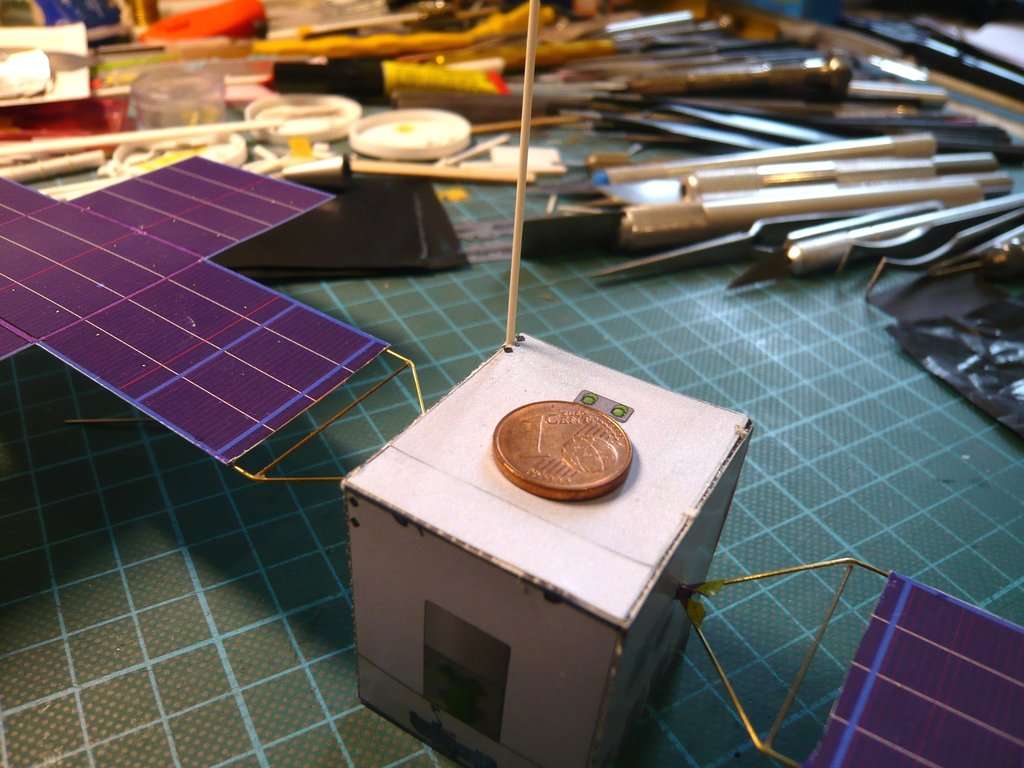
and then cut both rods to the required
length (40 mm).

Then I thought about the fact that for the stability of the entire frame it would be useful to glue a
connecting plate made of
cardboard (0,9 mm) between the two rods on which I could then stick the
black After Eight paper on both sides as a cladding, which would probably be the easiest solution.


Said and done!


Meanwhile I also decided to make the entire cladding from three parts, which are then glued one after the other, starting at the back.
To do this, I first transferred the back onto the black paper and cut it out,


and after crumpling it was glued to the back of the rod system.

Finally, I also tried adding the
white markings that can be seen on all sides of the
claddings.
 Source: wikimedia.org
For this I used a white
permanent marker (Montana Acrylic), which I tried out first.
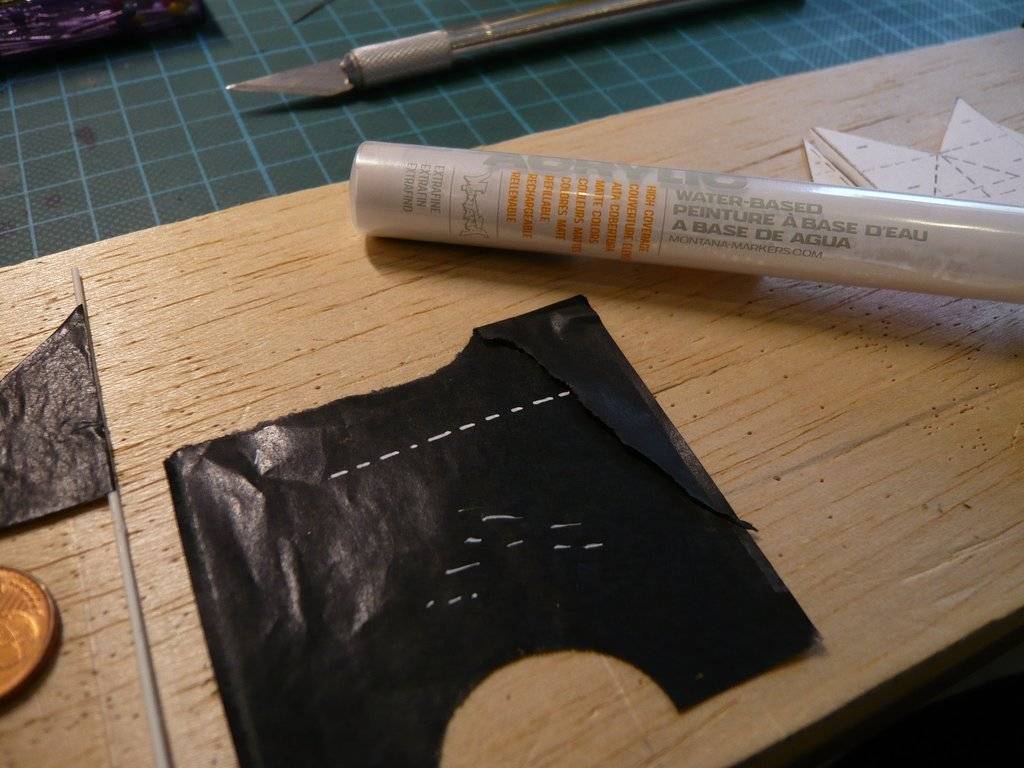
And since the dashes on the smooth paper are also smudge-proof, I then marked both sides of the rear panel, which is not that easy as the marker sometimes fails and has to be shaken again.


And this is what the result looks like from both sides, which I can live with.


Now I can make the side claddings in the same way and then glue.

