 |
|
#11
|
||||
|
||||
|
HI Legion.
It would be nice to add the transporter to the collection. Jim |
|
#12
|
||||
|
||||
|
Welcome to today's update.
The back wall is now to it's height, minus the booms and some features on the booms. For those that may build this in the future. Under the overhang on the right side of the top section, there is no colouring only bare card. What I did was print off another copy of this section and cut off a section of the end piece to fit, gluing in place. This covered that omission.    Some details for the top of the wall.  This is what it looks like at this moment.  That's pretty much it for tonight. Next are the two booms out of the back wall. This thing is still going to take up some real estate.  Have a good evening. Jim |
|
#13
|
||||
|
||||
|
#14
|
||||
|
||||
|
It's been a few days, Time for an update.
Since last visited, I have been working on the two manipulator arms that mount to the top of the facility. Mostly box like structures, not that difficult. More logistics and waiting for glue to dry.     These were then mounted. This is where I am at tonight.   The next section that has to be tackled is the service gantry. This part I expect to be interesting as the platform can be raised or lowered for added effect. Thank you for following. Jim |
|
#15
|
|||
|
|||
|
Thank you for posting this. I think this model can even work with the MechWarrior mechs. Looking forward to the end result of this model.
__________________
DOWNLOAD all my paper models from my MediaFire page available here : BLaaR's Paper Models |
| Google Adsense |
|
#16
|
||||
|
||||
|
That's great!
__________________
Allen Tam https://allenctam.blogspot.com/ An artist is not paid for his labor but for his vision. 藝術家不是為他的勞工收支付,而是為他的創意。 |
|
#17
|
||||
|
||||
|
Thank you Blaar and Allen.
To me, it looks like a prop out of a Gary Anderson show. Jim |
|
#18
|
||||
|
||||
|
Good evening all.
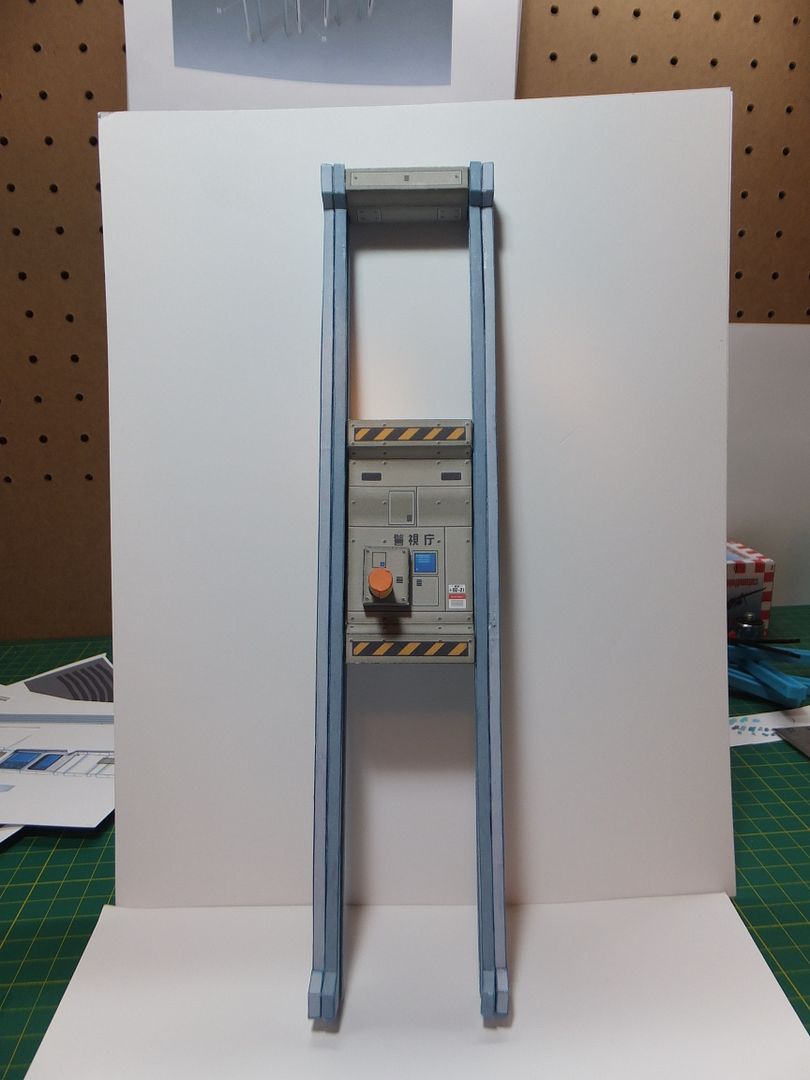
This weekend i have been working on the service gantry. Mostly the lift and it's rails. The lift mechanism it self, I found that in order to keep the slider in alignment, it had to be inserted before closing up the box. This did make it harder to glue the sides on. The rails, now that is another story. For anyone building this be aware. There is a mistake in the kit. The inside and outside rails should have left and right mirror image pieces. Whats there are all the same side. I had to export them and create the mirror images from the PDF. The assembly of these rails is a little tedious. I did make a jig the size of the slider in order to make sure the spacing was correct, for the slider to move freely. Here the rails are clamped to hold position while they dry.  Next the top piece is attached to the top of the rails. When dry the lift was fitted to the rails. Some slight tweaking of the slider on the lift and the unit slides easily.    Now on to the platform itself. Thank you for watching. Jim |
|
#19
|
||||
|
||||
|
The work continues. Time for an update.
The service platform for the gantry has been assembled, as have all the parts for the bottom structures of the platform.  Today should have these pieces installed onto the platform and hope to be started on the top half. Soon will be finished this half of the build and will be able to start the construction of the Ingram. Have a good day. Jim |
|
#20
|
||||
|
||||
|
Hello all.
Tonight's update. The service platform is now complete. The bottom went together fairly straight forward.  Then started work on the topside. The monitoring station was no problem. Those small box rails for the railings, now they were fun to assemble. I have to in the future come up with a brake to aid in folding these type of structures. I have an old paper cutter that I have some ideas on how to convert. I'll let this be a another topic as the design comes. Here are all the rails.  Actually their installation on to the platform was not that difficult. Just had to make sure the verticals where installed straight before attaching the top rail.  After this dried the platform assembly was attached to the lift.    I'm letting this dry over night before attempting to install this assembly to the maintenance station. Thank you for watching. Have a good evening. Jim |
| Google Adsense |
 |
|
|