


|
|
|
#1
 06-08-2012, 03:13 PM
|
||||
|
||||
|
Hello people!
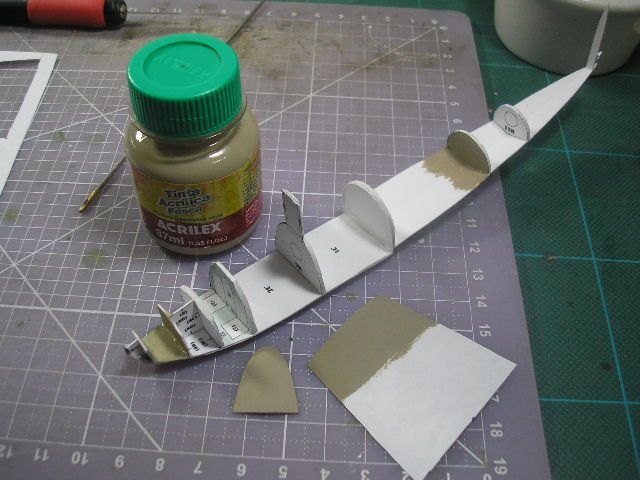
Time to show my working in progress in this project. I really like this german airboat, and waiting for years to build a good e-model kit for this (hope Der Kampfflieger or Marek releasing), so year ago (or little more) I buy in old and second hand section in GPM Shop a Modelcard model in 1/33 scale. Is a old model and simple for scale but precise. 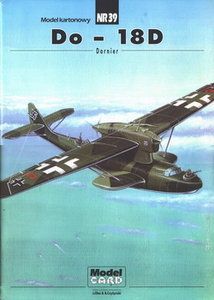 The major problem in this old magazines published in 80 and early 90's in east european countries is a poor print and wrong colors, so I scan in high resolution the sheets, and correct all colors in Photoshop. I reduced the model to 1/100 scale, printed with 120g filecoat paper in my HP D2460 in photographic mode, and the fun begin... 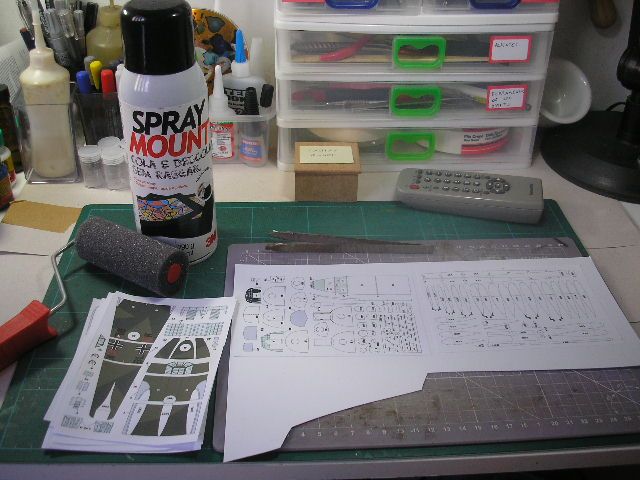 I laminated the formers with 240g (2 mm) cardboard paper... 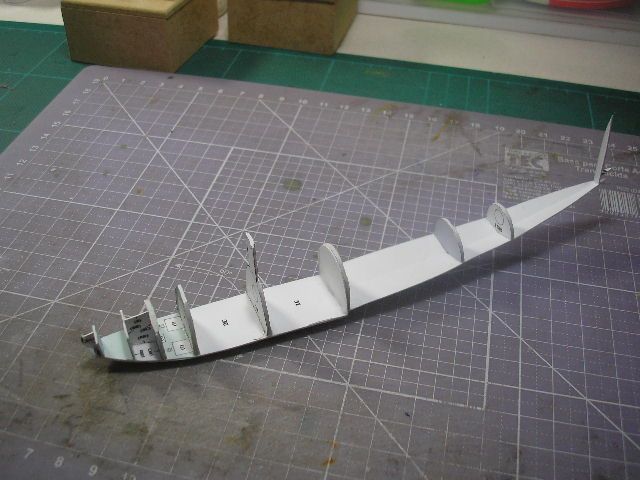 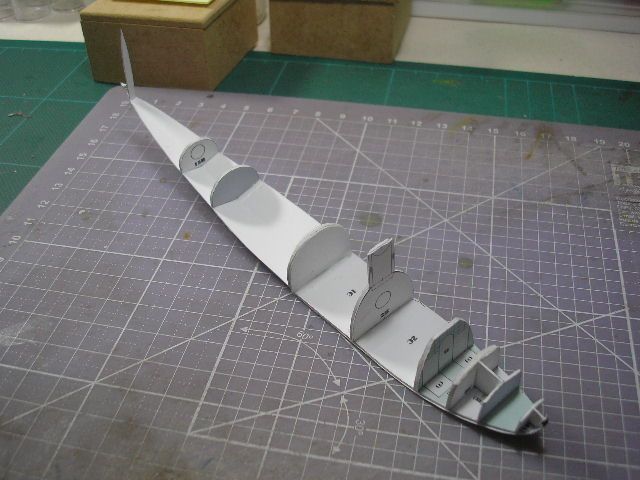 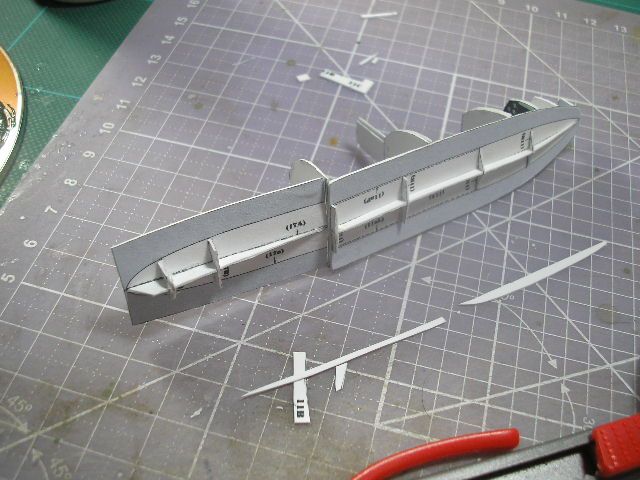  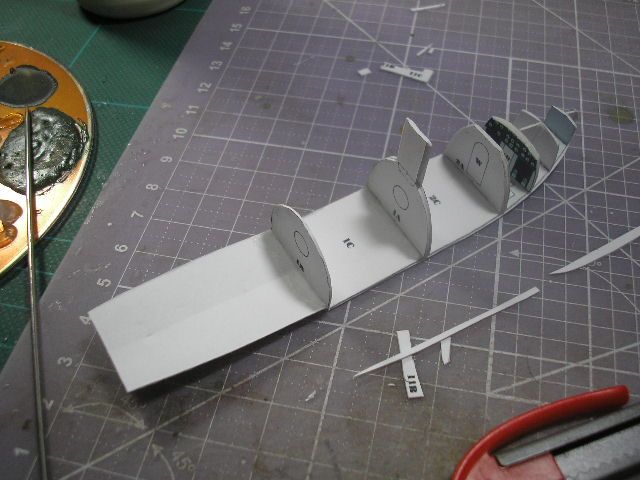 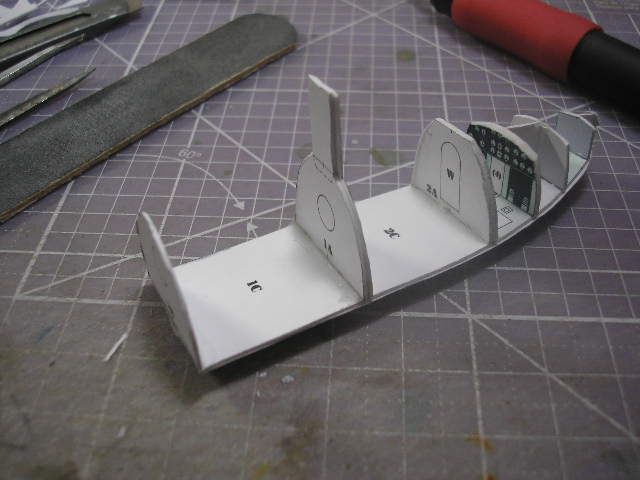 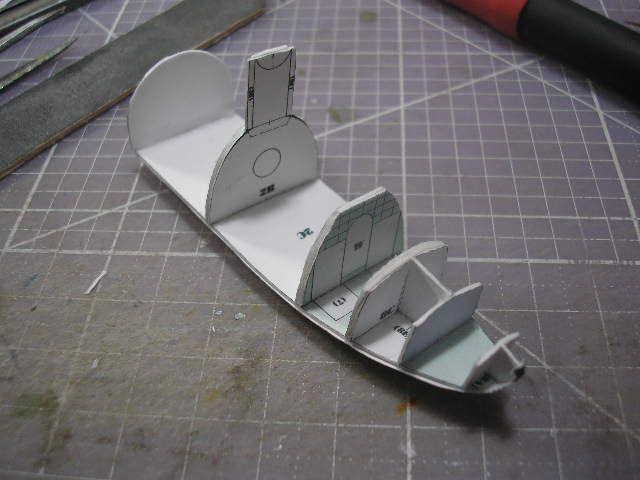 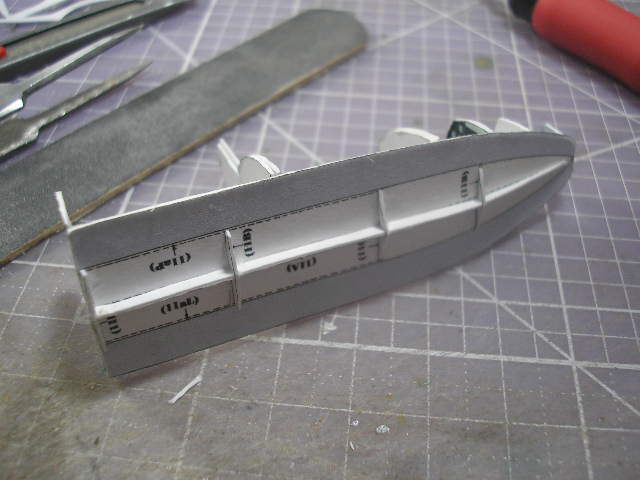 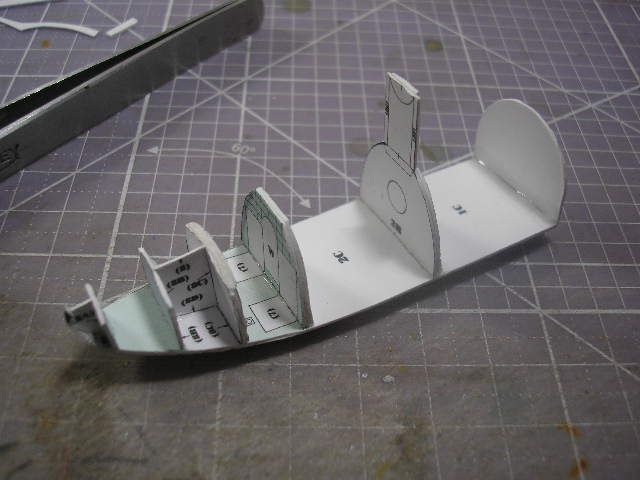 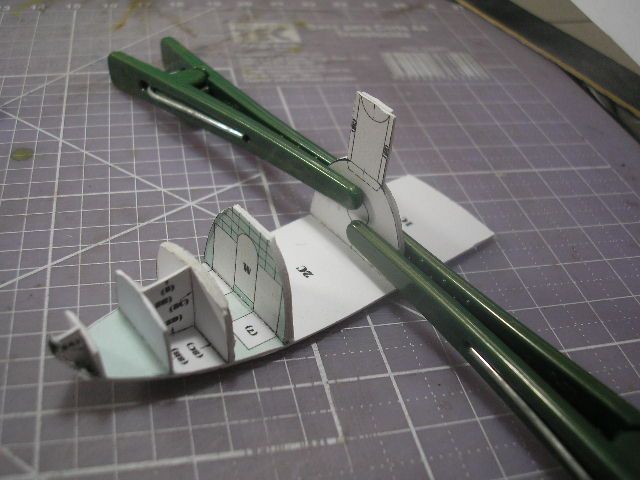 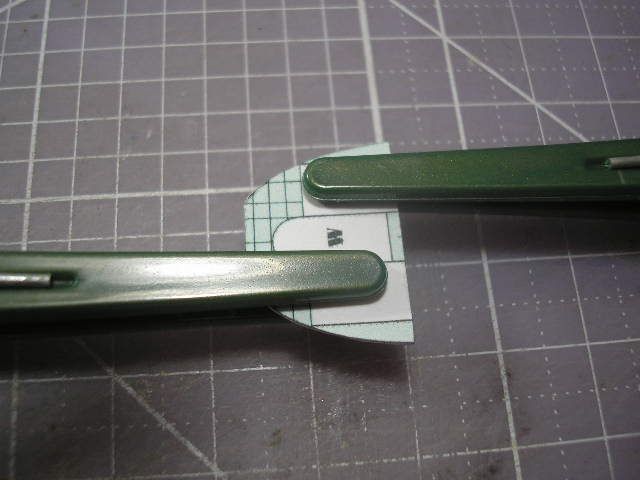 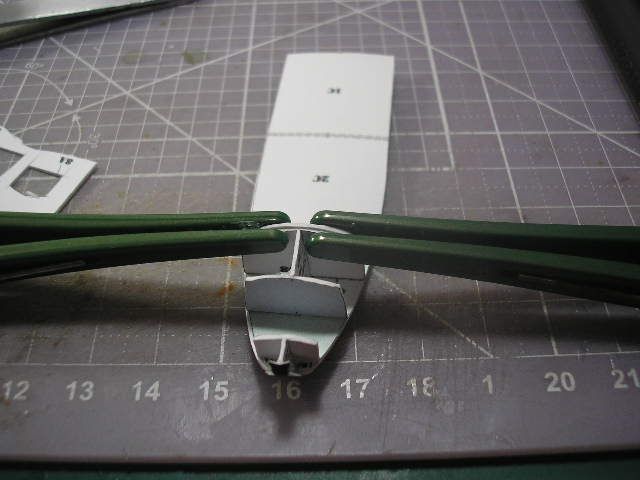 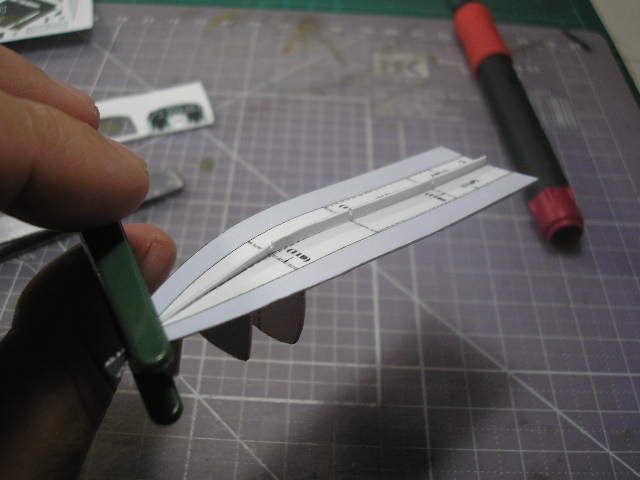 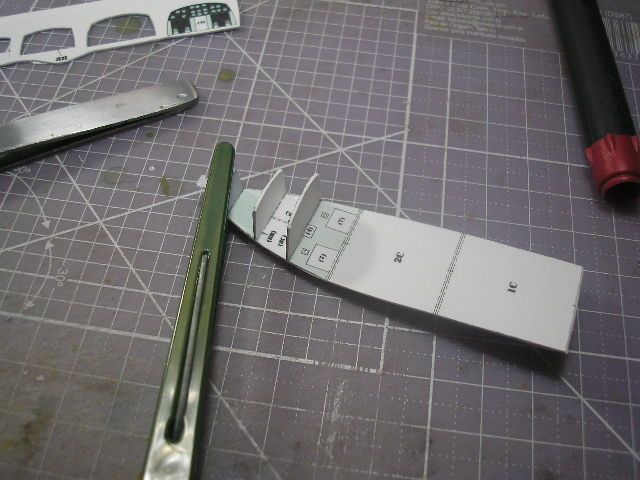 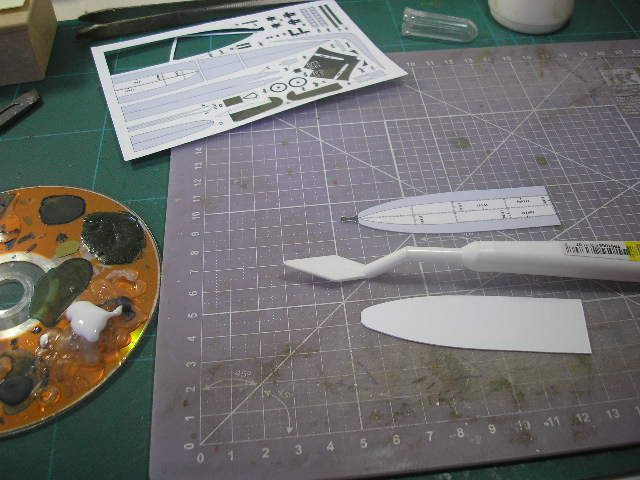 I started fuselage framing, at this point no problem...  Continue 
|
| Google Adsense |
|
#2
06-08-2012, 03:24 PM
|
||||
|
||||
|
I made the rear section and painted with a color to simulate RLM 02 the visible cockpit area, I decided not put the cockpit in this build...
 After dry, I started the last pieces of bottom of fuse... 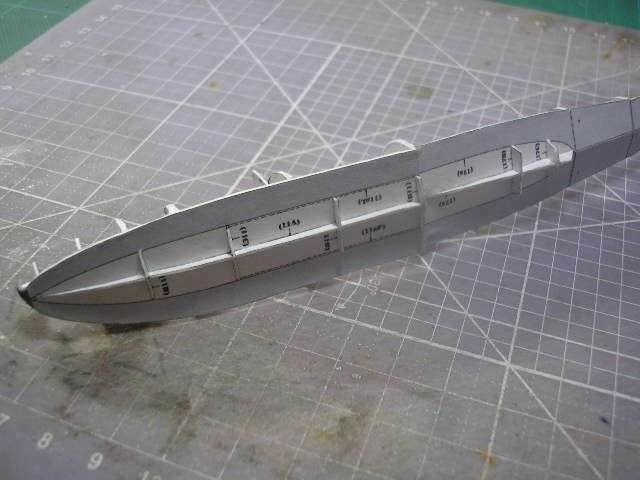 I gluing the former of tail... 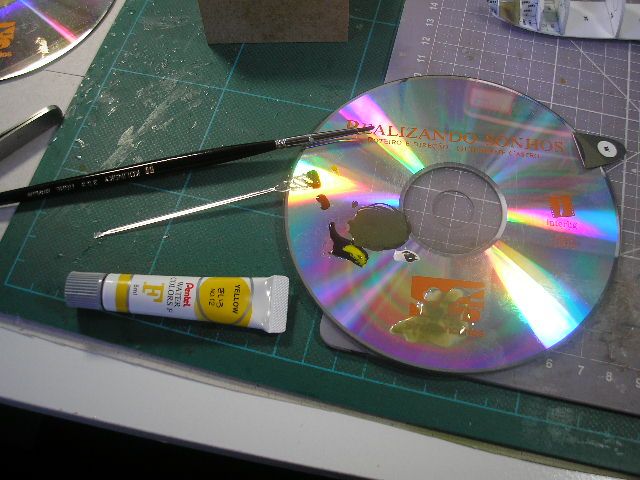 I started the skin, I made with watercolor, the RLM 70, 71 and 65 to cover the white edges on the pieces of skin... 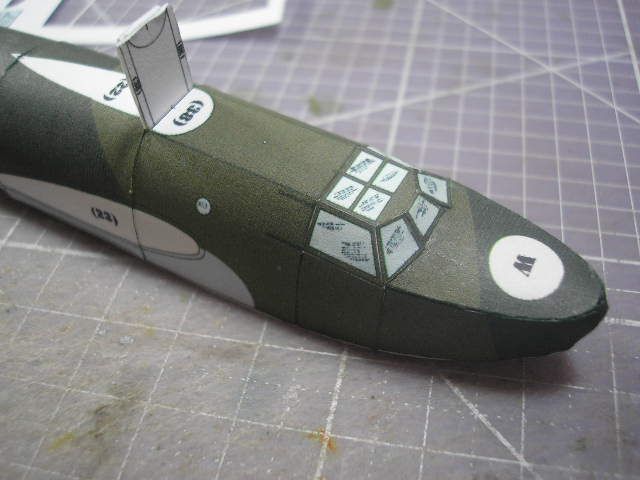  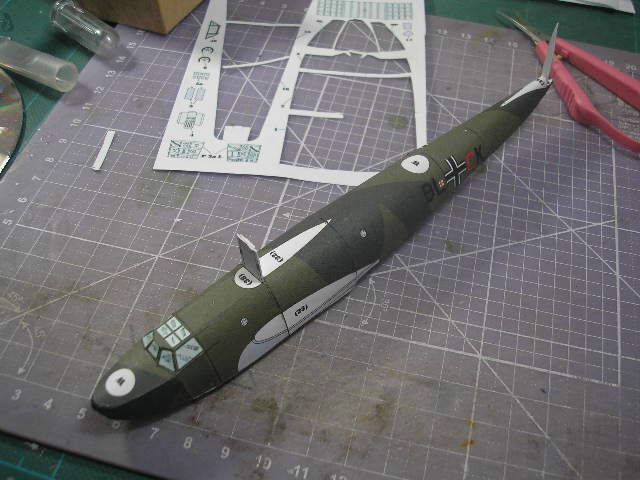 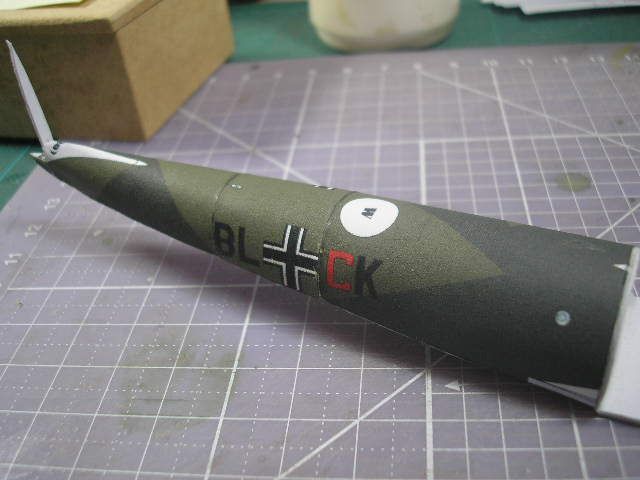 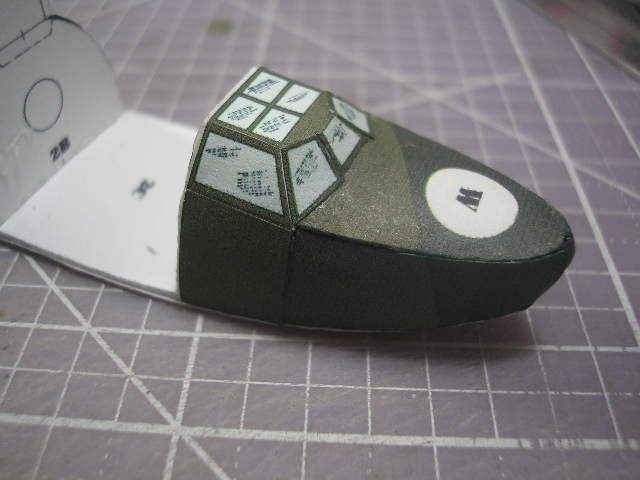 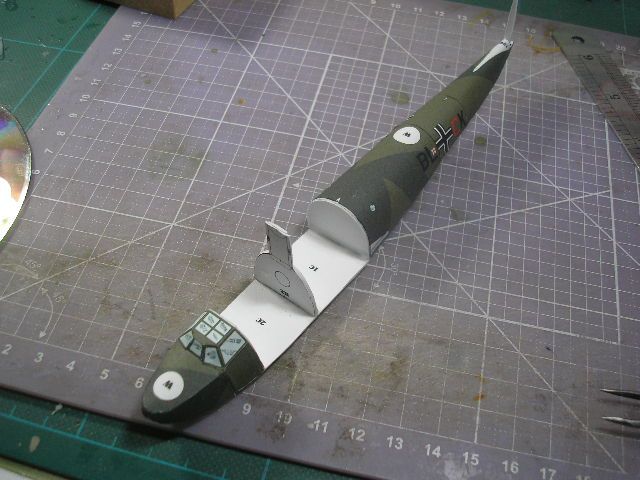 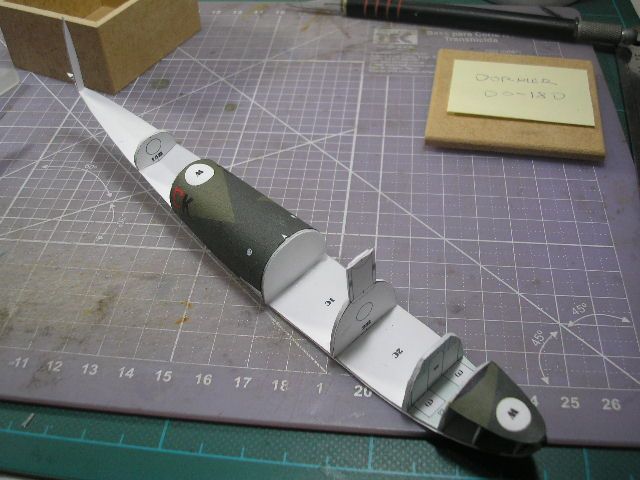 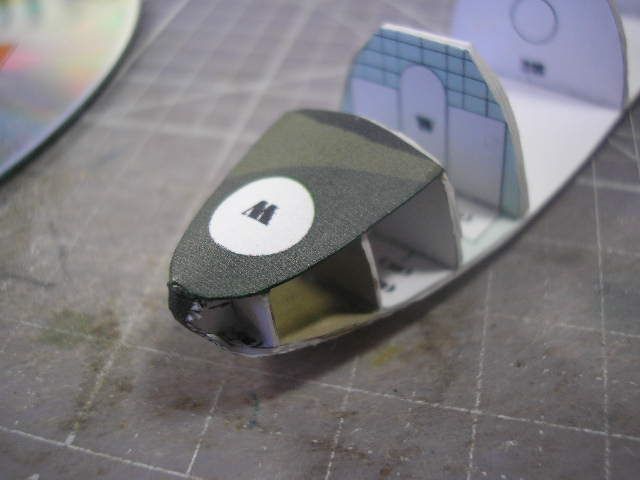 For a old model kit the fitting is very good. After dry I started the botton skin... 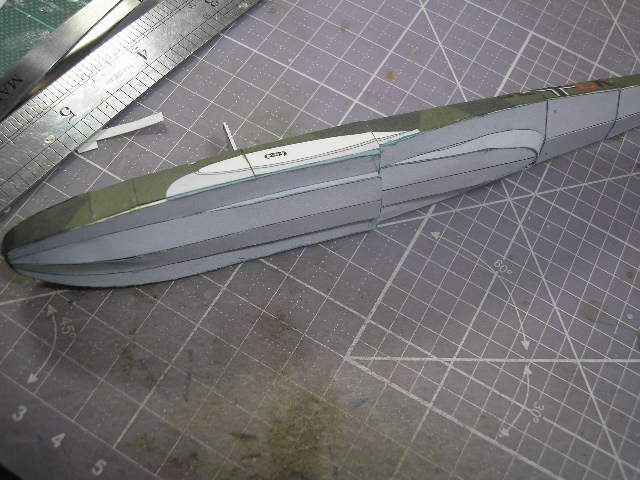 The RLM 65 color for cover is bad too dark I remake the watercolor  ... ...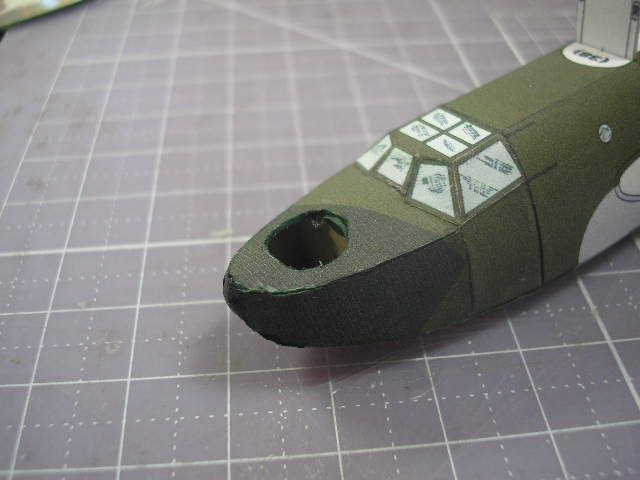 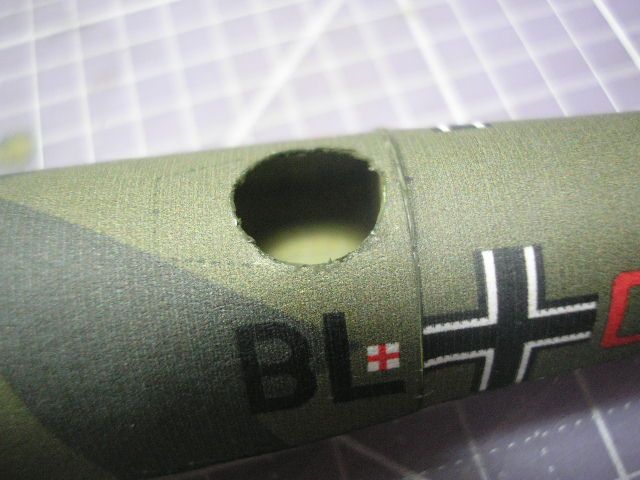 After all dry I open the gunner post in the nose and mid fuselage... At the time is it...
|
|
#4
06-09-2012, 02:06 PM
|
||||
|
||||
|
Very nice build report, Gomidefilho. I respect your taking care of an old model like this and making something of your own of it. Nice idea for a palette, too!
Just one small question mark (in order to help people think intuitively right about metric measurements) - the 240 g paper you are using for backing up formers, etc., is not 2 mm, more like 1/2 mm, tops... Nitpicking again. - Leif
|
|
#5
06-09-2012, 04:03 PM
|
||||
|
||||
|
An interesting subject, Gomidefilho. Well documented with really nice photos. I'm looking forward to seeing your continued progress. Great work so far.
__________________
Regards, Don I don't always build models, but when I do... I prefer paper. Keep your scissors sharp, my friends.
|
| Google Adsense |
|
#6
06-09-2012, 07:39 PM
|
||||
|
||||
|
This is one aircraft I often wondered of how it would look built, in the size Gomedifilho is building it, and a very fine job he is doing with it.
I'm really enjoying the details being shared with us, and the clean build we are seeing. I look forward to seeing the completed model, perhaps alongside its' Do.24 cousin? Kind and Respectful Regards My friends, Uyraell.
__________________
"Honi-Soit Qui Mal'Y Pense." "Ill unto He who ill of it thinks." - Ed.III Rex Britaniam, AD1348.
|
|
#7
06-10-2012, 10:01 AM
|
||||
|
||||
|
Many thank's my friends.
Leif - The thickness of former in this case is 2mm you are right about conversion to grams to mm but the brazilian manufacturer of this paper (sulfite in portuguese language) or filecoat show in the packet 240g but in measures is very close to 2 mm. I like a lot this project because the repaint is give a new life of this model, my original copy is very bad print... Rockpaperscissor - Thank's for watch my friend... Uyraell - The Dornier series of airboats (Do-15, 18, 24 and 26) is one of my favorite series of german planes, I have all in papermodels in different scales, but the next is a Do-24 in Ducht Navy colors. Tomorrow I show more progress in this model. Regards my friends.
|
|
#8
06-11-2012, 01:02 PM
|
||||
|
||||
|
New updates in this build...
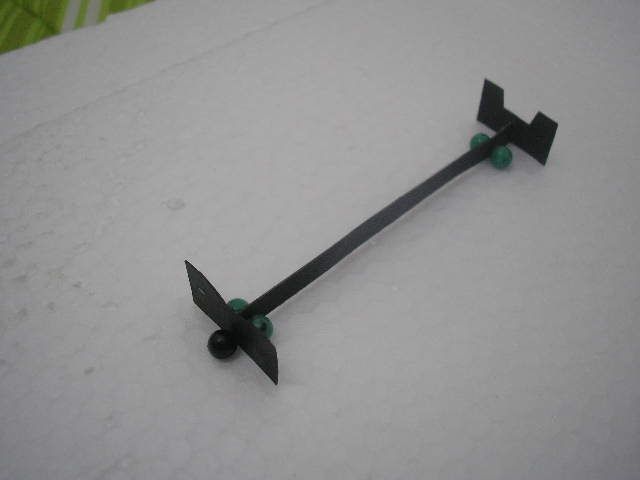
I made a provisory stand with cardboard, for jigging purposes, later I made the a definitive from balsa wood. 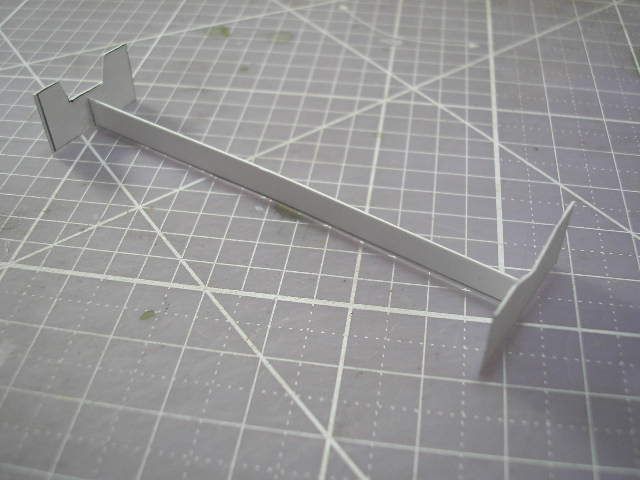 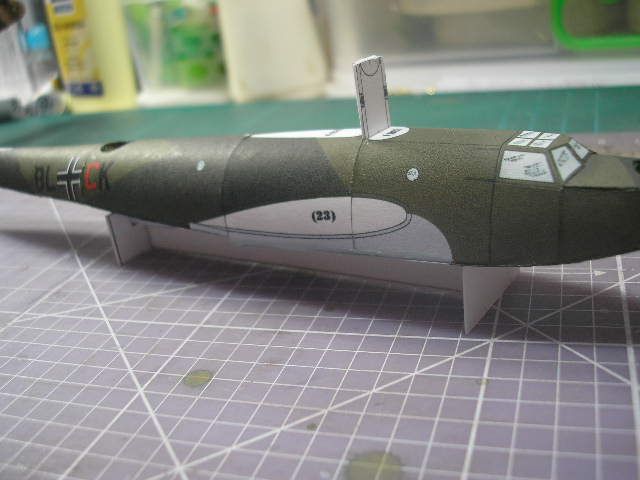 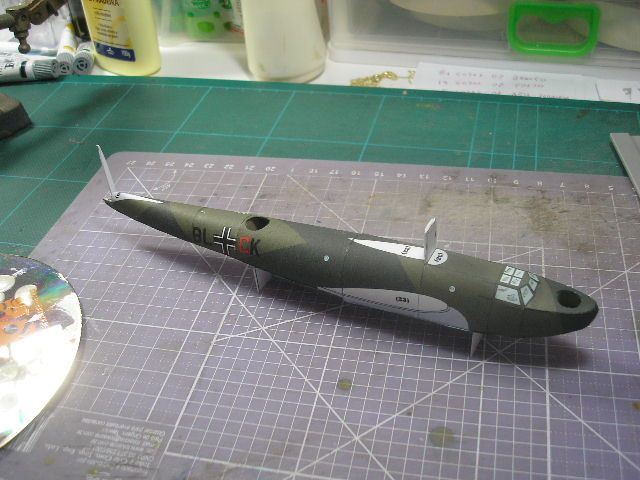 Next I made wing/engine pylon... 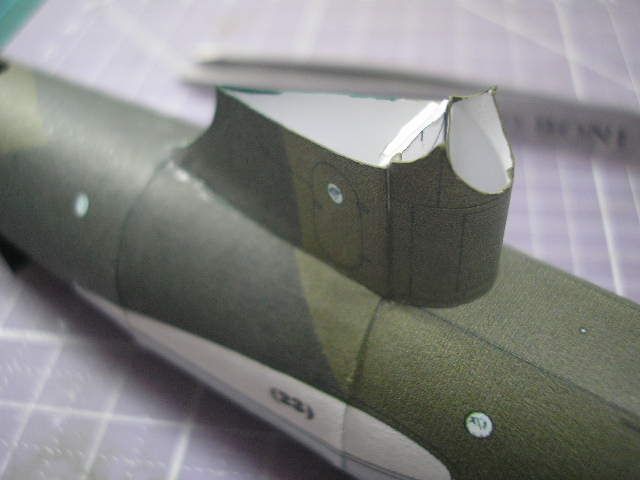 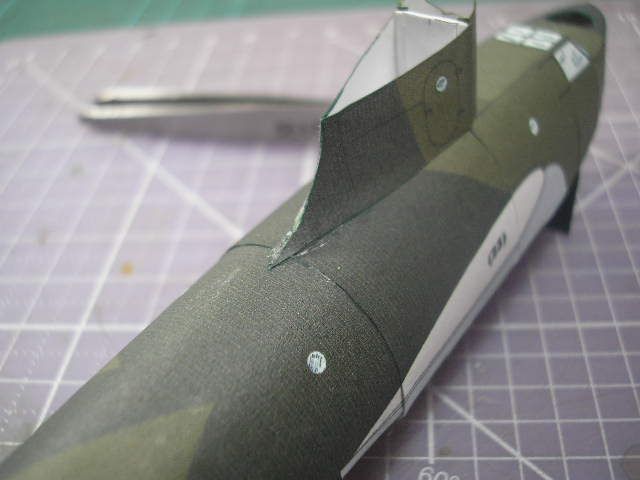 After this step, I started with 2 mm cardboard the inner frames of the aux floaters... 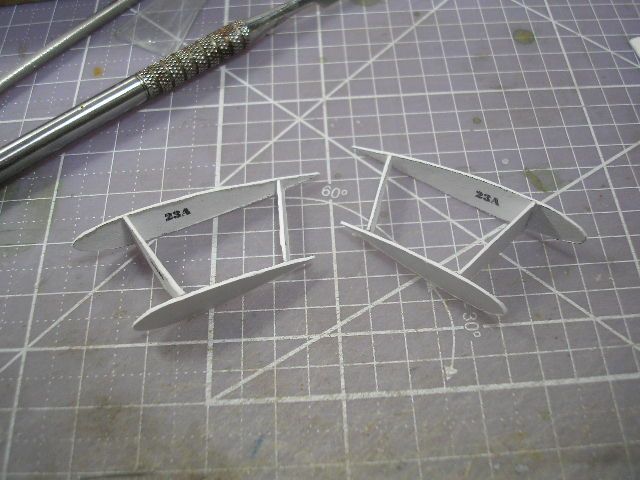 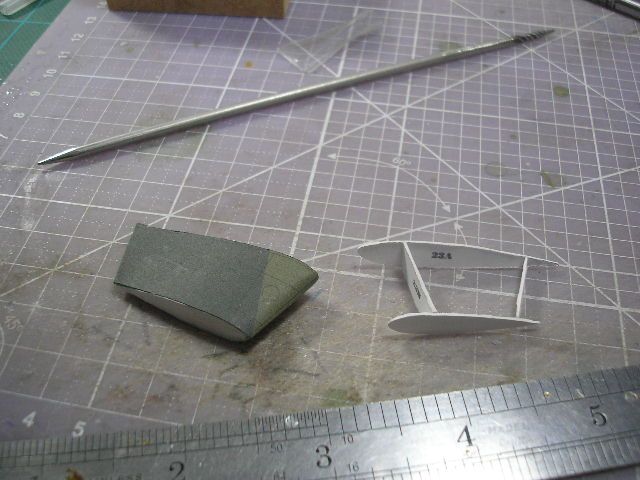 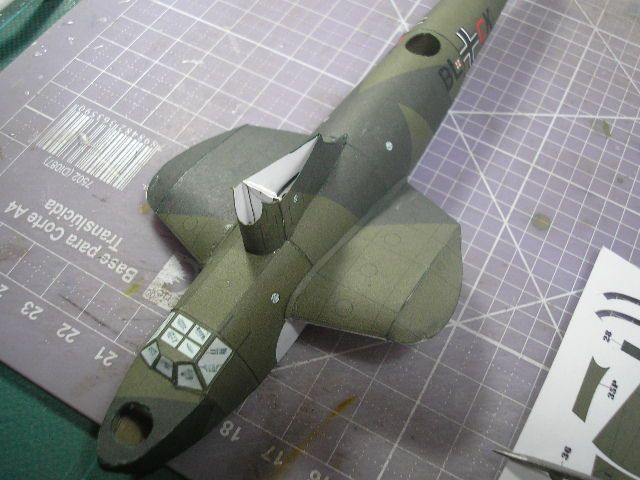 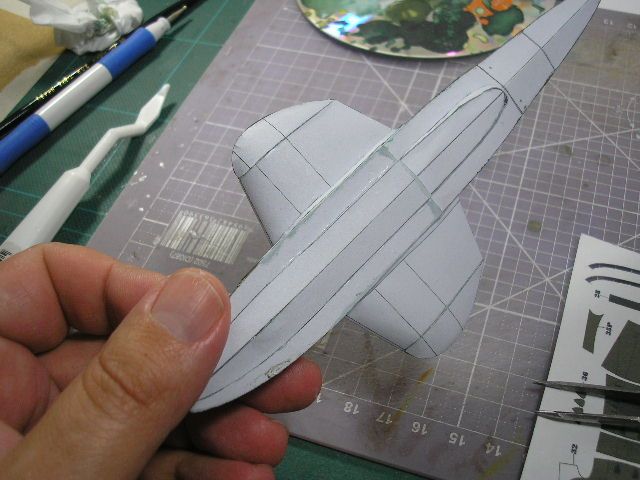 I attach fillets in aux floaters... Continue...
|
|
#9
06-11-2012, 01:11 PM
|
||||
|
||||
|
Continue...
I open the gunner holes, in ther rear position I fix the seat... 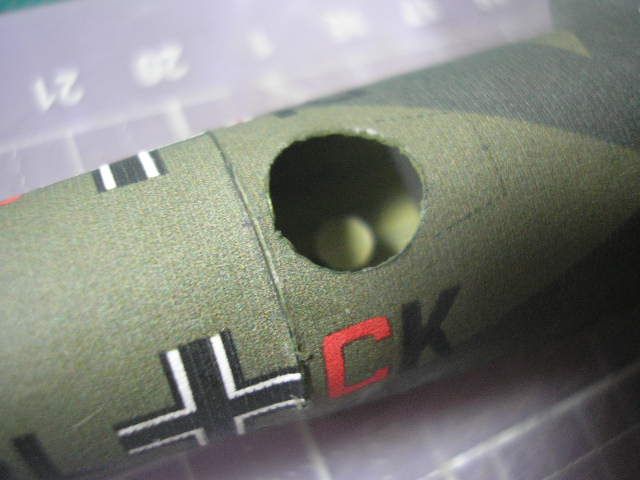 I gluing the vetical tail... 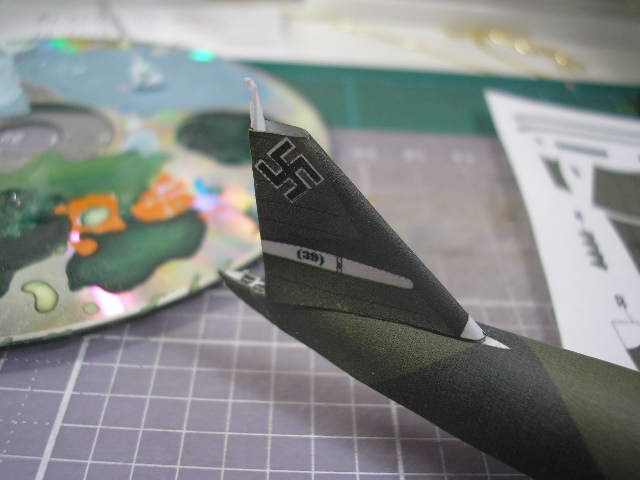 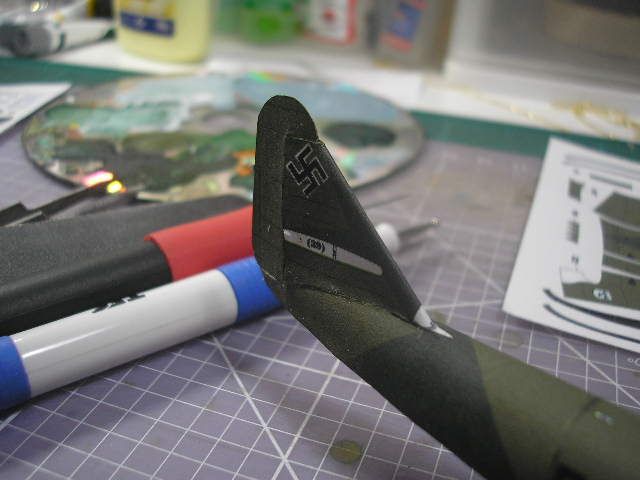 The secret in this case is started the glue from rear and finish by front of rudder... 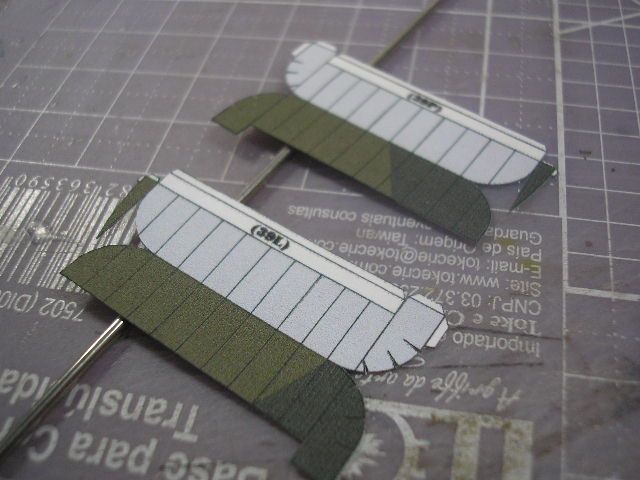 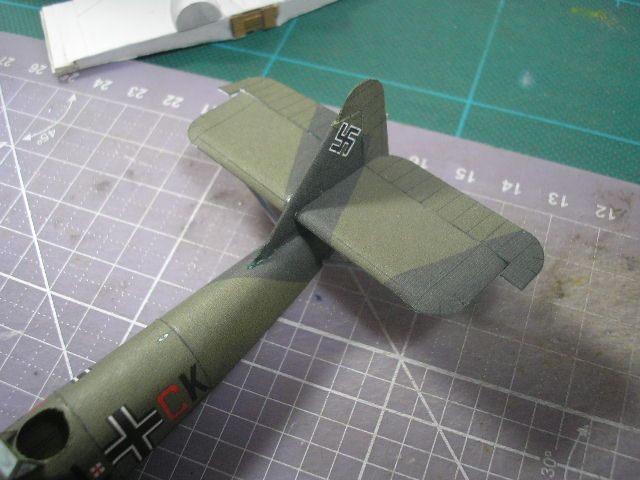 I Made horizontal rudder, the moving part is a seperate piece made for folding without formers. 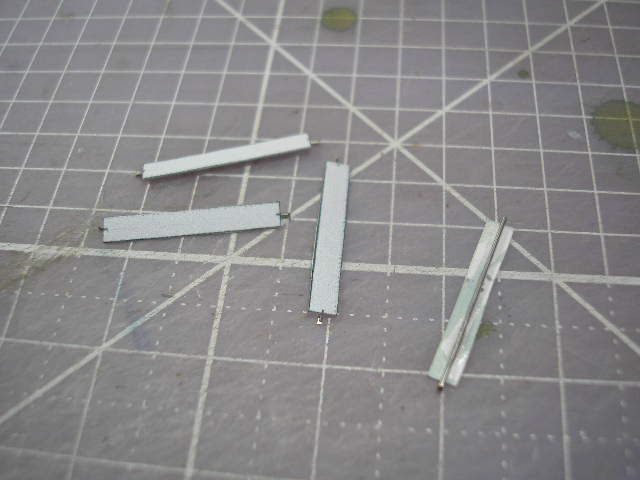 I made the tail struts, I use orthodontical wire for a "soul" glue with PVA glue for ceramic pieces... 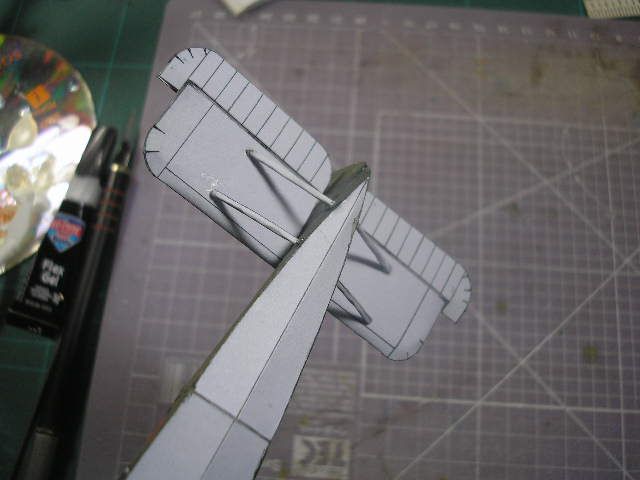 Step finalized...
|
|
#10
06-11-2012, 01:32 PM
|
||||
|
||||
|
I started a Jig for glue, made with foam, the first step is fix the stand piece in foam board...
 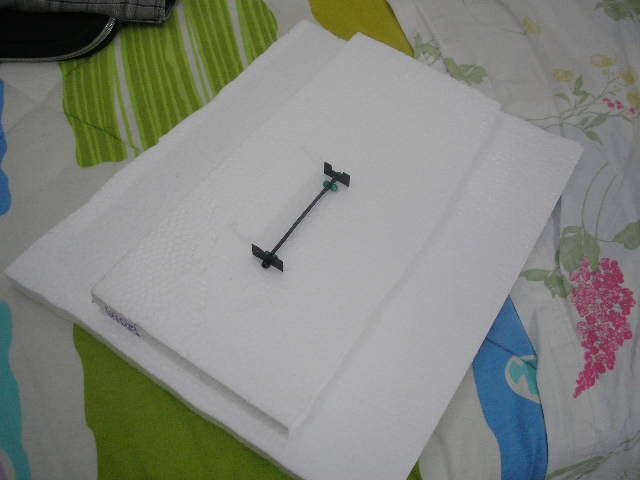 For fixing I use a needles and maps pins. 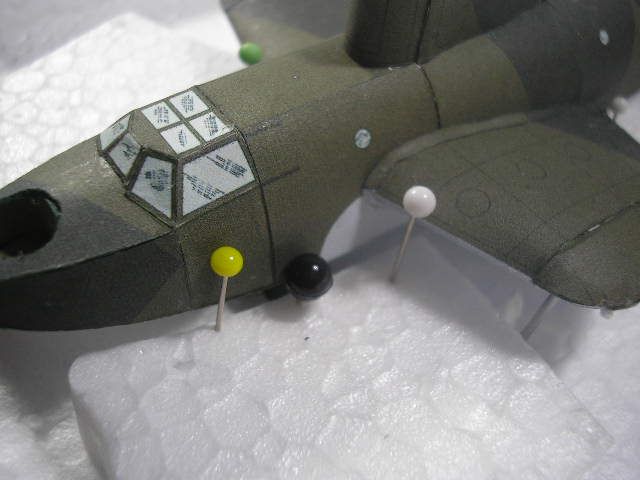 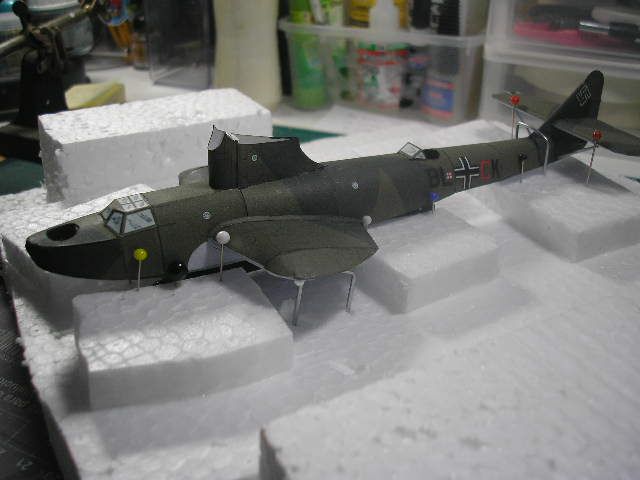 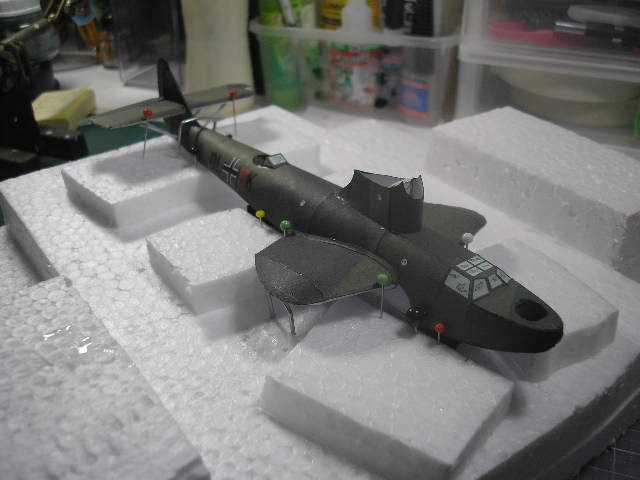 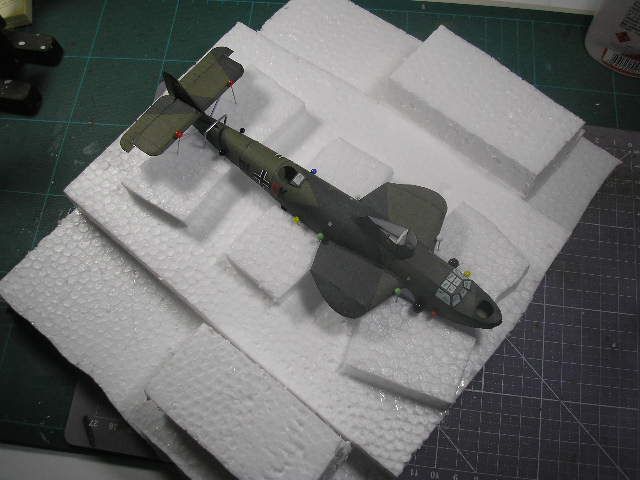  I glue small parts of foam to help in fixing the model in the jig, I use wire and needles for this. Continue tomorrow...
|
| Google Adsense |
 |
|
|


 Linear Mode

